More testing techniques and complex projects for the adept and advanced Leatherworker
Welcome to the advanced section of the channel. Here we begin to look at more advanced techniques and projects. The distinct difference you may notice is the greater emphasis on projects. Whilst there are a number of more advanced techniques, this section leans heavily on the techniques found in the other sections and focuses on their application. The links to the videos will only work once you have subscribed. Without doubt, they are projects that will test your skills and elevate you to a more advance level.
The channel is updated with a new video every two weeks. Being an Advanced Member will have access to all videos in all sections
£119.97 Initial 3 Month Signup – Then £39.99 per Month thereafter.
After the initial signup fee is paid, no further payment will be taken from your account for the first 3 months of subscription. You are just paying 3 months in advance.
Once the 3 months has lapsed the subscription will default to the subscription amount listed above for the level you have subscribed to and will continue until canceled.
Skills and Techniques
Stitch Marking and Stitching
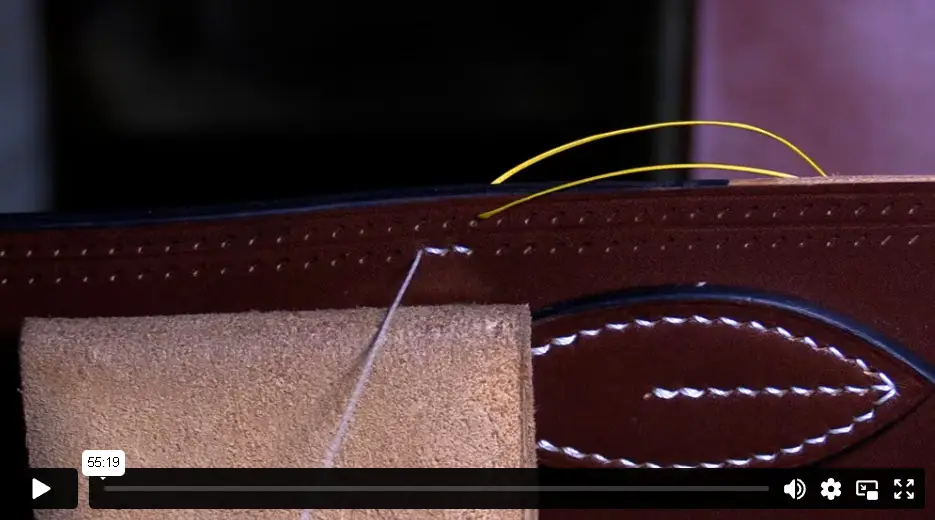
Pre-Pricking a Bound Edge
Binding an edge has always involved lots of glue and using an awl to make the holes. In a lined piece, this can amount to up to 4 layers and has it’s pitfalls. Here, we look at the question, can a binding be pre-pricked? and what does it look like if we do. Well… yes we can! and rather lovely!
Stitching around a Circumference
Always a bit of a conundrum this one. How do we avoid long or short stitches when stitching back to a start point in a circumference? We use the leading and dragging technique found in the Intermediate section and use it to our advantage.
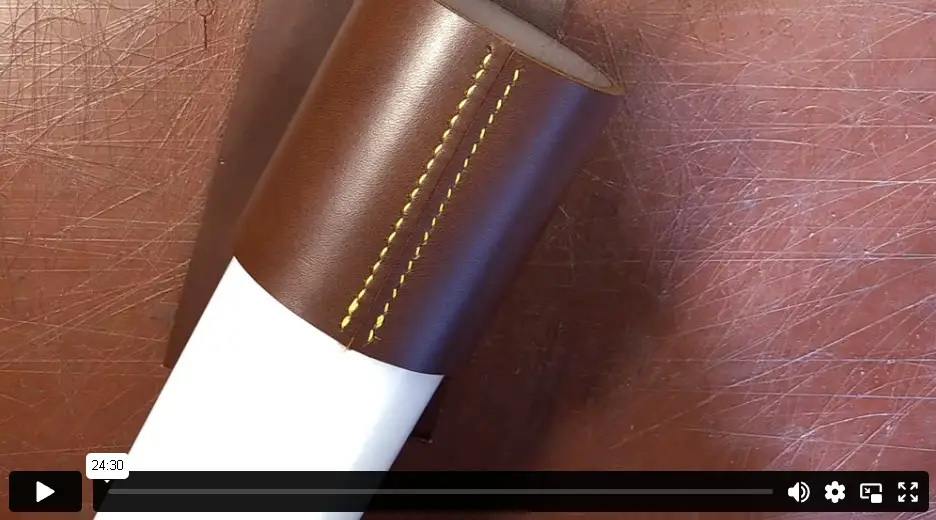
Stitching a Butted Seam
An absolute must of a technique if you are looking at tub making. It has many applications, but it predominantly can be found in use on tubs, tubes and cylinders.
Stitching in a Tub Base
Once we have the grasp of stitching a butted seam, we look at the ends of the tube we have just stitched. This explains how the caps are fitted and stitched and how to loose stitches as you stitch two different lengths of stitch line.
Seams and Edging
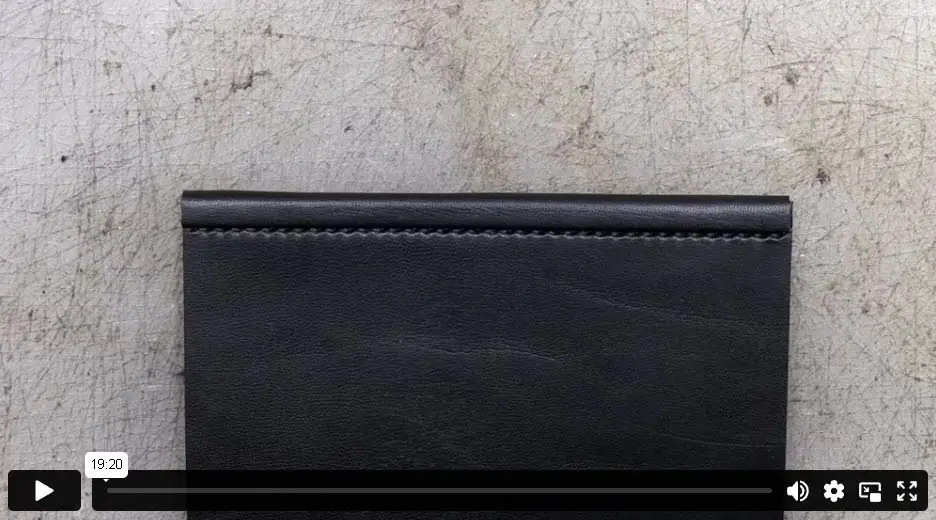
Turned Rolled Edge
Very much like a rolled edge, however, a second row of stitching has been applied with the leather held flat. This then allows the binding to be folded over that stitching giving the appearance of a tucked edge on the face.
Turned Seam with a Binding
In this video, we expand on a turned seam by adding a binding to the inside. This hides the edges of the leather on the inside of an unlined bag.
After all… a well made bag does not need a lining.
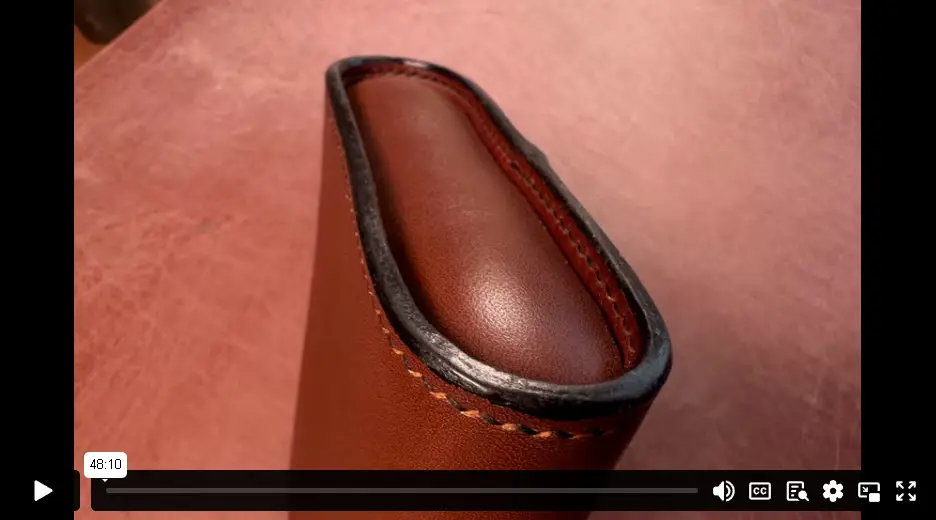
Beginning and End of a Piped Seam
Piping is a wonderful way of adding strength to a turned seam and a high level of detail to your item. For many years, it has been the machinists favourite seam. Here we look at how it can be applied by hand. In this video, we look at how to start and end it.
Piped Seam
Another of those can we do it by hand questions, of course we can. Piping is a wonderful way of adding strength to a turned seam and a high level of detail to your item. For many years, it has been the machinists favourite seam. Here we look at how it can be applied by hand.
Gussets and Bag Making
Bag Gussets
Having examined a number of gusset otions in the Intermediate section, such as: C Shape S Shape S Shape Swelled Horseshoe full Horseshoe half Gussetless option. We will continue the theme here with a few more options for the budding bag makers.
Three Part Horseshoe
Expanding on the Half Horseshoe Gusset in the Intermediate section, we add a third section to the gusset. This, whilst still producing a unique gusset, brings volume to the item.
Recessed Teardrop
This is a two part gusset system, it crops up quite frequently, the Tote Bag to name just one example. It is a lovely way to add depth to your gusset and creates a unique style to any bag.
Multi Pocket C Shape
Building on the C Shape gusset found in the Intermediate Section, we begin to add sections and a pocket to our item. Still produced with a simple seam, this multipart build begins to take on real character as the parts are stitched together.
Bowed out S Shape
With the use of simple and lapped seam, and S Shape Gusset is formed. This in-itself brings volume to an item. However, in this video, we look at creating a swelled gusset which changes the shape of the bag further giving a very classic looking shape.
Tight corner Stitched
Very popular in case making where a box type gusset is required. It is also well suited to producing a sharp corner to the item which once was seen as a contemporary step away from the utilitarian founded corner item. Of it’s time, it was much desired.
Tight Corner Folded
Another take on the tight corner option of the classic case building era, except here, the gusset is now folded at the corner to allow for one pice construction. This would have been the preferred option for building a concertina style bag with multiple pockets.
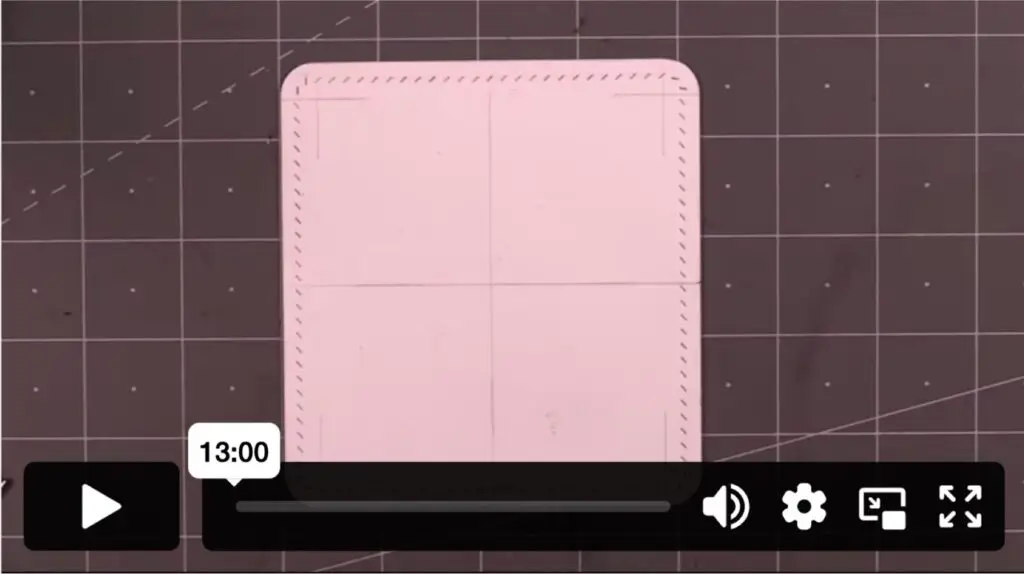
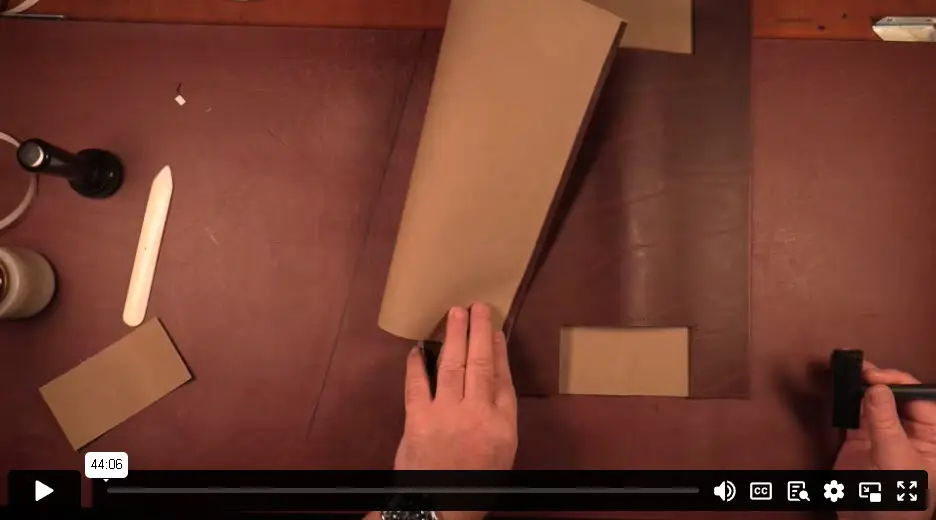
Two Part Base Template
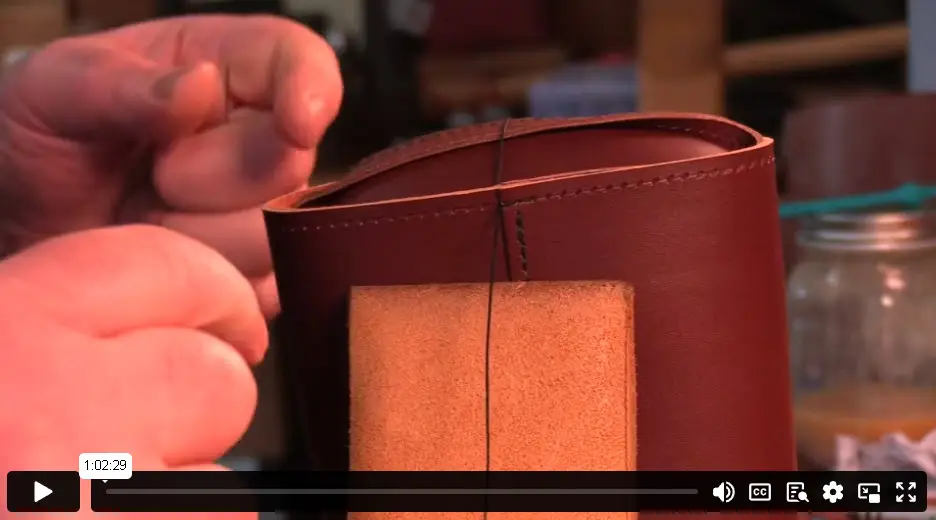
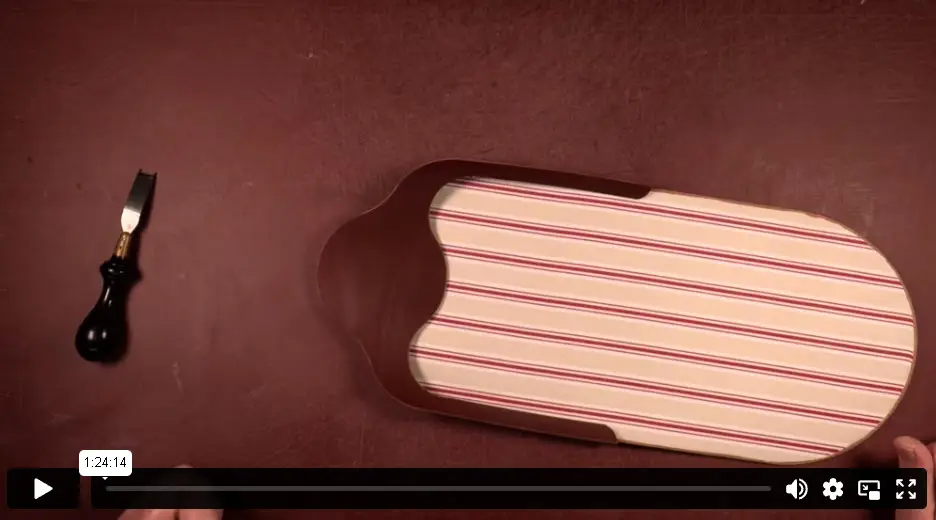
Not all bags have to have gussets. A bucket bag for example is of tube construction with the base giving the bag shape. Here we look at how to measure and add that base using a two part system. This video focuses on the template.
Two Part Base Leather
Not all bags have to have gussets. A bucket bag for example is of tube construction with the base giving the bag shape. Here we look at how to measure and add that base using a two part system. This video focuses on the Leather and construction..
Adding a Piped Seam
Having taken a good look at piping, starting and ending, here, we look at the application. I use a heavy leather here, as would be found on a cartridge bag. After all, a cartridge bag looks good if it’s piped. In this video, we focus on leather preparation and seam turning to achieved the desired seam.
Two Part S Shape
This video is very similar to the S shaped Gusset video, but it has rather an interesting difference; the addition of a second part of the gusset allows the gusset to swell out giving it a rather pleasing shape.
Bag Strap Attachments
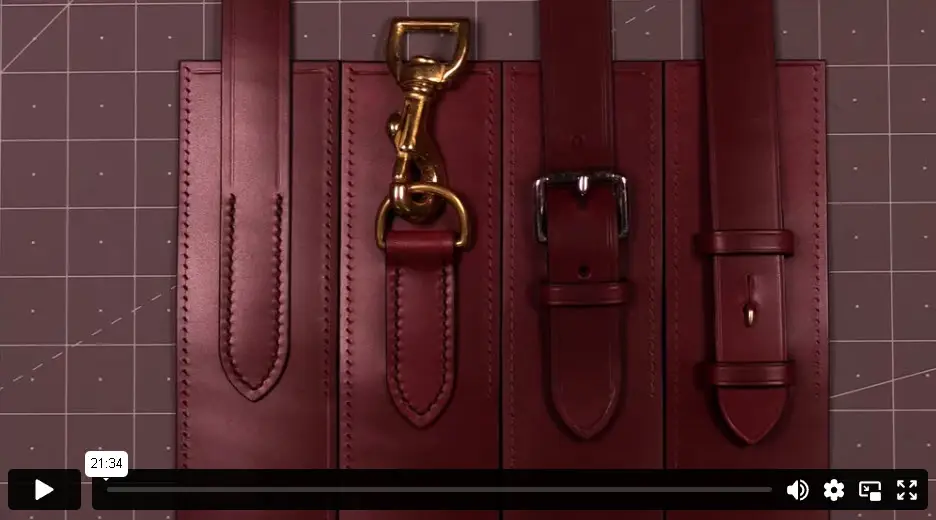
Bag Straps Attachments
We started examining how to attach bag straps in the intermediate section with the Stitched, Dee, Buckle and Tied We continue the theme here with more complex ways of attaching straps.
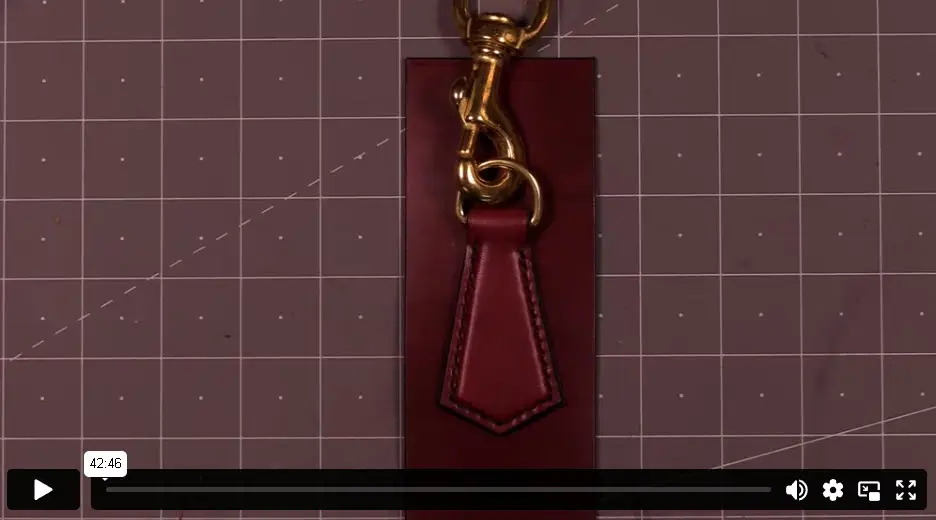
Billet Hook
One of the more complex ways of adding a strap to a bag and a heavy borrow from the equestrian world. Whilst it would be a phaff to get on and off frequently, it is actually designed to go on and stay on. Fiddly, a bit awkward, especially when two hooks are used as you see me do on the Day Bag, but so very worth the effort.
Tapered Raised Dee
Very much the same function of a standard see that we have seen in the intermediate section.
However, we add a taper to the design and then a bolster to bring the leather to life. Any shape can be used and it adds a beautiful level of detail to any bag.
Stitched Loop
This is a very old design and one taken from the hunting days of old. It ensured no rattle when stalking prey as no hardware was used. Today on a handbag, the rattle is not an issue, however, this is just the next level of detail and looks fantastic on the right bag.
Bag Handles
Bag Handles
We started making handles in the intermediate section with the Stacked, Wrapped Swelled and Trunk. We continue the theme here with more complex handles.
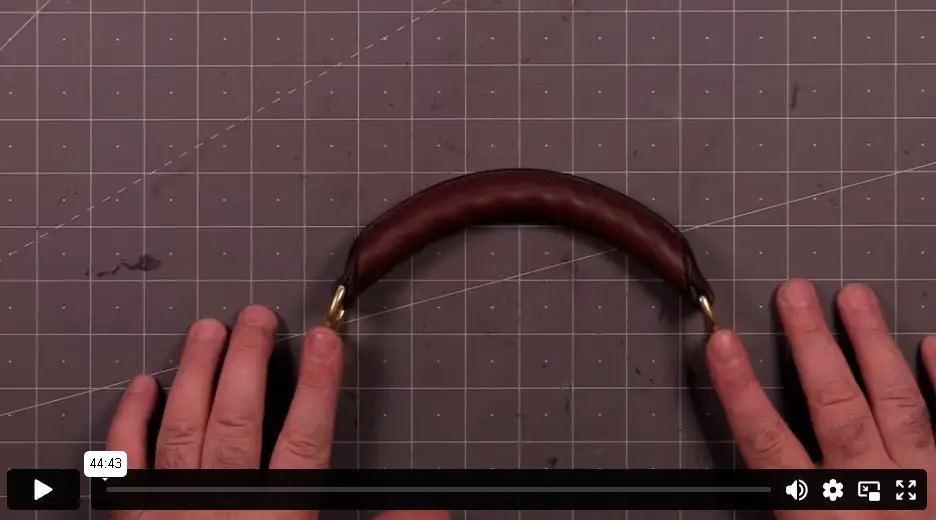
Bolstered Handle
Very much the same construction as the stacked handle in the intermediate section. But here, we have added a bolster top and bottom to give a strong tactile feel to the handle. A brilliant handle for heavy bags.
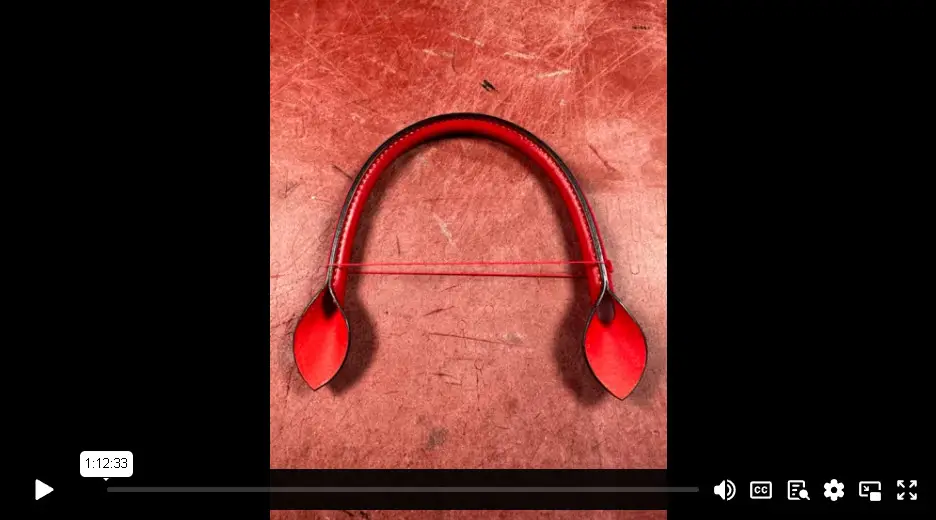
Round Handle Stitched
Very often see on bags that sport two loop handles. It is a classic design and one, with the leaf shape ends will make a bag look far more expensive straight away.
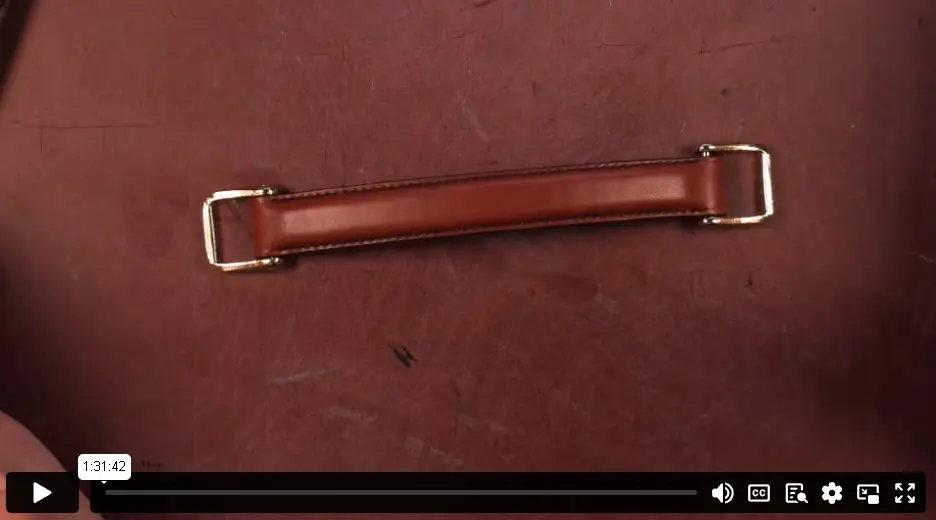
Round Handle with Loops
Similar in construction and design to the Round Handle, but this one has the ends returned to hold Dee’s and has a much thicker core. An awesome handle for heavy bags, trunks and boxes.
Techniques
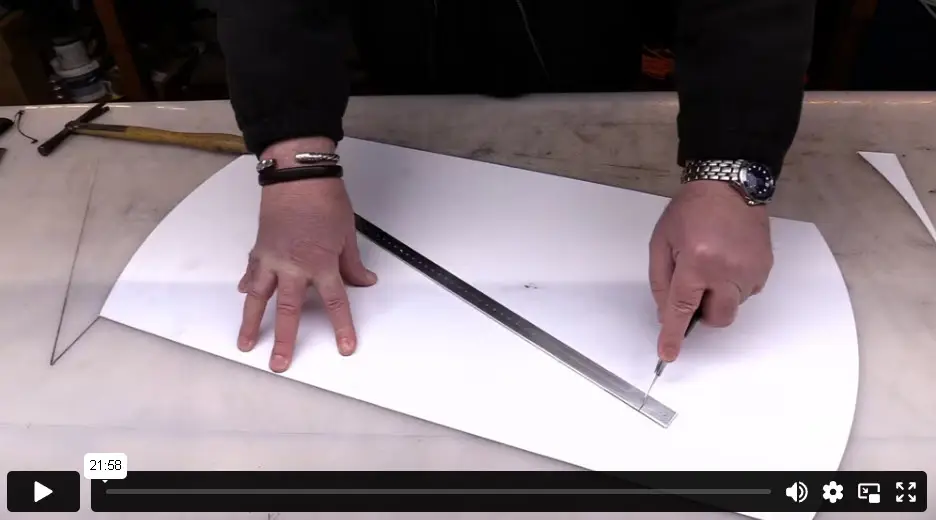
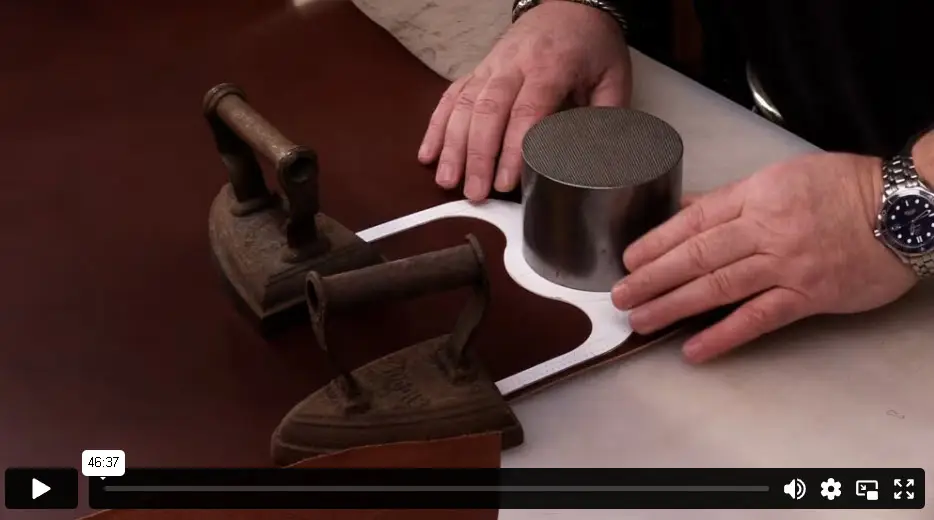
Using a Trammel Bar
Ever struggled to get that large curve consistent? Here we use a Trammel Bar to get extremely large curves incredibly accurately. We can even use it to cut.
Short Projects
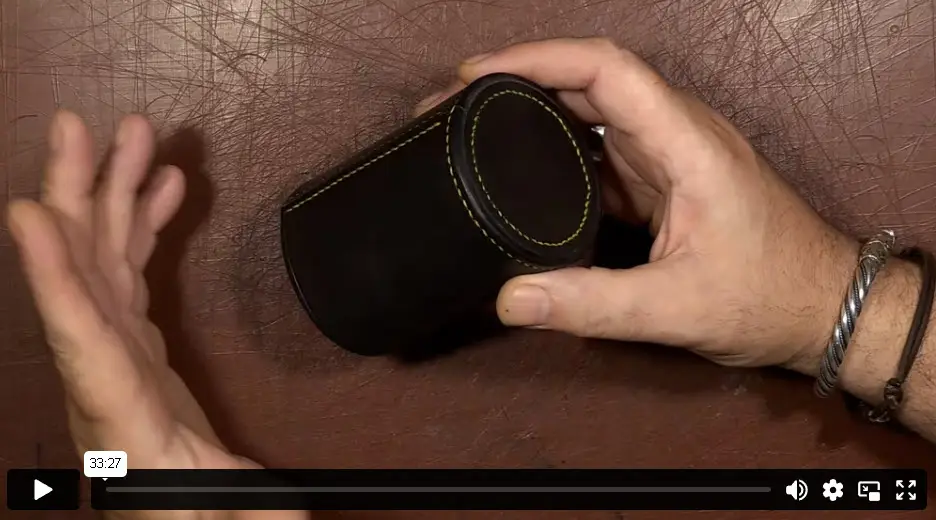
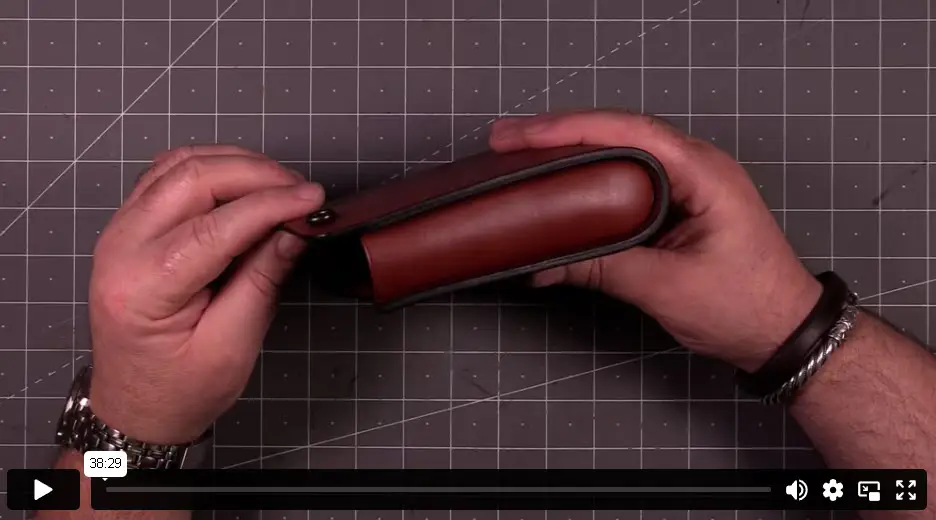
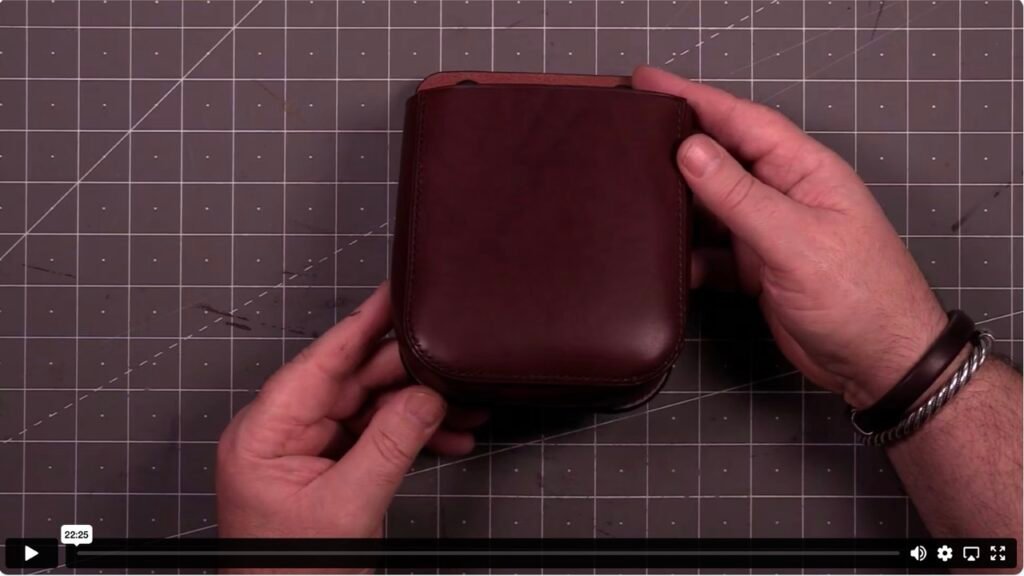
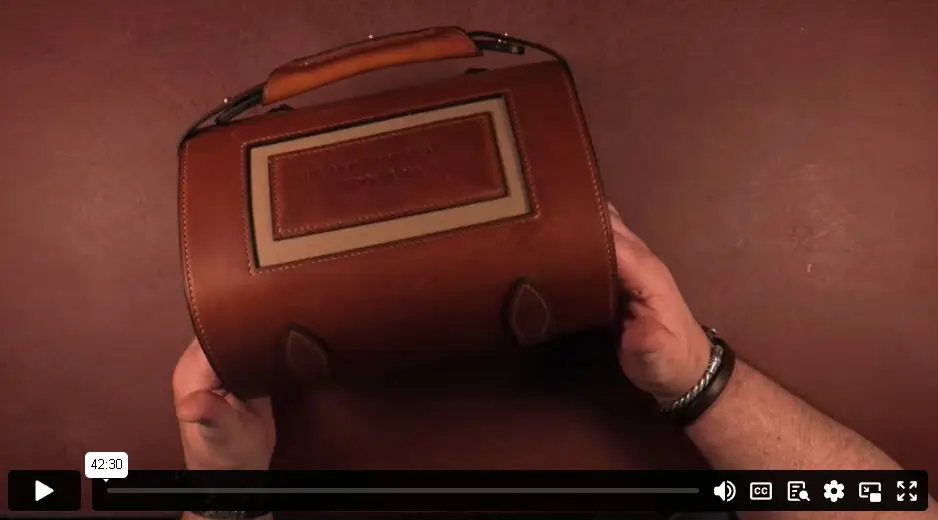
Box Stitched Pouch
Box stitched using a heavy and hard leather. This pouch is a thing of beauty. Once a common item, now rarely seen. This is a lovely way to produce cases for cameras, fishing equipment, tools or even cigars. what you use it for is your choice.
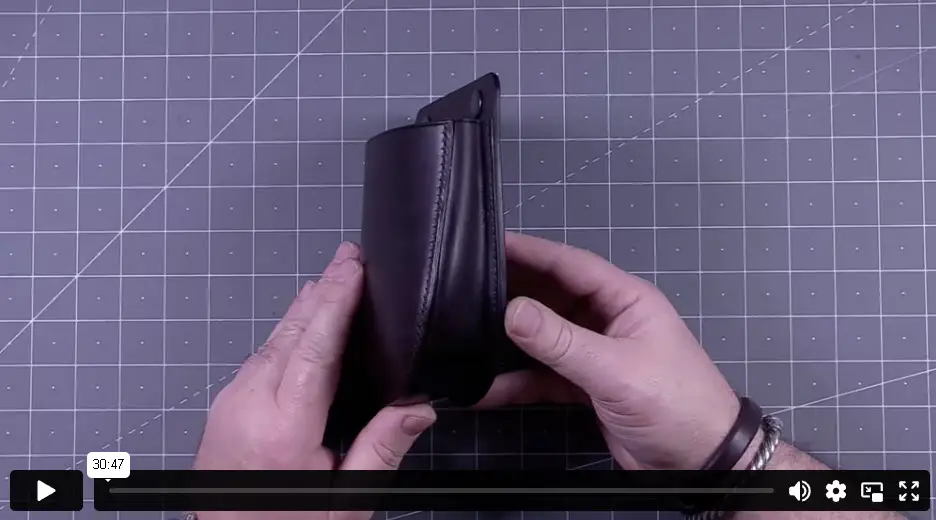
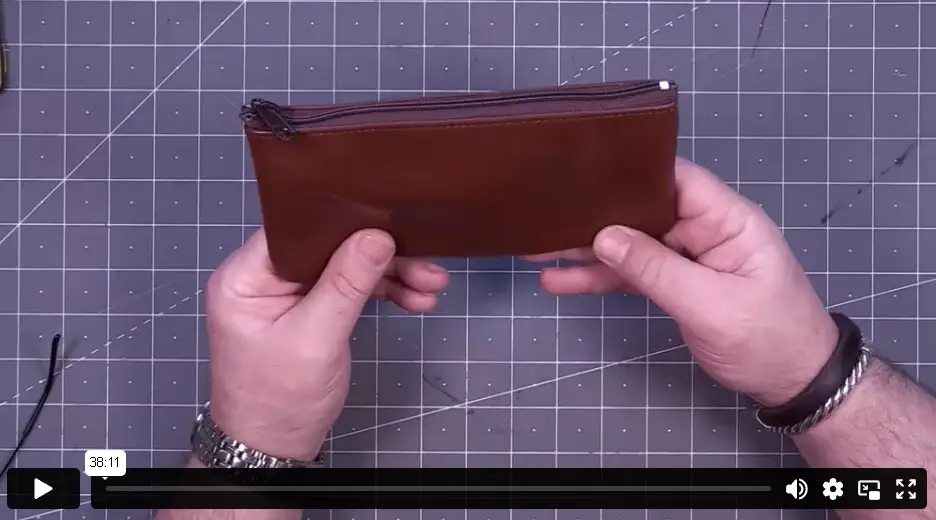
Zipped Pouch with a Turned Seam
Still not a fan of zips, however, as said, they have their place, and on an item like this, they are ideal. Here we look at creating a zipped pouch with a turned seam.
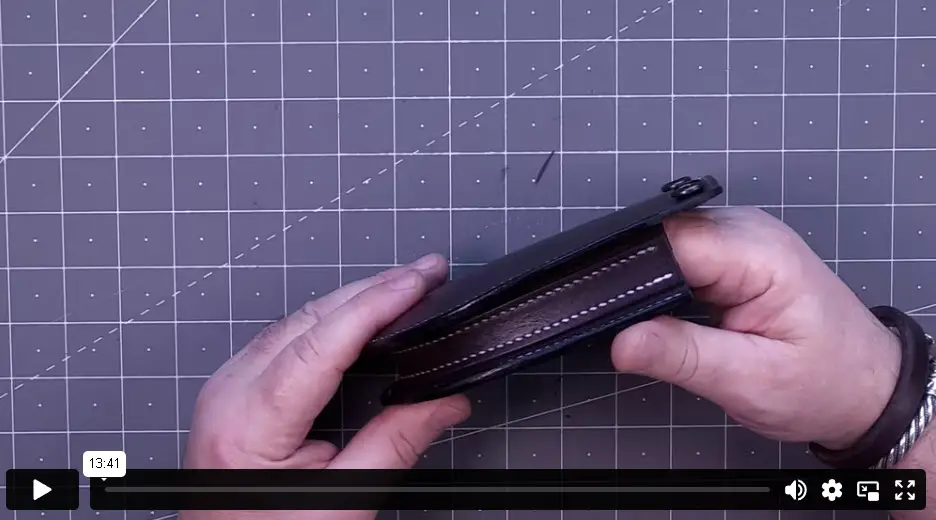
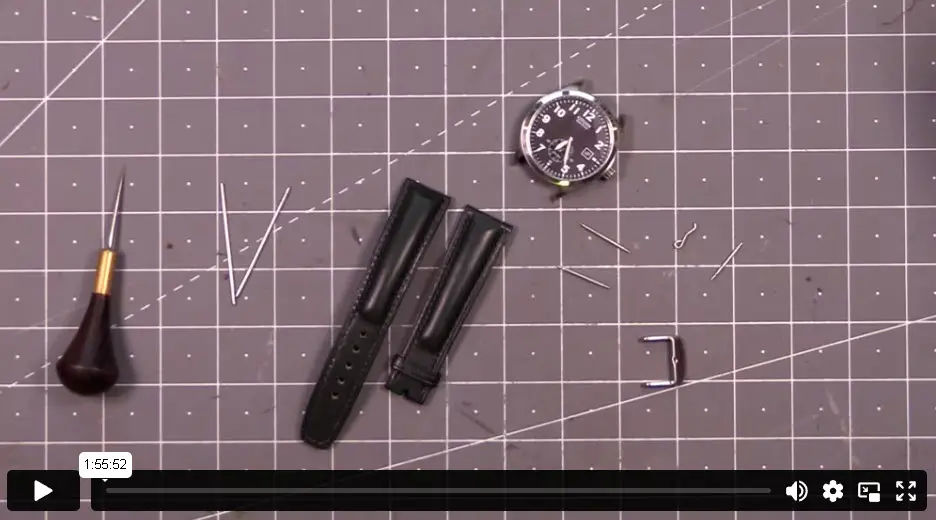
Bolstered Watch Strap
Watch-straps are a fun build, we have had a look at a couple of simpler ones in the intermediate section. Here, we really elevate the quality of the item. Firstly, it is tapered, but the main feature is the bolster. This is where we can get into exotic leathers as overlays and linings.
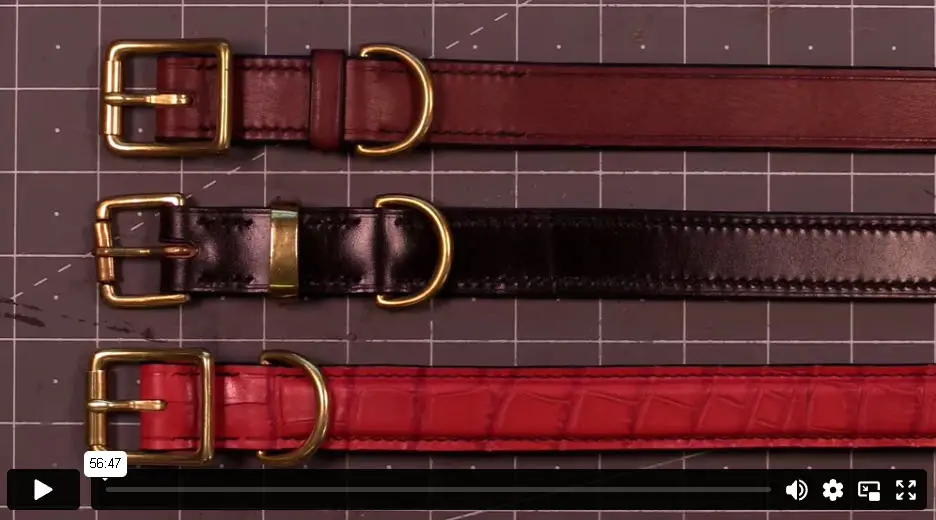
Bolstered Dog Collar
Very similar in construction to the watch-strap we have just looked at. Evidently, much larger. This is where we can begin to get flamboyant with overlays, but we also look at how to maintain the strength of the item.
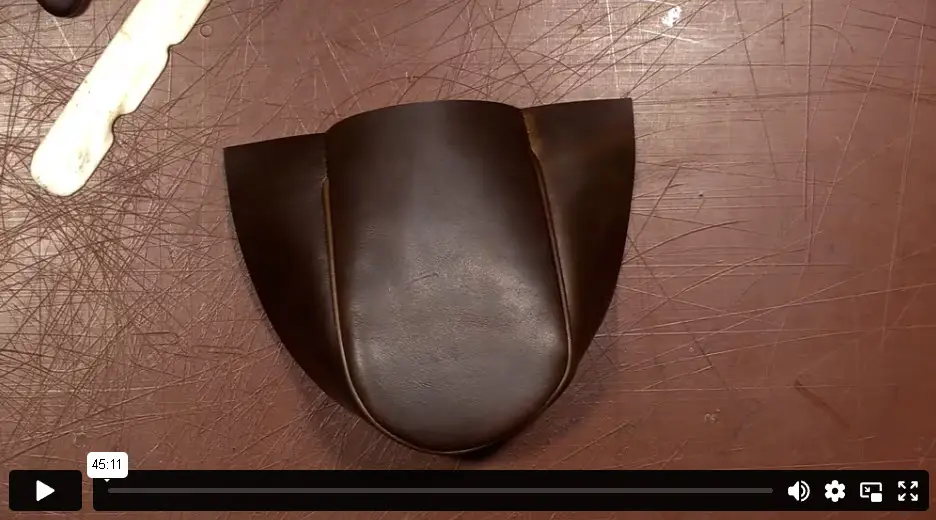
The Darted Bag
Not a huge step away from the swelled S Shape Gusset, but here, rather than use the gusset to apply volume, we add darts to our face leather to add a three dimensional aspect to it. It is also an excellent technique if you are one for building leather Armour. Just thing of the shoulder.
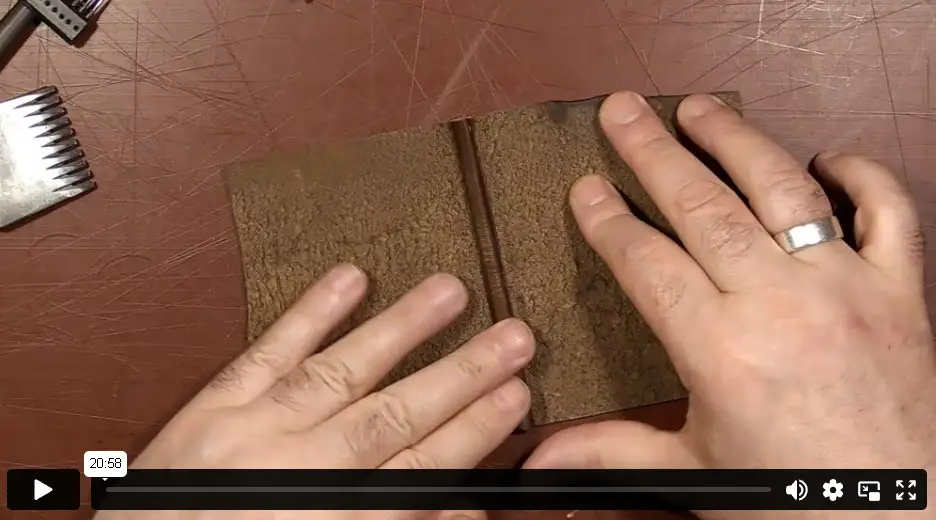
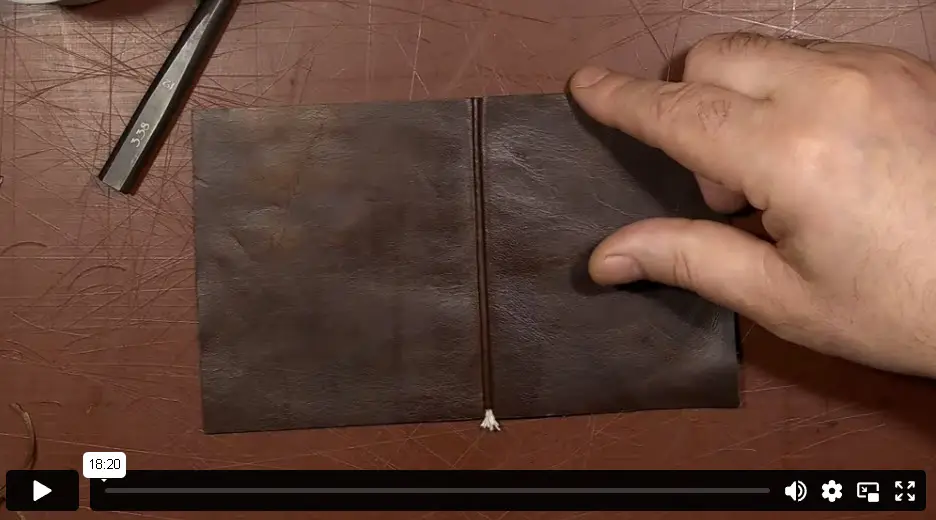
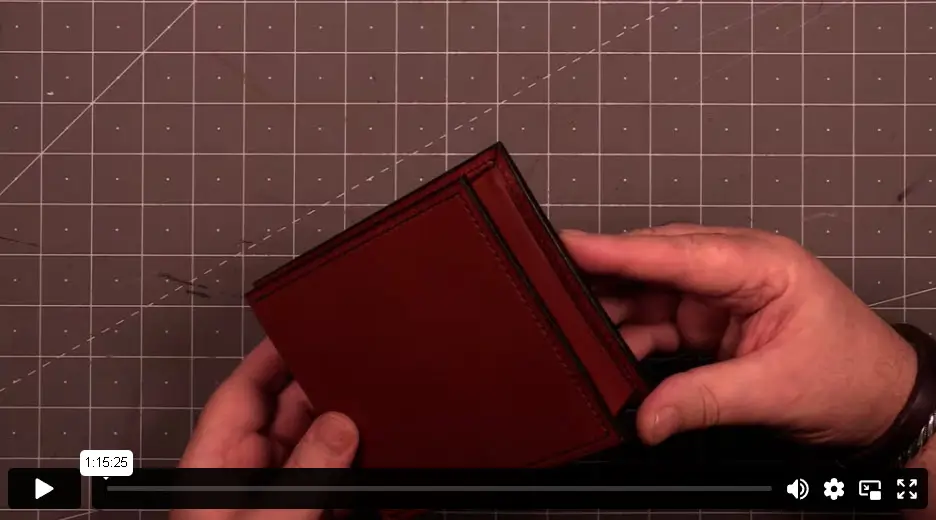
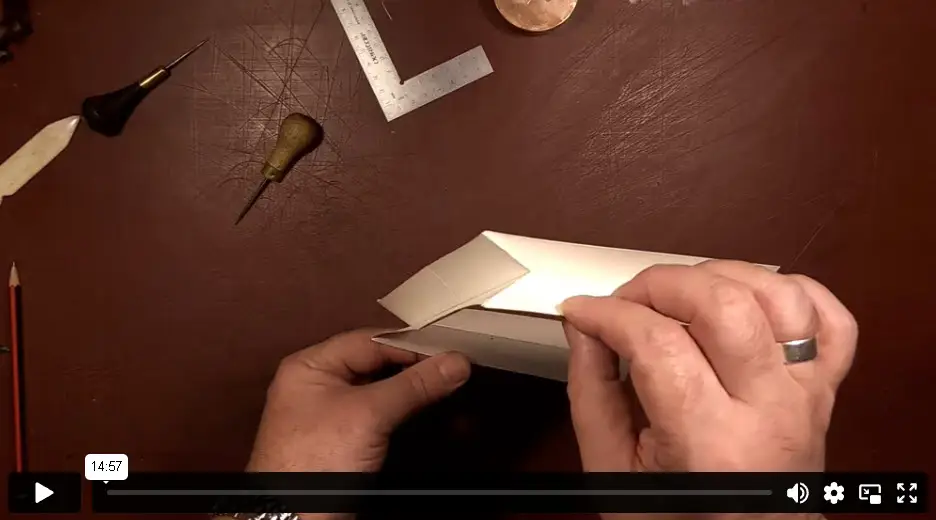
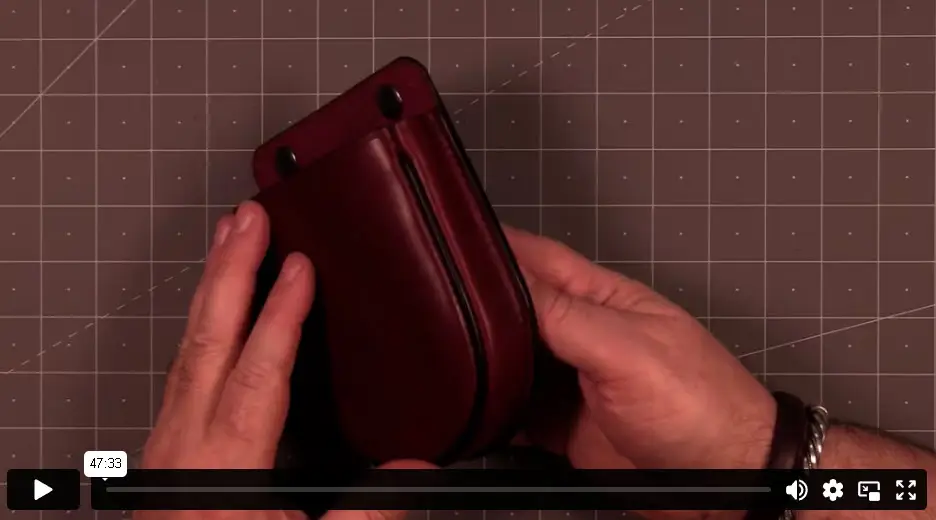
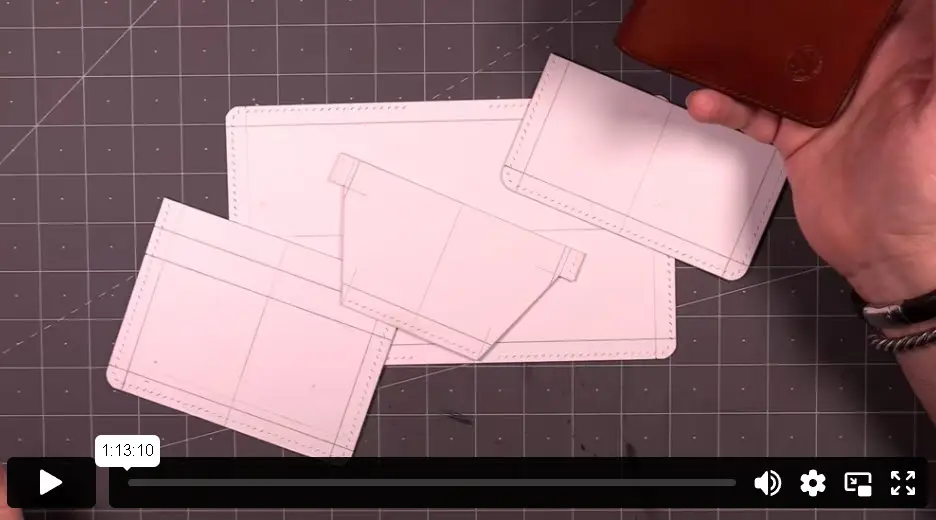
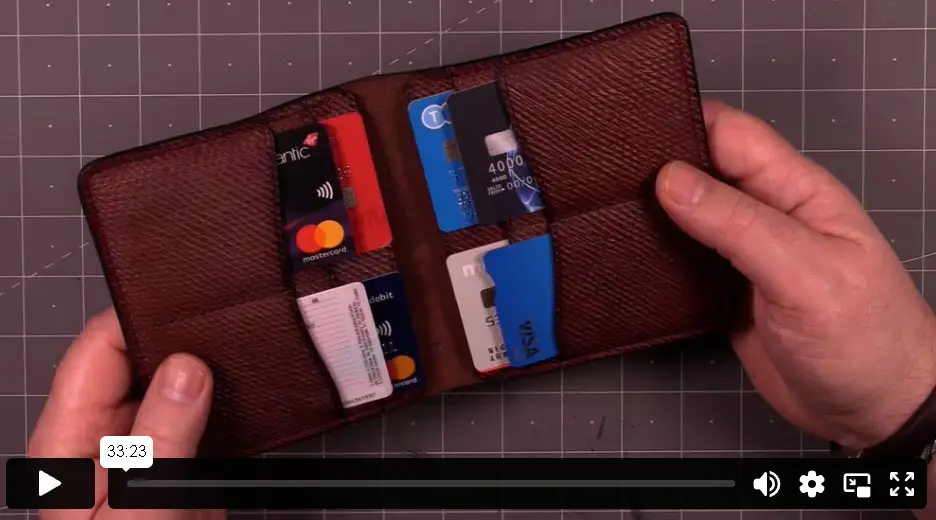
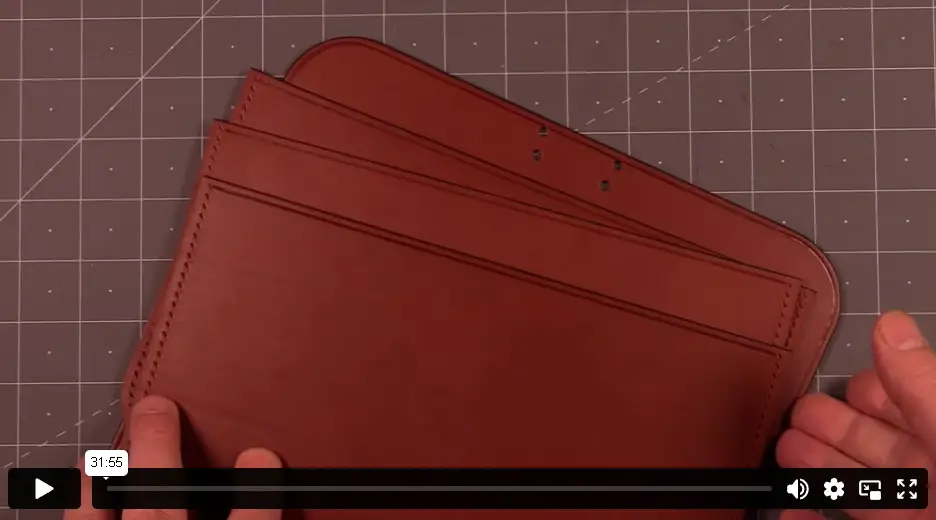
Troll Wallet Part 1
I love big wallets, I also love wallets that lock the cards into place once closed. Here we look at a build in two parts, this is the template section. We look at how to obtain the measurements and apply them to the template.
Troll Wallet Part 2
Part 2 of the build looks at taking the template to the leather and the construction of it. The order of process is quite important here and applies to many items which have multiple parts.
The Dopp Bag Project Continued
Dopp Bag - Continuation
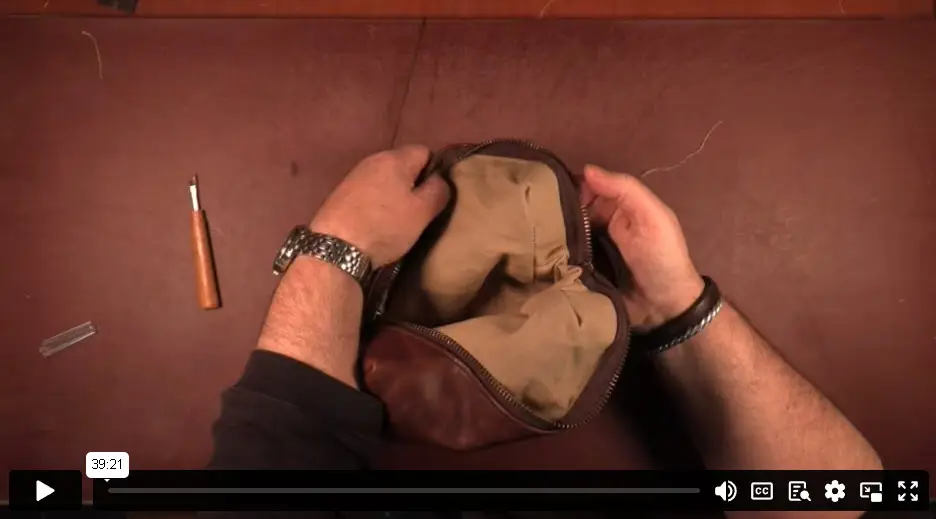
Here we have the continuation of the Dopp Bag projects, or rather an expansion. The Dopp Bag in the intermediate section in parts 1 to 4 is unlined. Here we build on the same design but now add a lining.
Dopp Bag - Adding the Lining Part 5
It this addition to the Dopp Bag series, we look at adding a lining to our bag. Not as simple as it looks, but once mastered, not difficult to reproduce. In this video, we look at the preparation of the lining.
Dopp Bag - Stitching the Lining Part 6
It this addition to the Dopp Bag series, we look at adding a lining to our bag. Not as simple as it looks, but once mastered, not difficult to reproduce. In this video, we look at Stitching it all together. The order is quite important.
The Development of a Bag Project
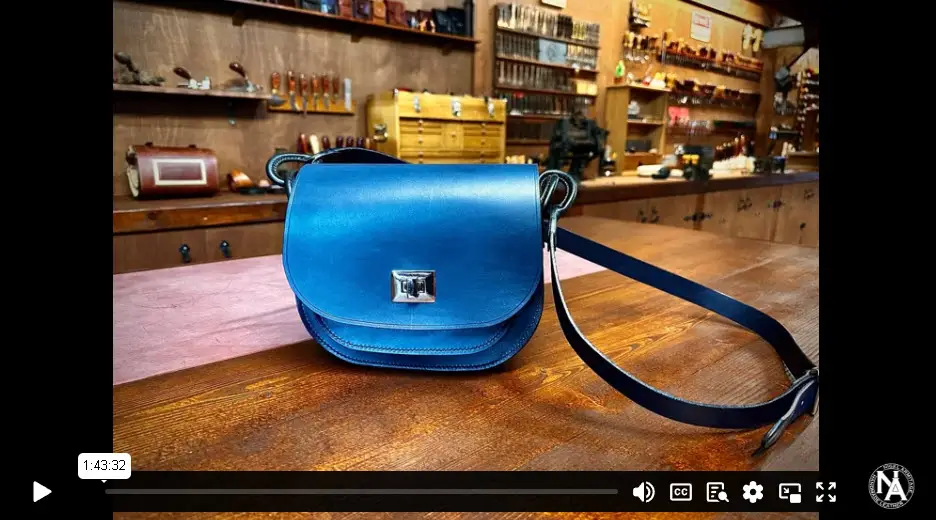
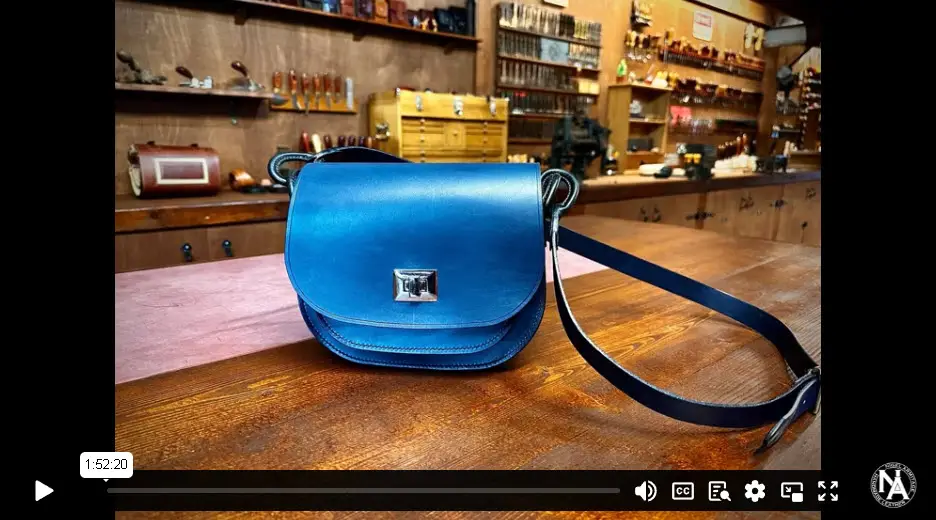
Saddle Bag
This is the final stage in the Development of a bag. We started in the Beginners section with the Slip Sheath and the Flat Pouch. Then, into then Intermediate section, we looked at the Possibles pouch and the Travel Bag. Here we finish that journey with the Saddle Bag. An item that brings all the skills in the other sections together.
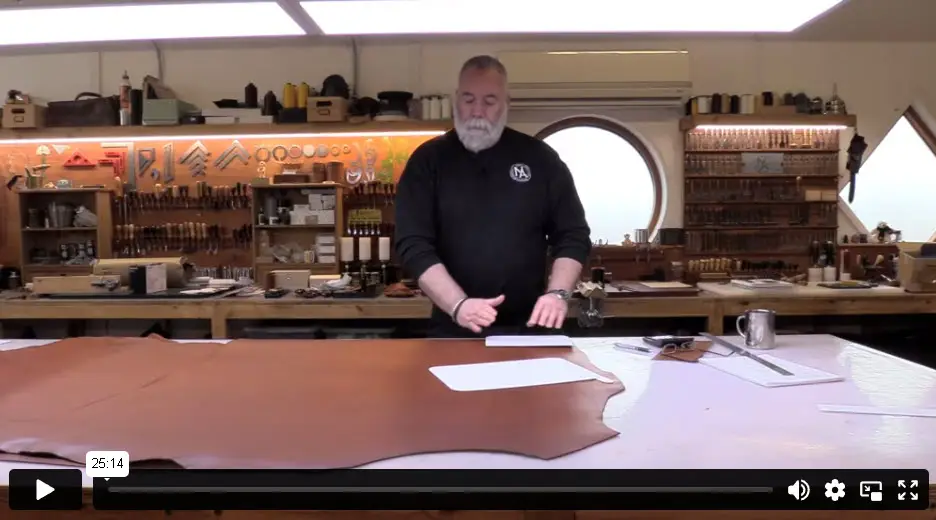
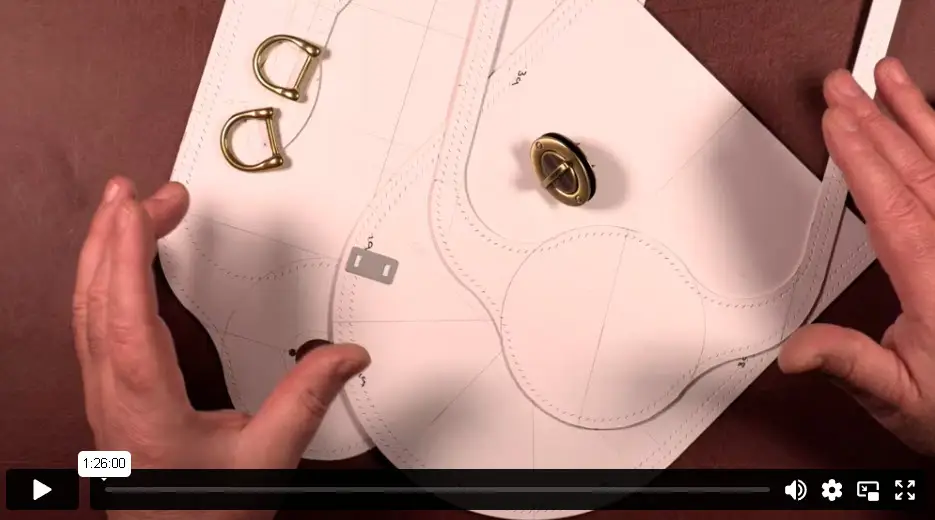
Development of a Bag Project 5 The Template
Part 5 of 7 Continuing on from the previous projects, we apply all that we have learned into one item, the Saddle Bag. In this video, we look at the templates needed and see how much they mirro the previous projects.
Development of a Bag Project 5 The Leather
Part 6 of 7 In this video, we look at cutting our leather, preparing it for stitching, dressing and order of process.
Development of a Bag Project 5 The Strap
Part 7 of 7 The strap I have used was added to give you an extra option. It by no means needs to be this one, you have have any one of the other straps discussed on the channel. But I like it and it looks cool.
The Day Bag
The Day Bag Introduction
An absolute classic of a bag. Timeless is design and construction. This is a multi-pocket and multi-part gusset construction.
The Day Bag Template Part 2
There are quite a few pieces to this build, so paying attention to the template section is a good call.
The Day Bag Leather Part 3
Onto the leather, the choice of hide and cutting of the pieces are covered in detail in this section.
The Day Bag Preparing the Leather Part 4
Preparation is the key. In this video, we look at all the preparation required prior to constriction. There is an order of process to this section.
The Day Bag Stitching Part 5
Whilst simple seams are used in the main, there is very much an order to which piece gets stitched to what. With multi-part gussets, it is easy to get lost and back yourself into a corner.
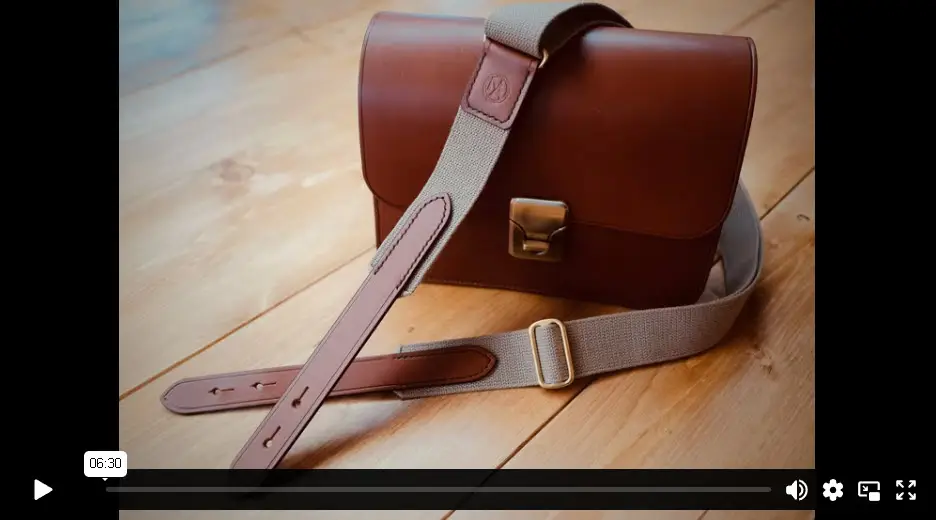
The Day Bag Strap Part 6
Here we look at adding a Cotton webbing strap to our bag using a twin billet hook, three keep system. As mentioned, a bit of a phaff, but so very much worth the effort.
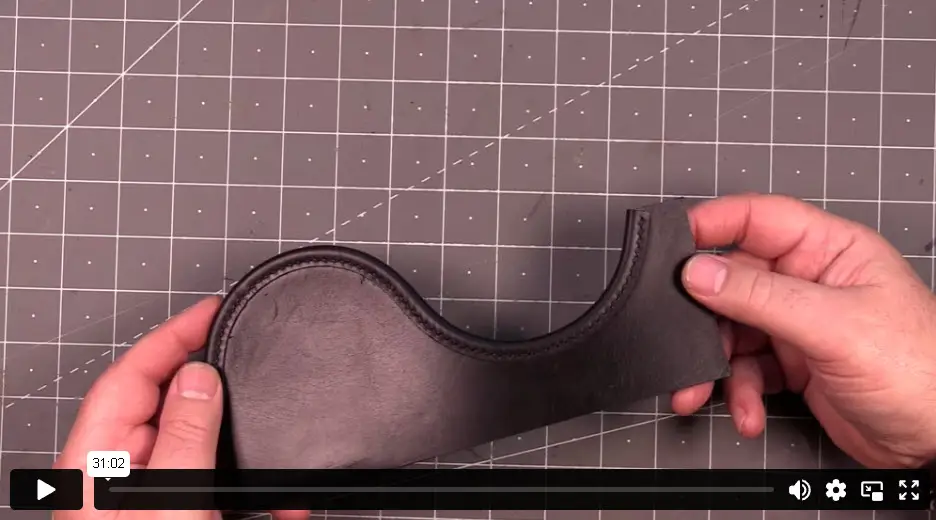
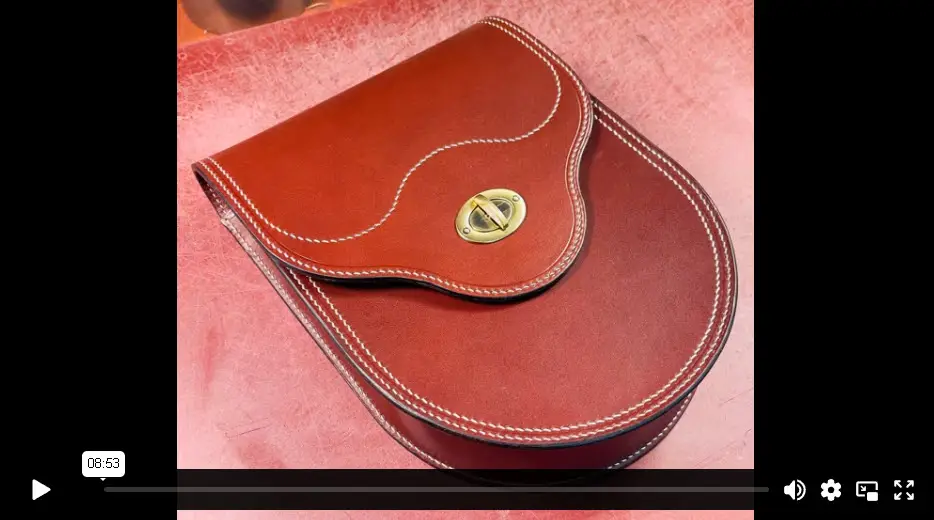
The Horseshoe Bag
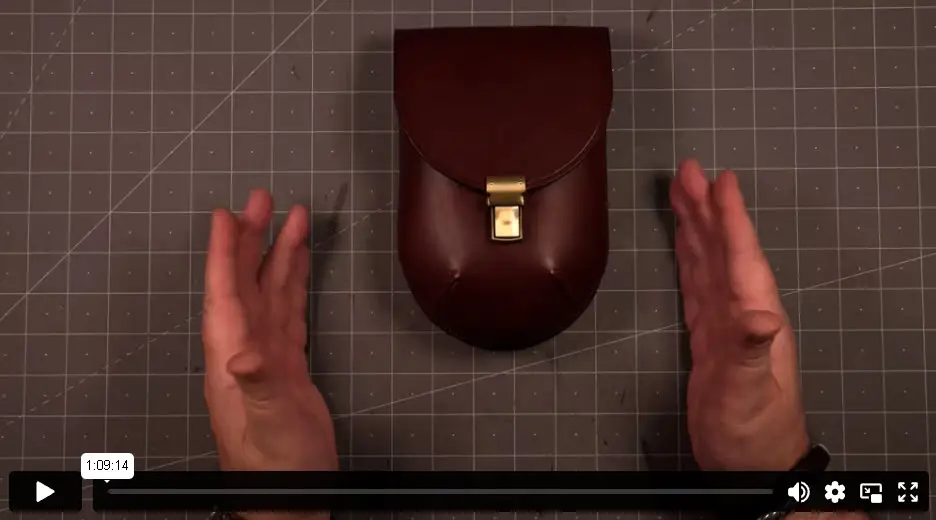
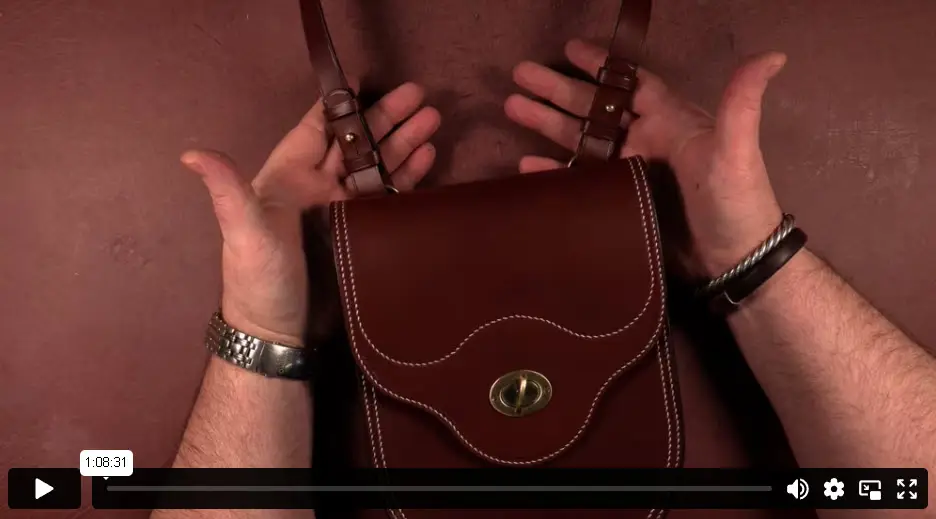
The Horseshoe Bag Introduction
This is a timeless item based on the horseshoe bags carried by long distance messengers in the 1700 and 1800’s. It have been adapted to a handbag. The shape is evidently your choice.
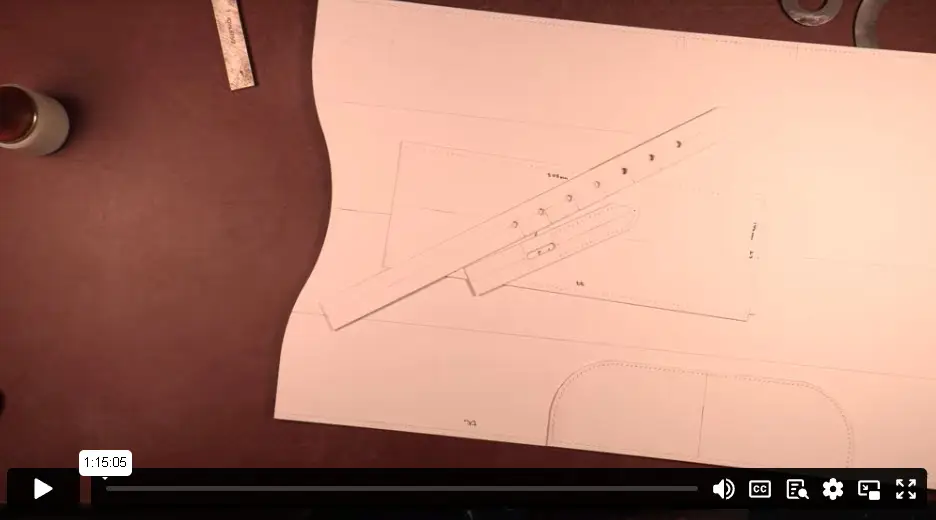
The Horseshoe Bag Template Part 2
The design of the bag is such that the lining has been sandwiched between layers of leather so it cannot be seen on any edge. Here we look at how to create the template for that.
The Horseshoe Bag The Leather Part 3
In this video, we look at cutting the main body and gusset of the bag from our leather, along with all the trim required to hide the lining.
The Horseshoe Bag The Lining Part 4
Working in conjunction with the trim, we glue our lining to the leather and then prepare if for the edges for the trim.
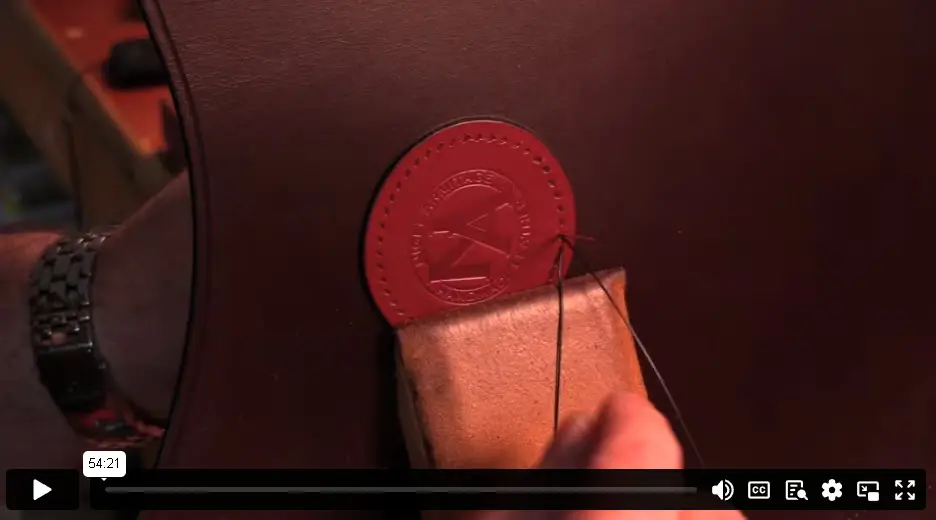
The Horseshoe Bag The Stitching Part 5
Some stitching is decorative, some is necessary, but the balance is such that you cannot tell which is which.
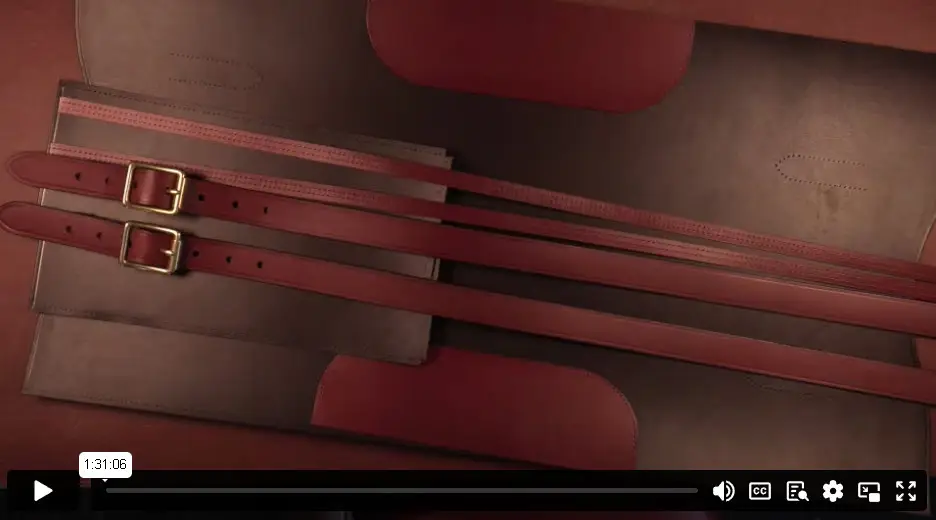
The Horseshoe Bag The Strap Part 6
The attachment of the strap is very similar is design to the Billet Hook option. However, in this instance, I have followed the more traditional style given to us by Sir General Sam Browne, of the Sam Brown Belt fame. I use his studs with a twin keep system to attache the strap.
The Tote Bag
The Tote Bag Introduction
I almost didn’t make this. I thought that tote bags were not my thing. I am so very glad I did. This one has been in uses almost every single day and is still as stunning as the day it was made.
The Tote Bag The Template Part 2
With the design set the Armitage Leather way, we look at creating our template. I thought it would be fun to have a two part gusset system on this bag and adjustable handles, they worked a dream.
The Tote Bag The Leather Part 3
Possibly more pieces in this build than a conventional tote bag, so… I added a contrast. Using shoulder, I choose two colours to make this bag and in this video, we see what gets cut out of what.
The Tote Bag Stitching Part 4
The stitching is not overly complex on this build, but there is a lot of it. As is the norm on complex builds, there is an order of process to the stitching.
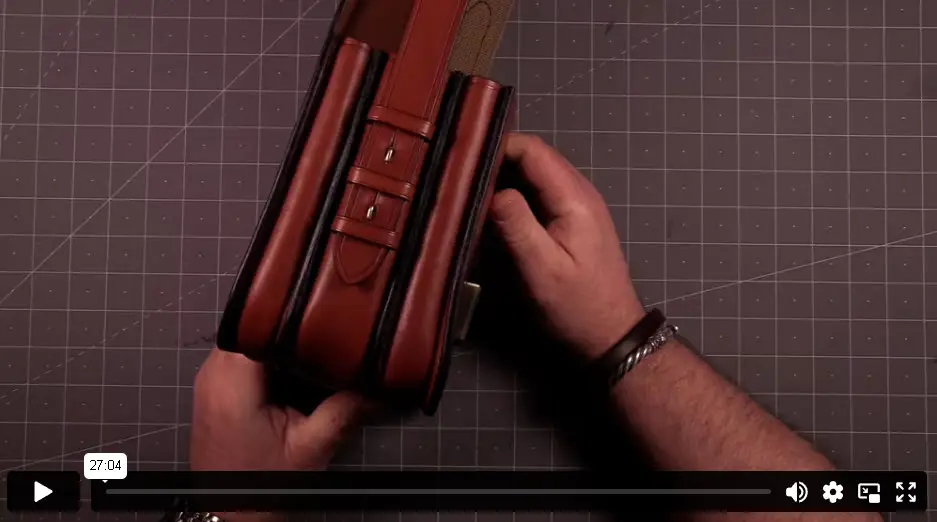
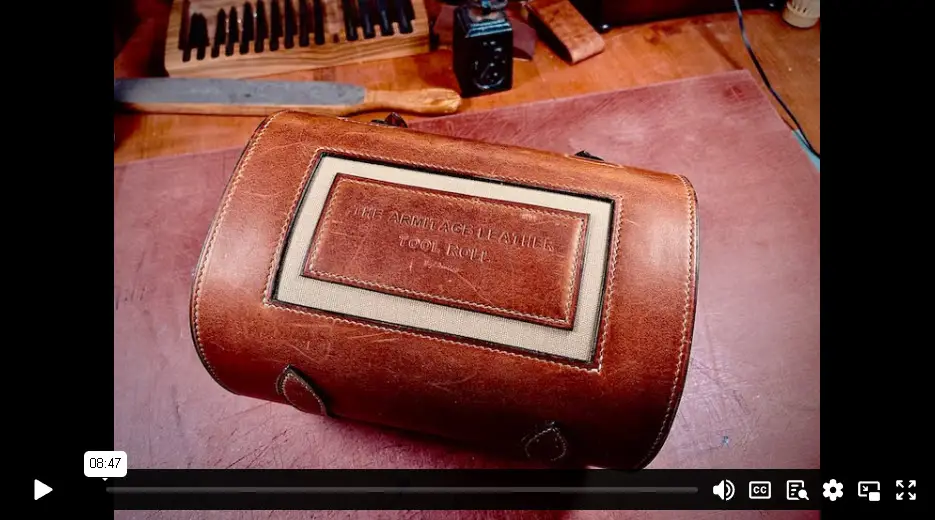
The Armitage Leather Tool Roll
The Tool Roll
The Armitage Leather Tool Roll is bay far the biggest build on the channel so far. It remains to be seen how big the Gladstone Bag gets. There are 11 Videos in total, each containing a plethora of information.
There is also absolute scope in adjusting this build to suite the size and quantity of tools you want in yours.
It’s a real showpiece and a fantastic way to move your tools about.
The Tool Roll Introduction -
It just simple has to be seen! It has been with me on very teaching adventure I have had since it was made, from America to the BBC. I loved making it, and love using it even more. I hope you enjoy.
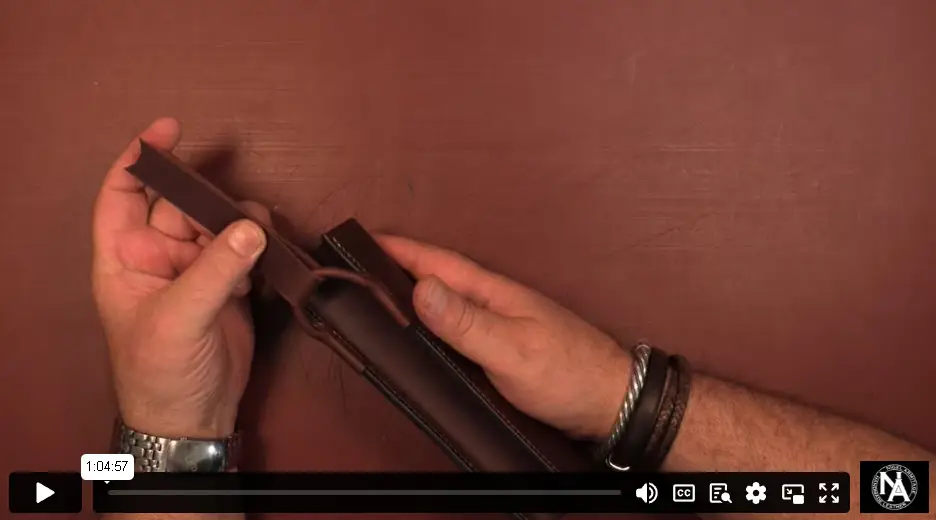
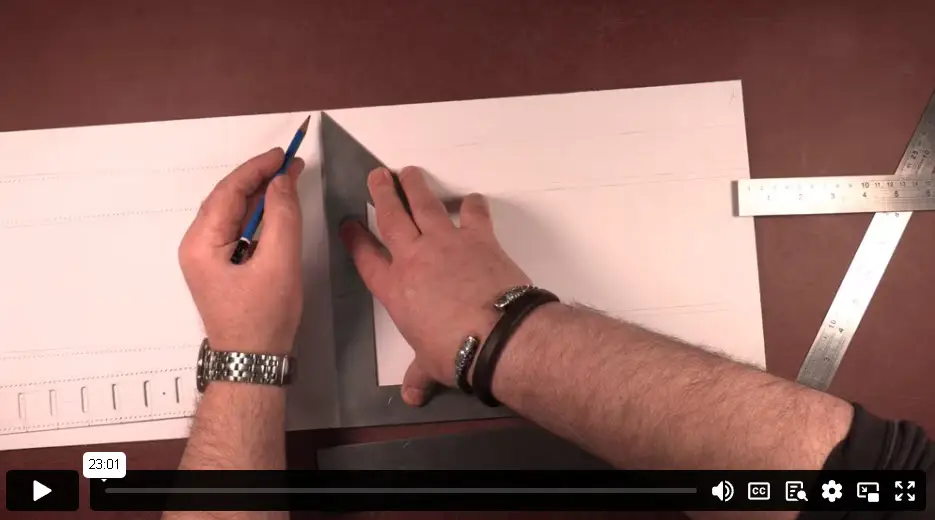
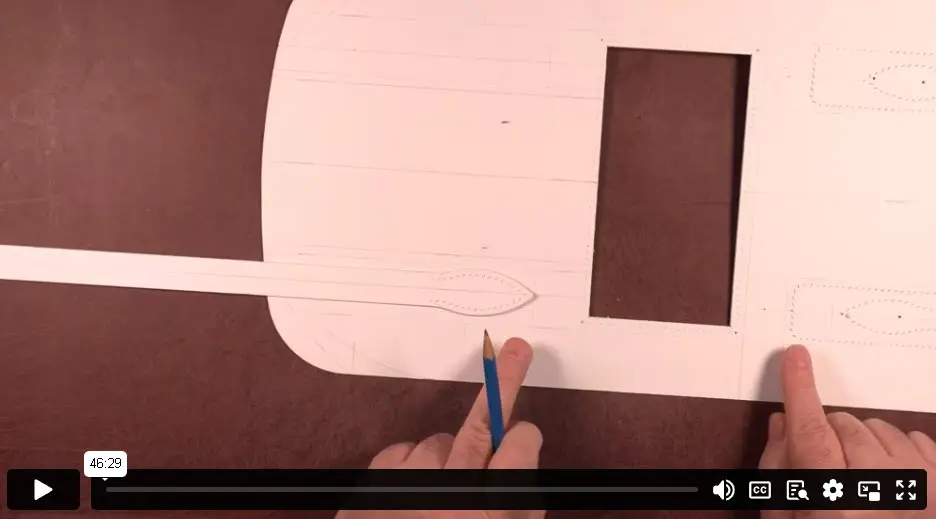
The Tool Roll Loop Strap Template Part 2
This is a huge build and very complex. As such, the template section of the build has been broken down into four parts. In this section we look at the loop that hold the tools in place inside the roll.
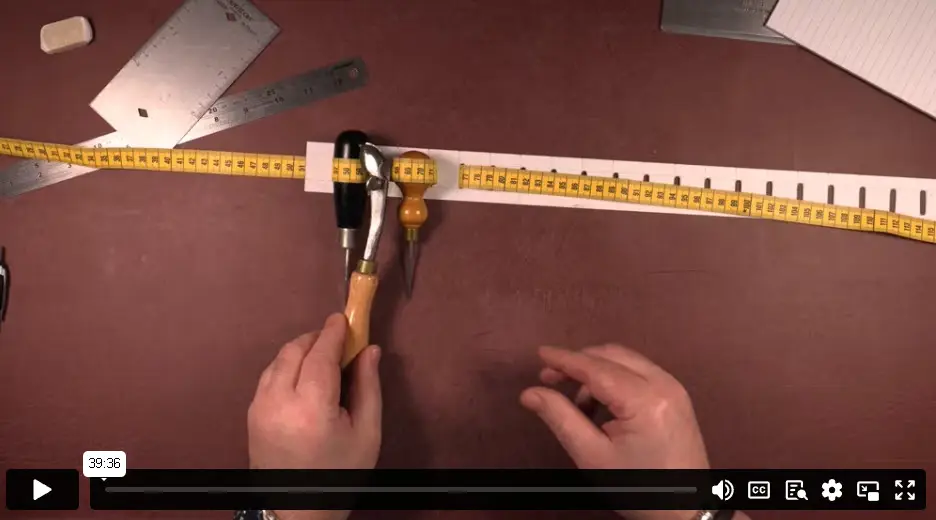
The Tool Roll Body Template Part 3
This section covers the body of the tool roll. It is this part that holds absolutely everything together. Lots of holes and marks.
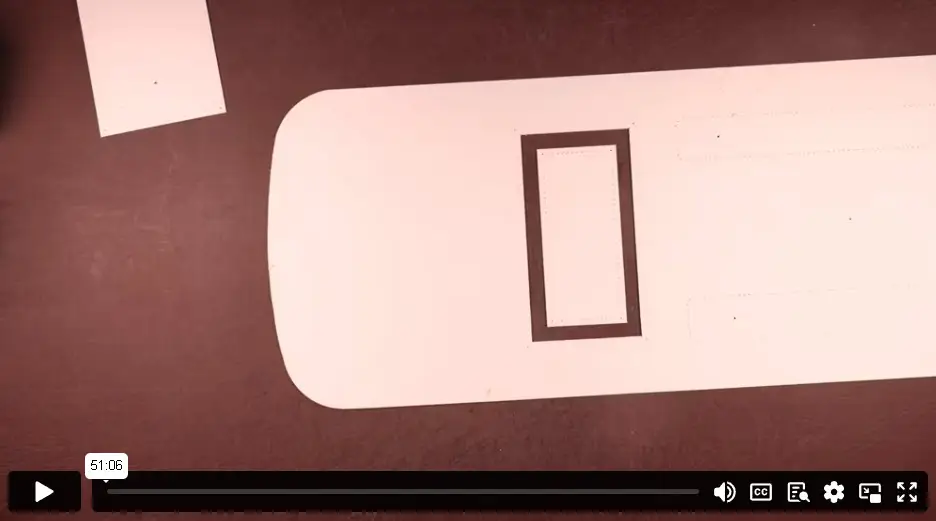
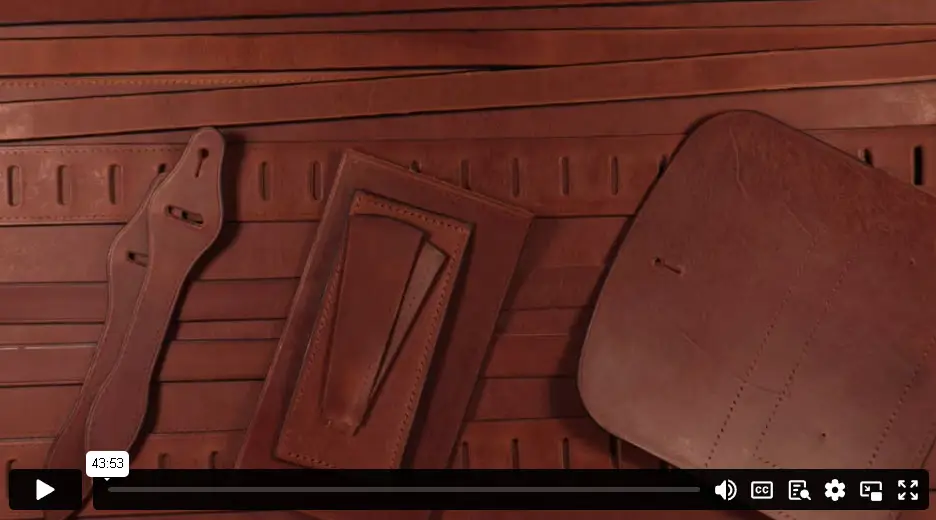
The Tool Roll Pocket Template Part 4
The pocket section is tike a small build on its own. Having a pocket in the tool roll is personal choice, if you do want it, you dont have to add it.
The Tool Roll Closure Template Part 5
Could the closure straps be simpler? of course they can. Straight straps and buckles will work just the same and still look fantastic. As always though I have made them a little unique for more presentation points.
The Tool Roll Cutting the Leather Part 6
Following on from the template making, this is the easy part, if time consuming. there are a lot of parts. Cutting and preparation however are the key elements in this build. You are realying heavily on things lining up for it to work.
The Tool Roll Dressing the Leather Part 7
Lots of creasing and dressing to be done here. Almost every edge is dressed prior to the stitching, so we take a look at different options to help things along.
The Tool Roll Preparing the Canvas Part 8
The canvas is a simple rectangle, evidently sized to suit, but simple enough. I use a machine to hem the edges, canvas does not hand stitch too well. Here we look at what you need to add to the size to hem accurately and how we deal with our corners to keep them flat.
The Tool Roll The Stitching bit Part 9
This biggest part of the build. Now we look at the order in which everything goes together, how to size our thread and how to manage thread when stitching very long runs.
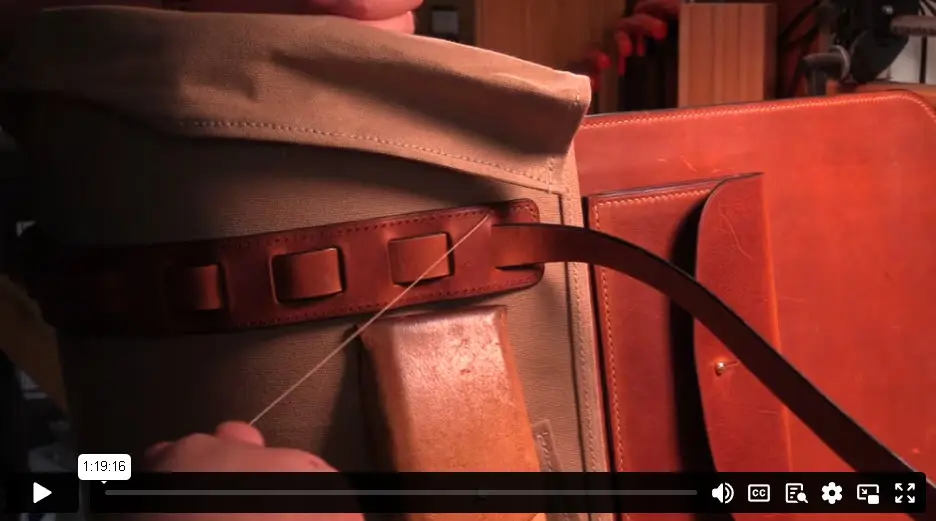
The Tool Roll The Tabs Part 10
The absence of a closure system on this roll would cause the canvas to sit oddly. We I look at designing a series of tabs that overlap to secure the canvas flaps. Here we look as stitching them into place.
The Tool Roll The Handle Part 11
This is absolutely optional. You do not need a handle if you do not want one. Equally, you can stitch a handle to the tool roll choosing one of the handles on the channel. I wanted the roll to lay flat once open, so I elected for a removable one. It is a simple strap with a wrapped section.