Below is a collection of videos which take a close look at many of the core skills used in leatherwork. The links to the videos will only work once you have subscribed. The techniques themselves are not beginner techniques but are in-fact used by leatherworkers of all levels. They are just the first ones you need to know. If you find you are struggling with a technique that is not shown here, let me know, I will add it. Whilst the videos can be viewed in any order, it is advised, especially if you are just starting out, to watch them in the order they appear here.
The channel is updated with a new video every two weeks, this could be in any of the three sections. If a video is in the Intermediate or Advanced section, you will be notified, but not have access to it. However, many new Beginner videos are planned for future uploads and these you will have access to.
£9.99
Skills and Techniques
Tool Maintenance and Use
Beginners Tool Set
We look at a reasonable starter, cost-effective tool set when starting out on your journey into leathercraft.
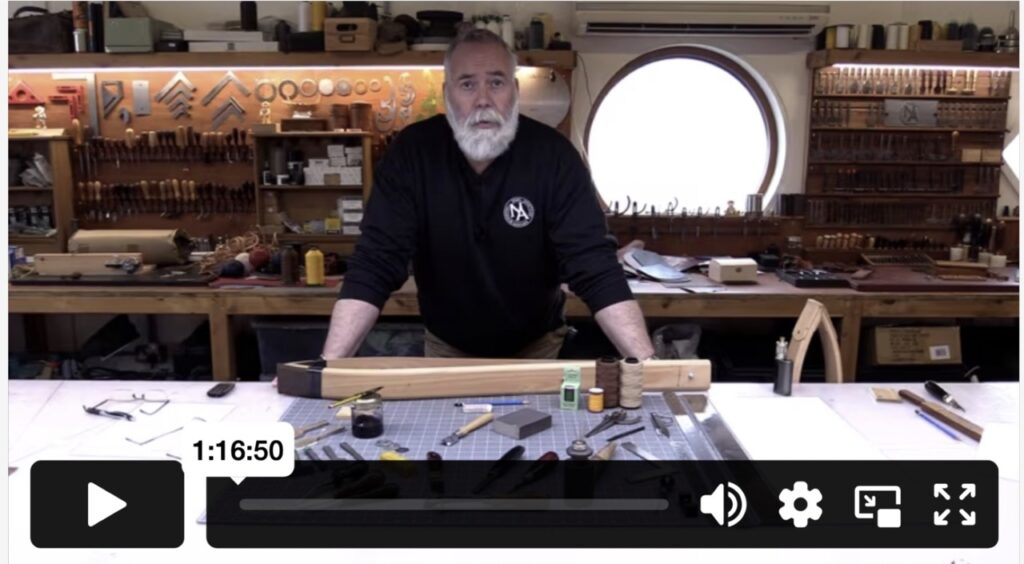
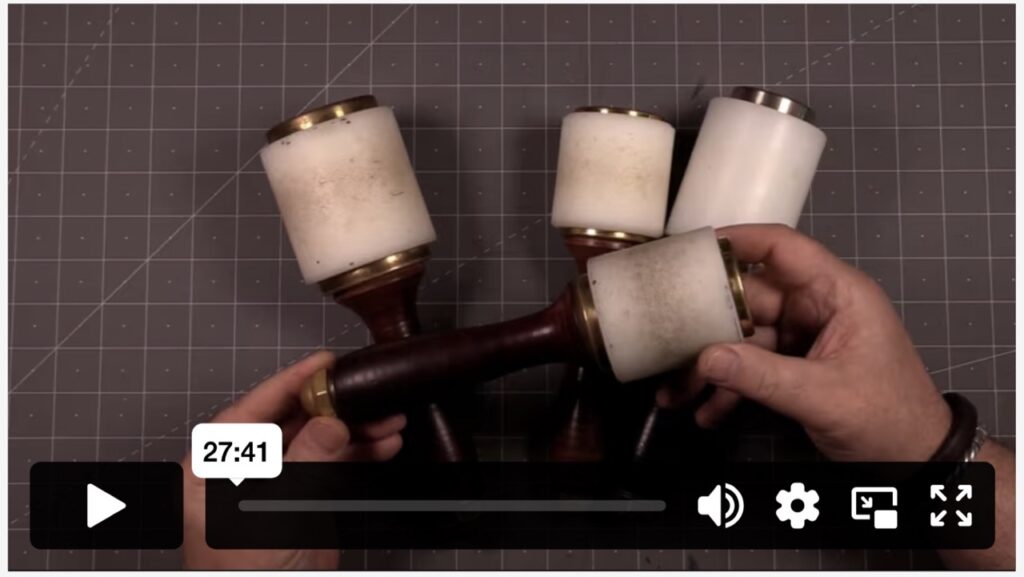
Hammers and Mauls
Hammer, Maul? which to choose?? We look at options, price points and the best tool to suit you.
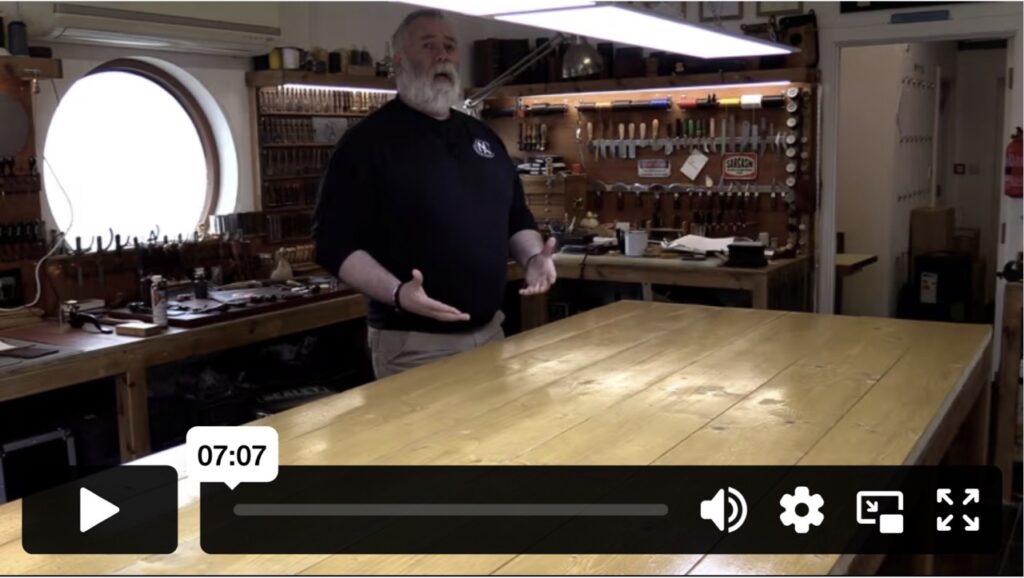
Finding your Perfect Bench Height
Working at a bench that is at the incorrect height can impact your work, particularly cutting. If you have the facility to make a bench or adjust an existing one, we look at finding the right height for you.
Many use a pony rather than a clam, but if you do have a clam, this is a good way to attach it to your bench for stitching smaller items.
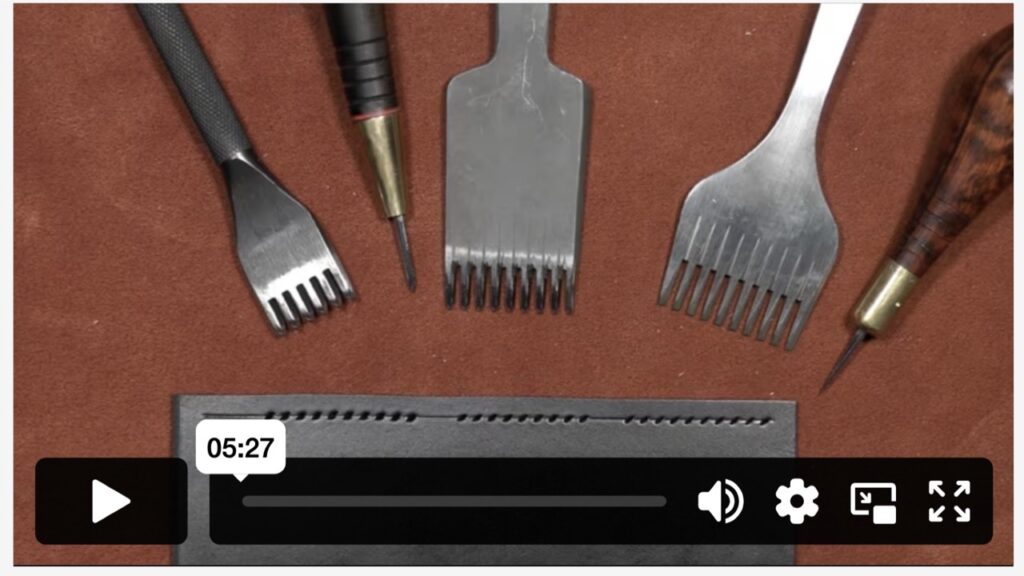
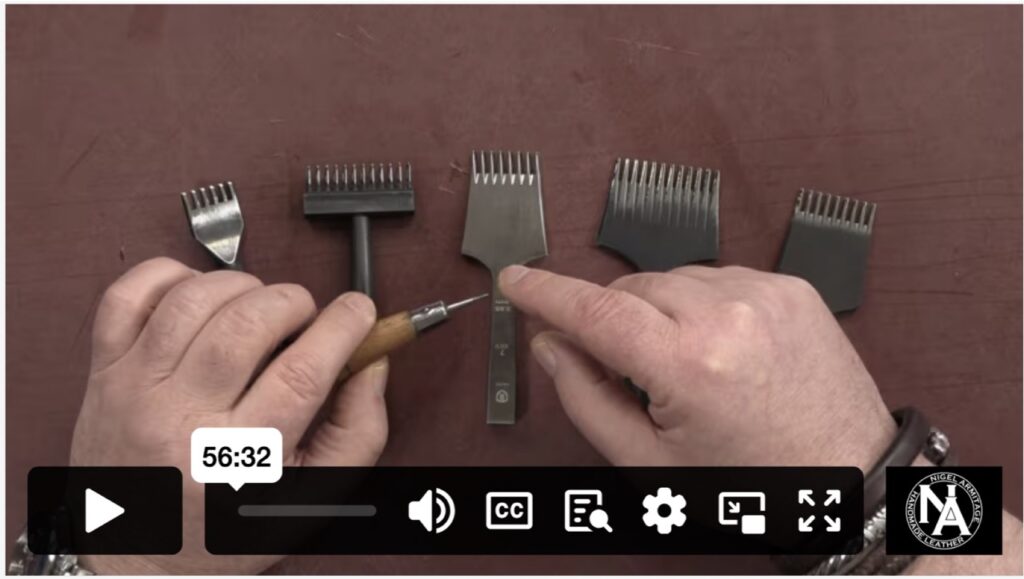
Different types of Irons
Which irons will suit you best and strengthen your style of stitching? Here we look at the types of irons currently available and how they work. I am aware of a sound issue on this video, it will be re-shot soon.
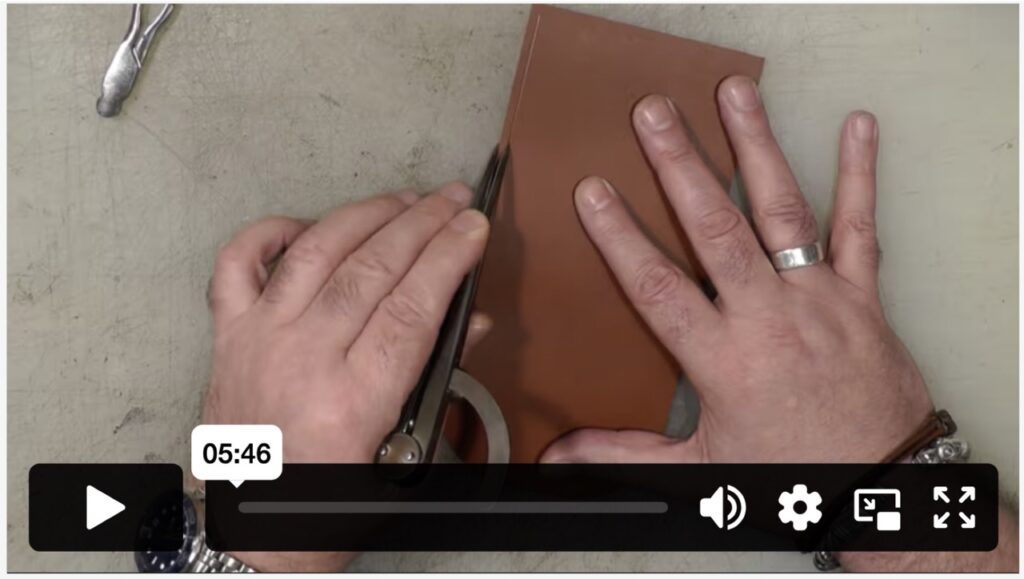
Using Dividers
A simple enough tool to use, but we can still use it incorrectly. Here we not only look at how you use the dividers correctly, but why we do so and what to expect from them.
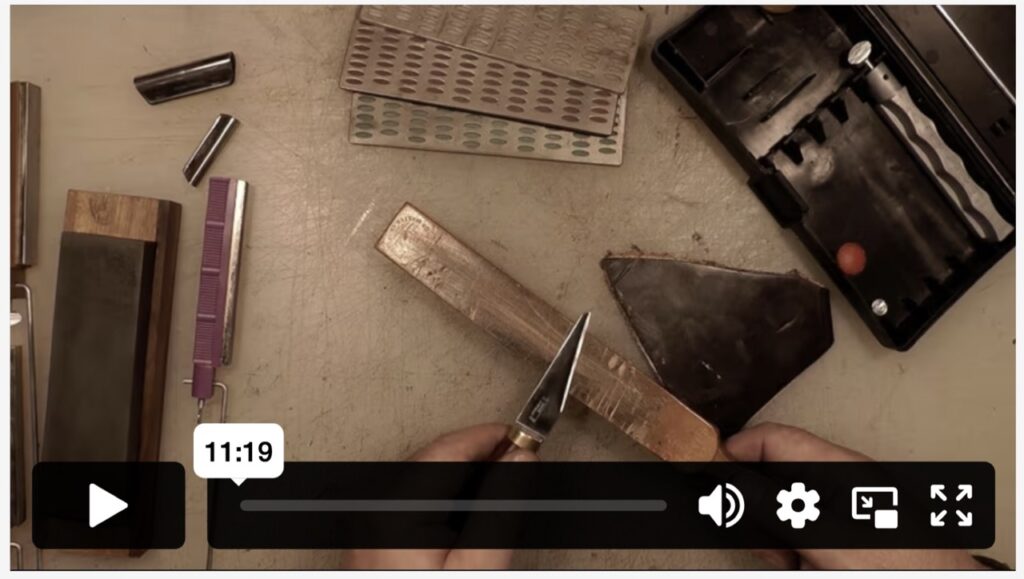
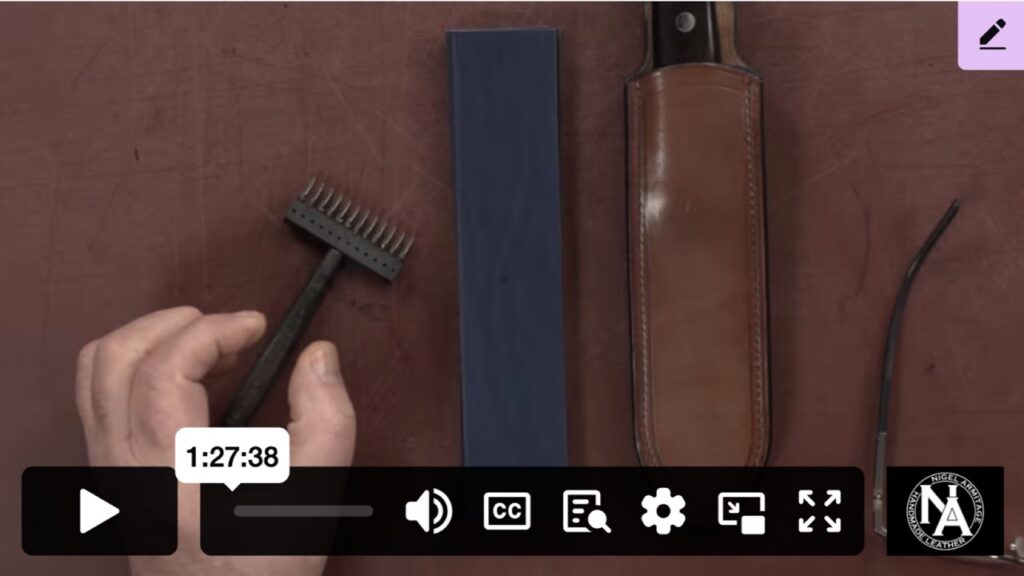
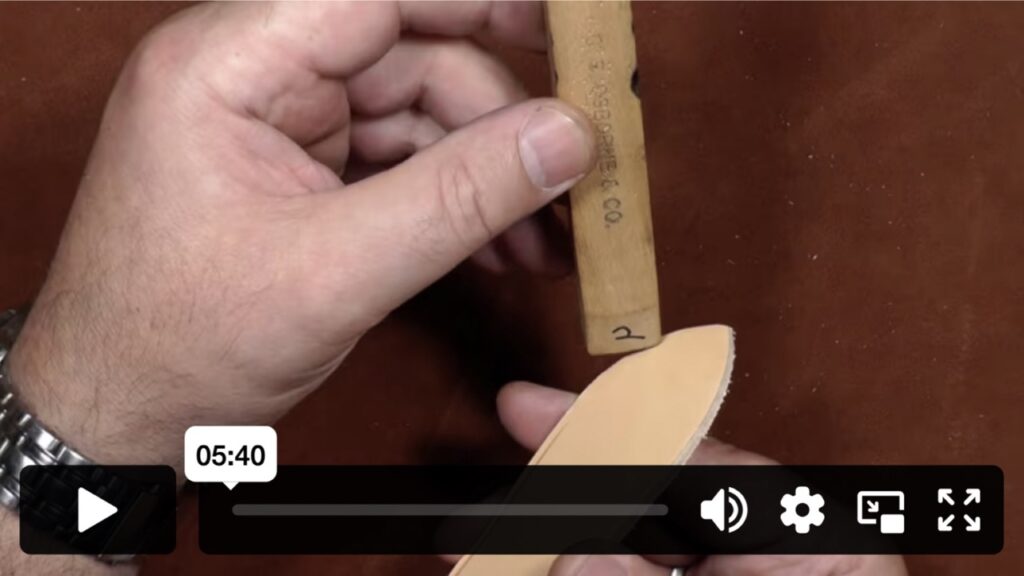
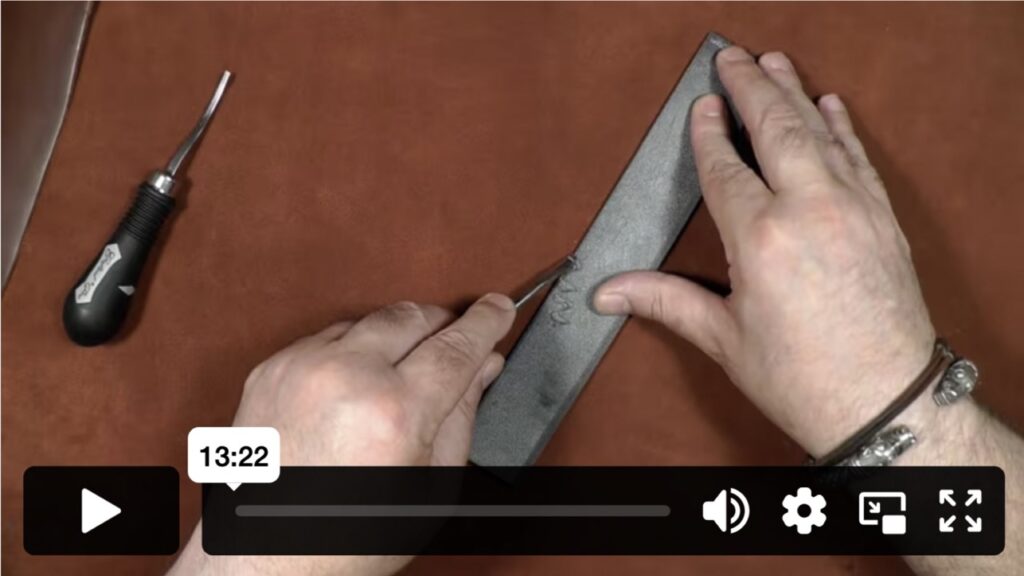
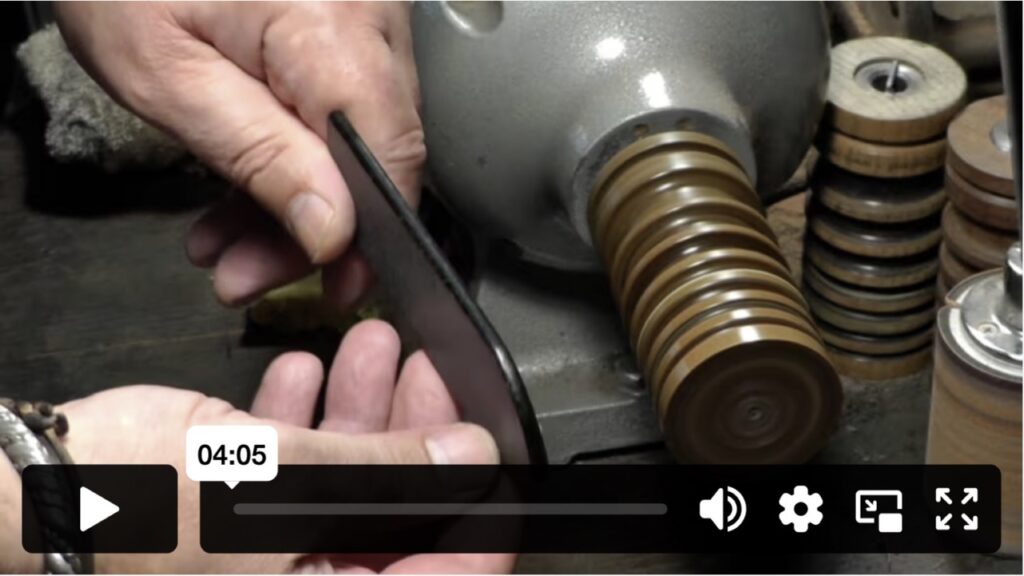
Sharpening a Knife
A good knife is a vital piece of equipment, a good blunt knife is of no use to anyone through. We look at how to keep your knife sharp and stropped to a razors edge.
Issues with Dividers
Very often, when we get a set of dividers, they don’t do the job we want them to do. Here, we look at the issue of the points not being close enough and how to fix it.
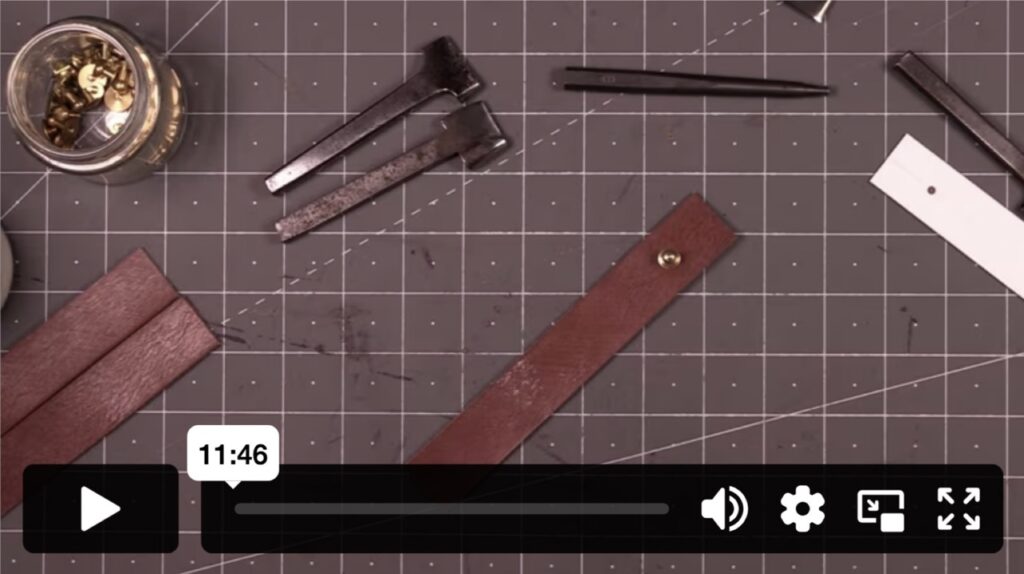
Setting Saddlers Rivets
How many times have you seen someone using a hammer to set copper rivets? Ever wondered how to achieve that perfect dome? Here we look at using the right tool to do just that.
Setting a Sam Browne Stud
Ever got the slot for a Sam Browne stud up the wrong way? Lost a stud or made the hole too large? Let’s fix all of those issues now.
Making a Tool Rack
After so many requests on how I make my tool racks, it just had to be a video. Here we look at sizing the loops and adding them to a backboard to really show off those tools.
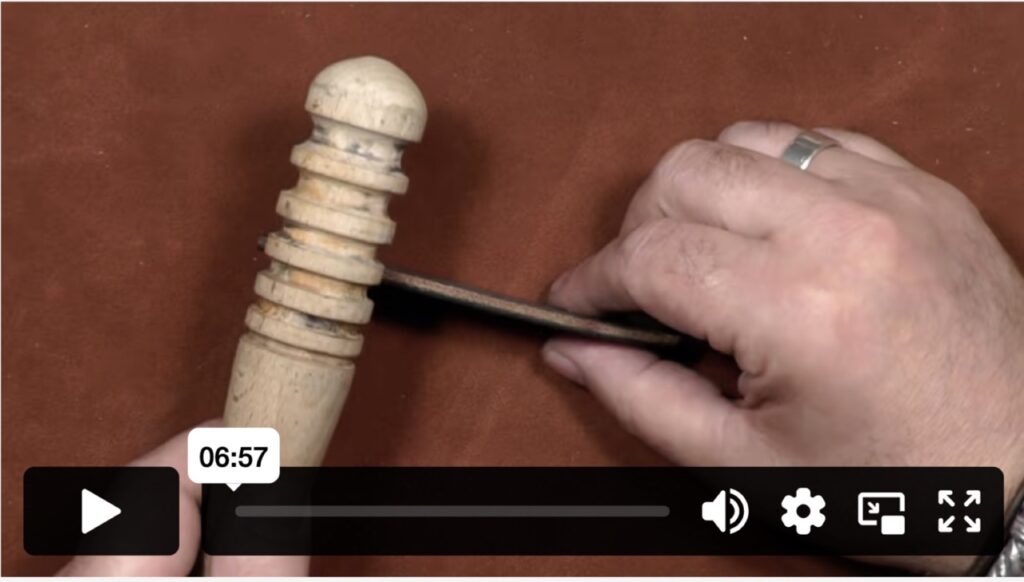
Right Place for a Groover
The stitch groover has become overused in recent years and the rational behind its use is not a sound one. There is a place for a grove, or ‘race’ in leatherwork, but it is often being demonstrated incorrectly. This is not a good tool to use unless you understand when and why.
Design and Template Making
Template Making Introduction
I will be putting a greater focus on Template Making over the coming months. This series will go into a lot of detail in what is an essential core skill.
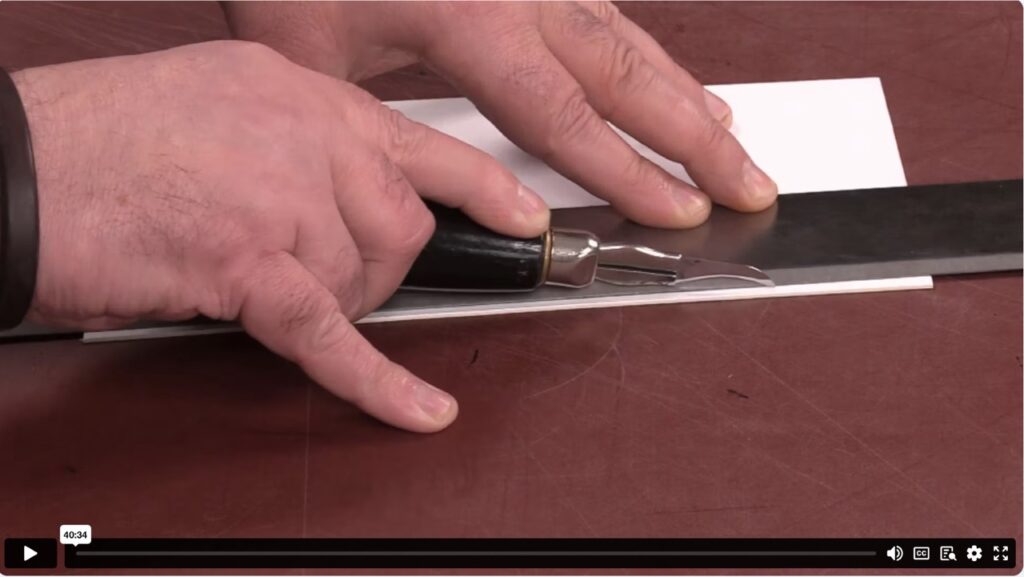
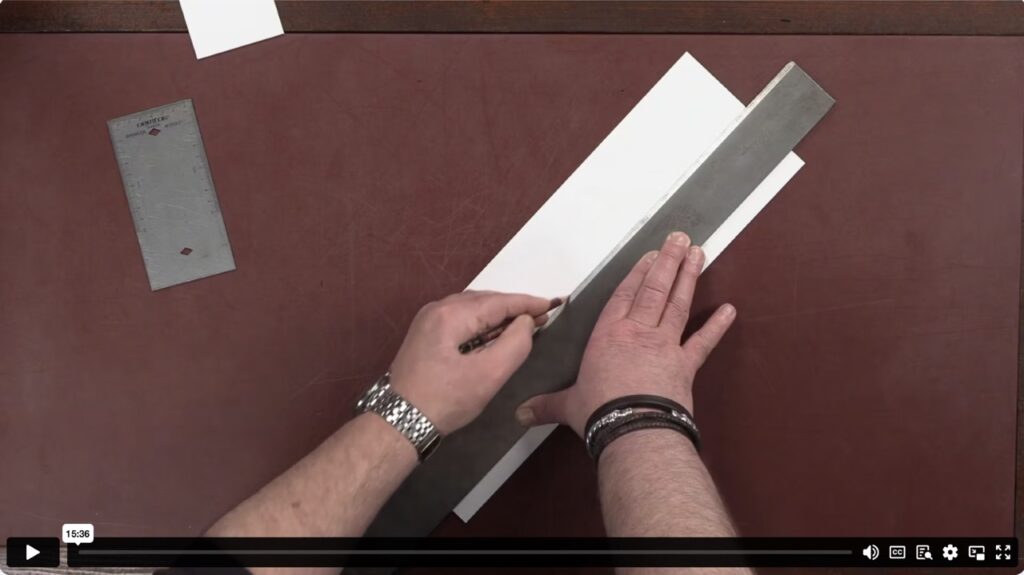
Template Making Cutting a Straight Line
When was the last time we were taught to cut? It is not something we give enough thought to. In this video, we look at that skill and how in changing our approach, we can save much frustration and money.
Template Making Cutting Curves
It is fair to say that if we are not cutting in a straight line, we are cutting curves. Here we look at using simple forms to cut round curves for our corners.
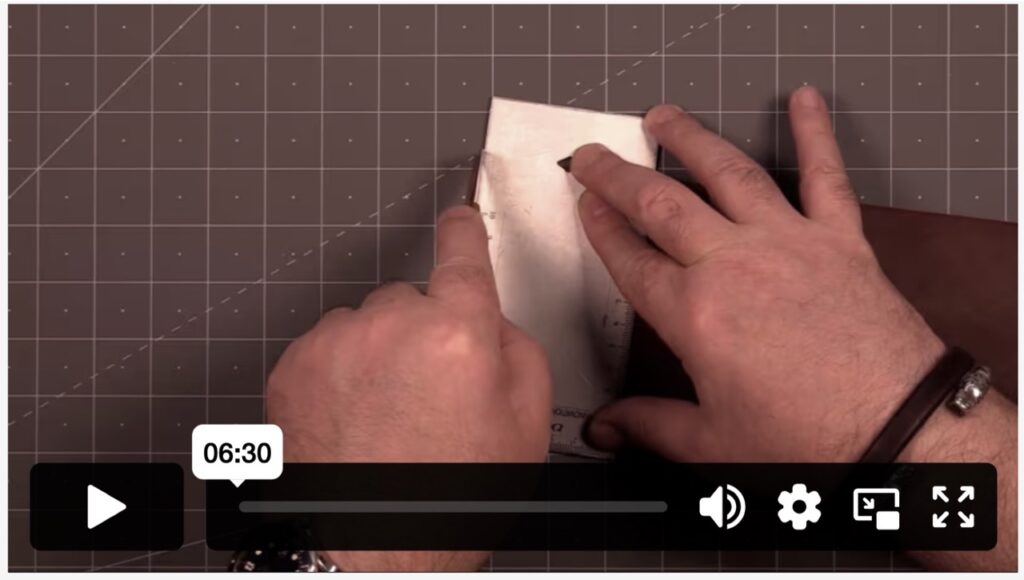
Template Making Adding a Centre Line
Without doubt, THE most important line you will add to your template. Adding it correctly will not only assist you with all the other information needed, it will also confirm that your template has been cut correctly.
Simple Pattern Making
A very basic insight into a simple pattern and how to make it if you are looking to get started on making your own.
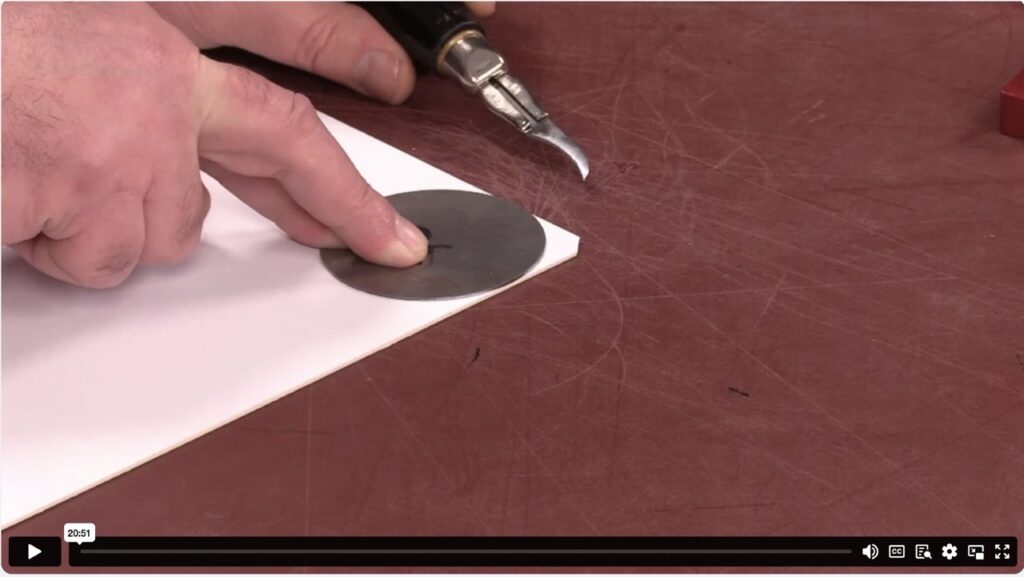
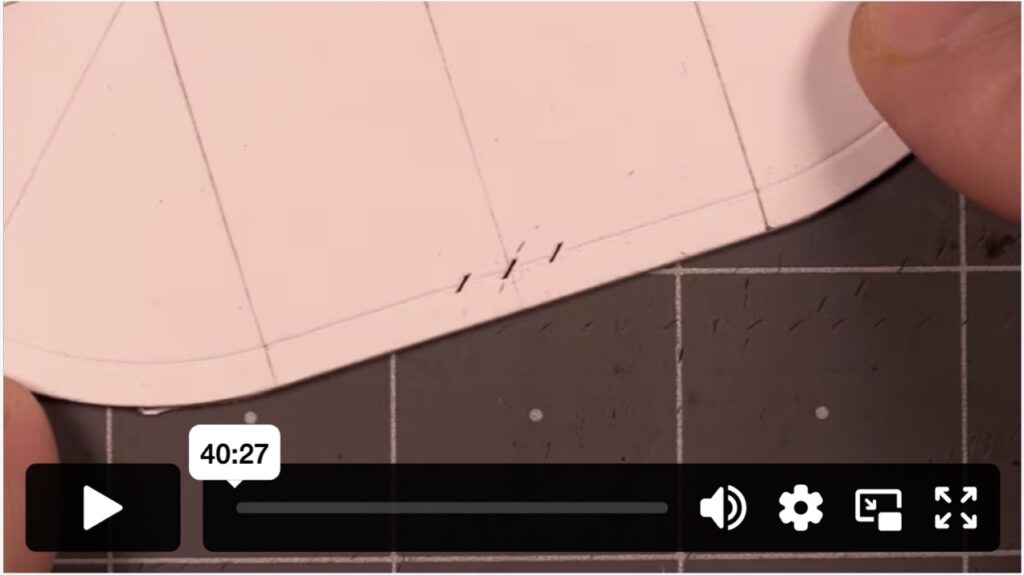
Making Holes Central
How often have we eyed the tool into place to make a hole, only to find it off centre? Let’s take a look at a simple technique to make all of your holes line up with the centre perfectly.
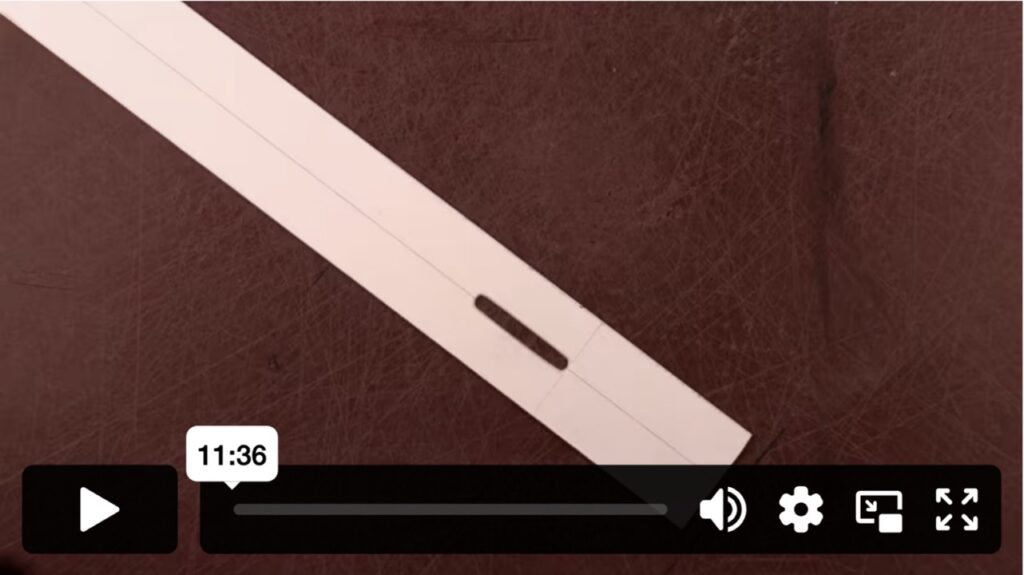
Strap End Punch
Getting off centre points when using a strap end punch? In this video, we take a look at the use of the tool and how to correctly line it up.
Crew Punch
In this video, we look at what size of punch to use and when, Also how to line it up to ensure a central position every time.
Cutting Leather
Cutting Leather
A slip of the knife here can be costly Approaching cutting the right way will not only save you time, it will save you money and ensure your items look good.
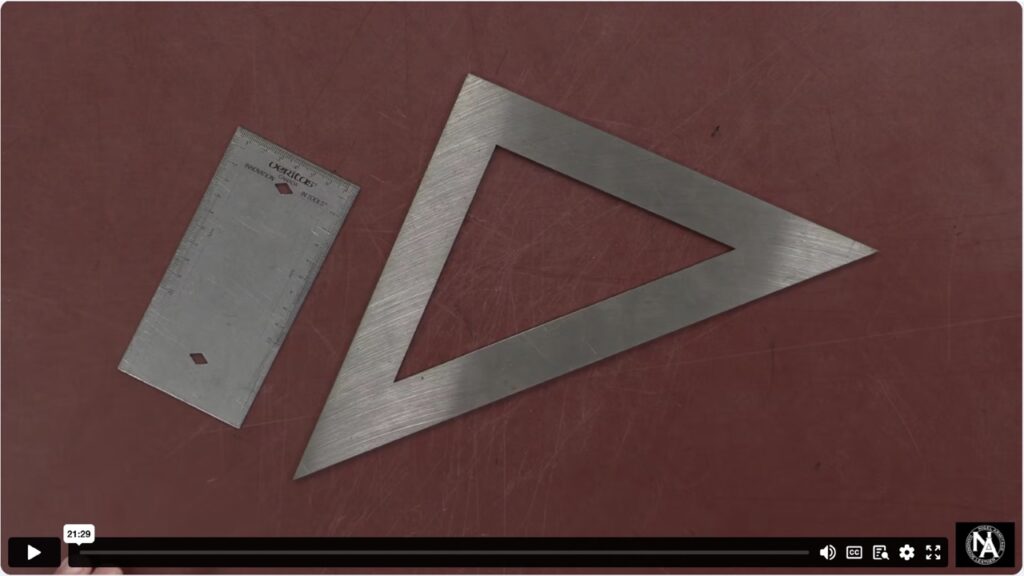
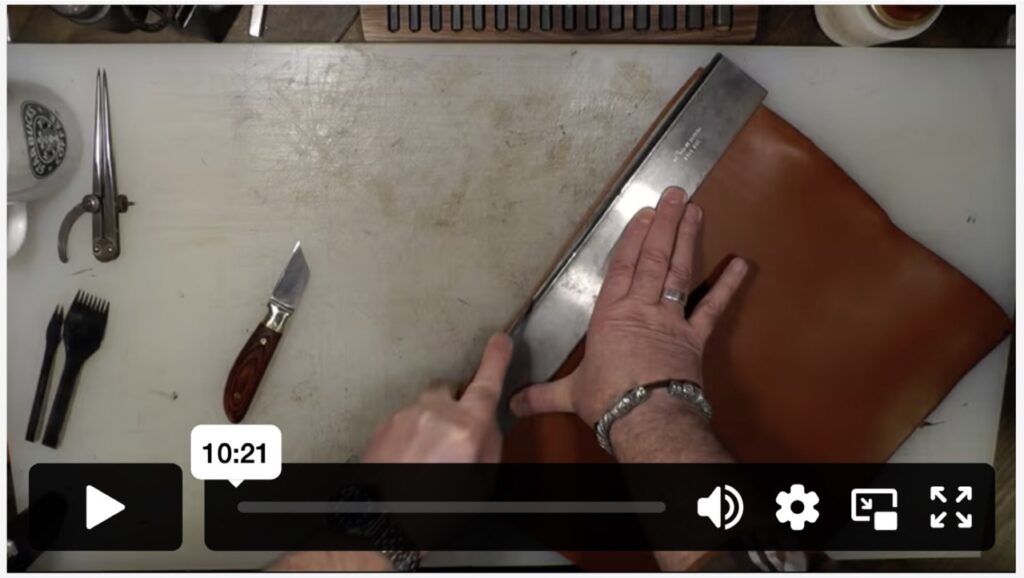
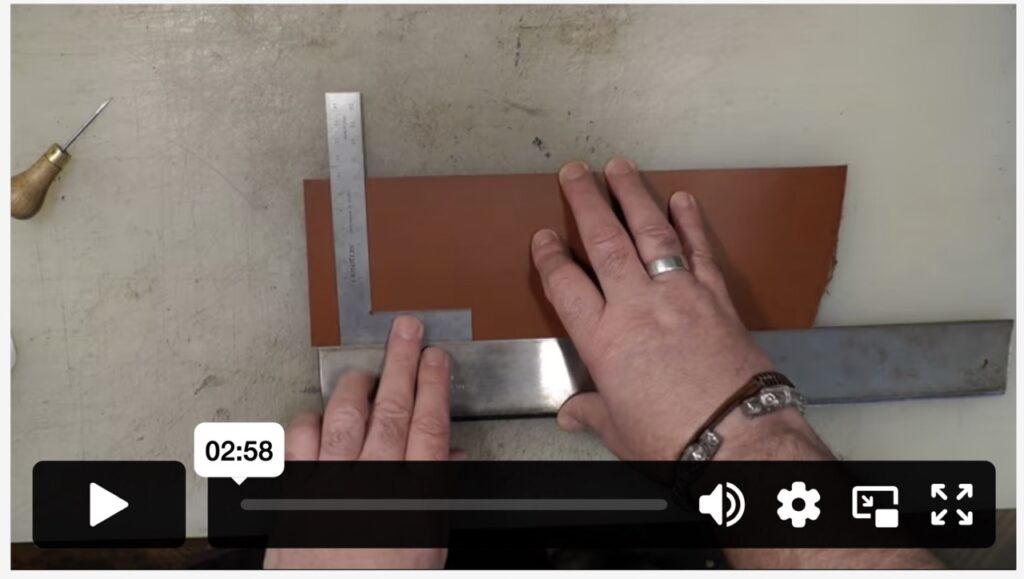
Cutting a Right Angle
Getting a perfect right angle is important, especially if you are dealing with multiple pieces. Here we look at a simple tip to ensure you get it right every time.
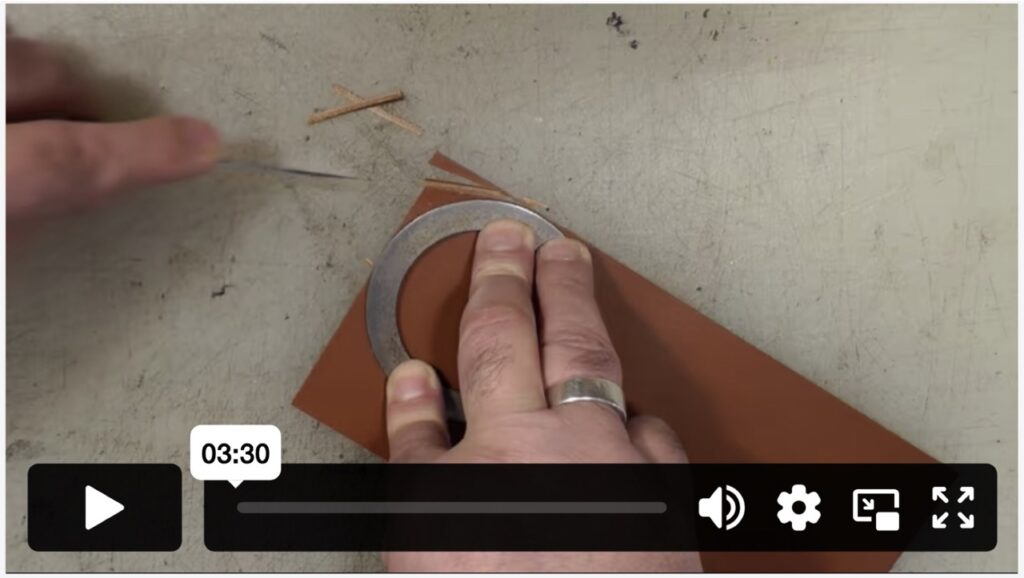
Cutting a Corner
One of the harder cuts to achieve, to the point that we some times avoid curves and corners. This technique should help you get around this problem.
Removing that nasty kick when Cutting
Power is not your friend when cutting, especially when it begins to move the leather. Here we look at using a technique to transfer the power of the knife to a different part of the leather first.
Stitch Marking and Stitching
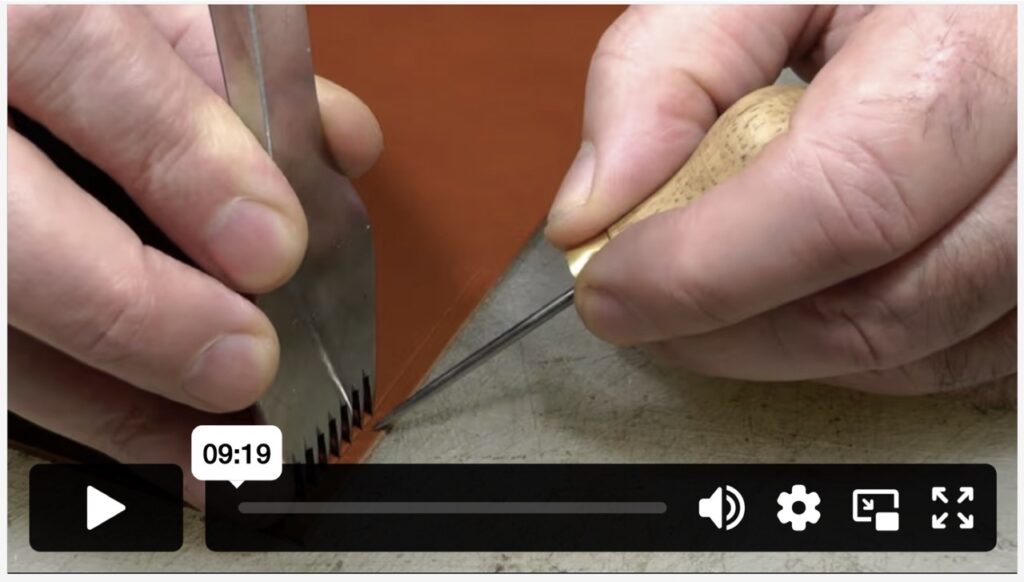
Placing Irons Correctly
Placement of your irons can dictate how your stitching looks. After all, stitching can make or break an item. Here we look at how to correctly place the irons onto the leather to get the best from them.
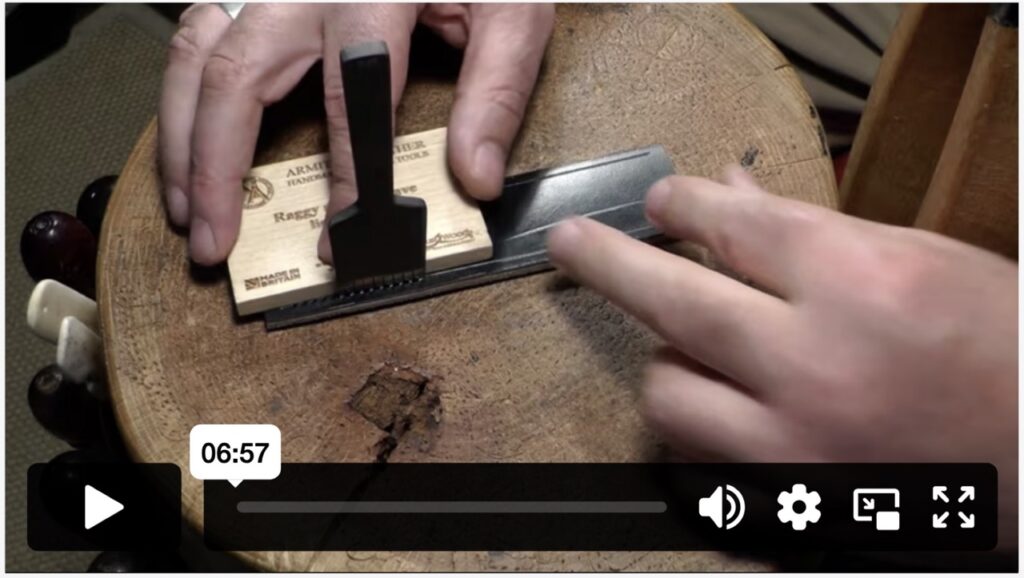
Using a Pulling Block
It’s surprising how much damage we can do to the leather by pulling the irons out of it. Especially the newer ones. Using a pulling block, stresses the leather less which leaves a far better finish.
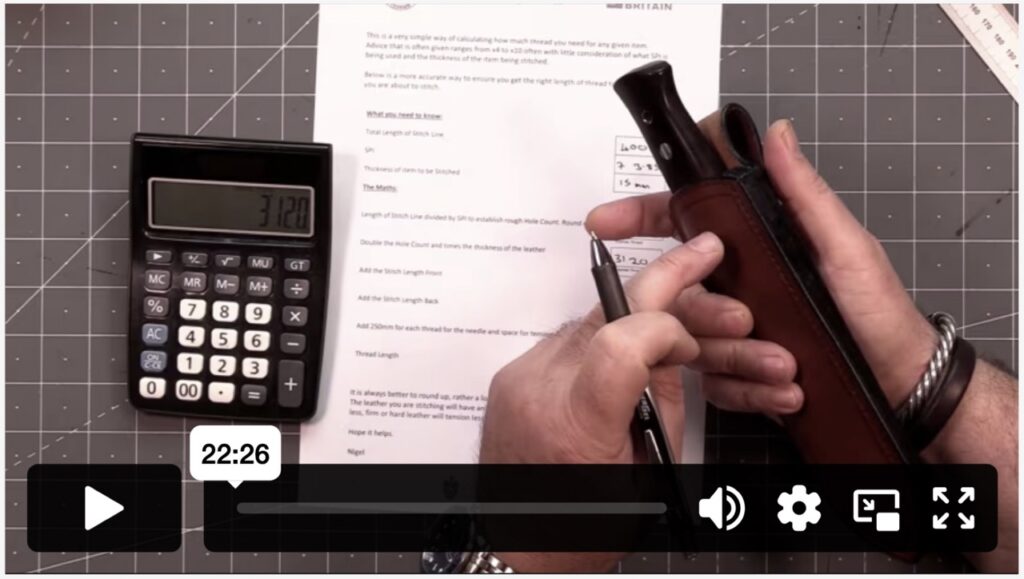
Calculating Thread Length
This is the video of the original way of calculating thread length. It is worth noting that this has now become an app available from Apple and Play. Just search ‘Thread Length Calculator’
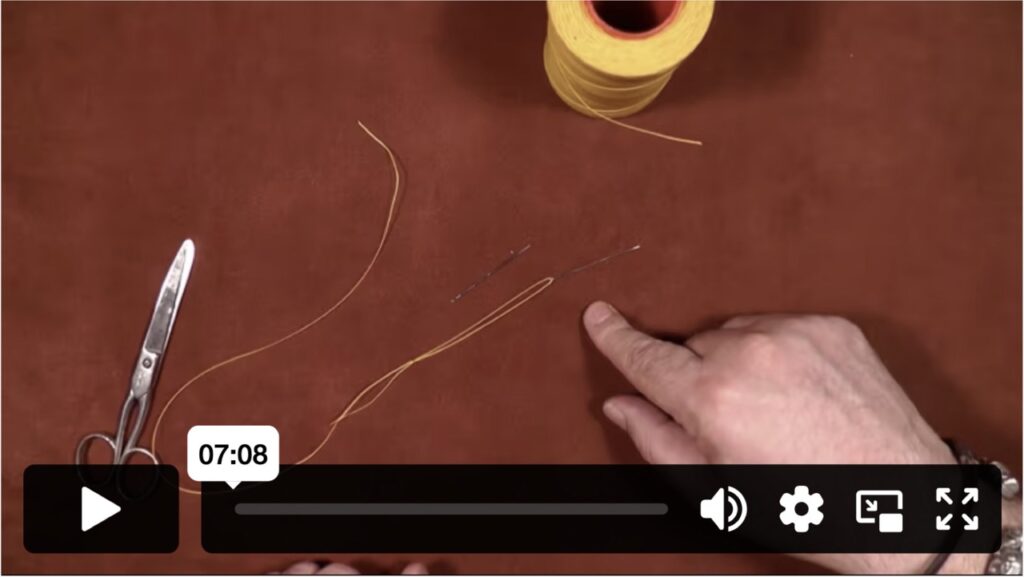
Threading a Needle
Seems simple enough, right!? However, threading a needle incorrectly can work against you making stitching harder.
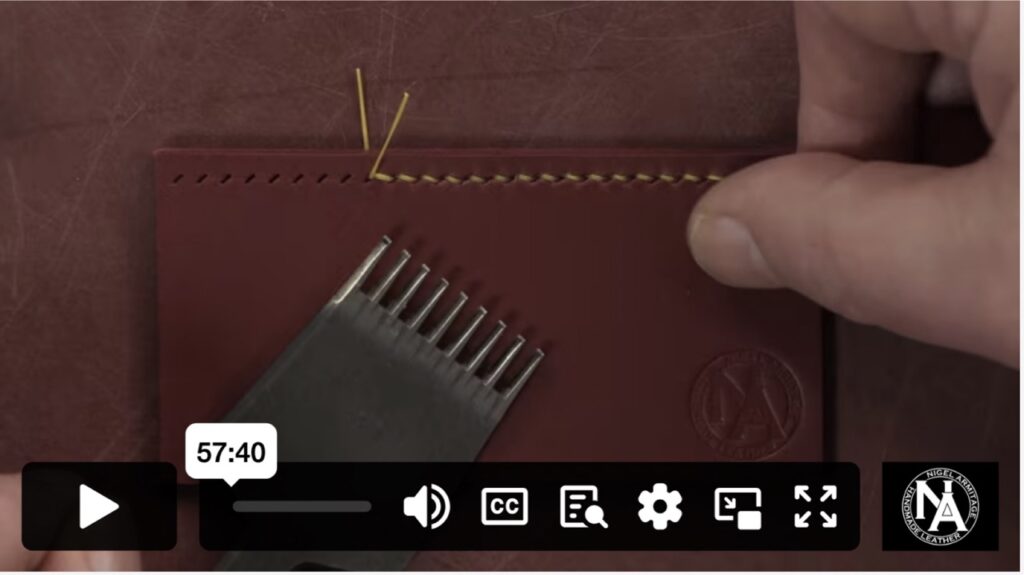
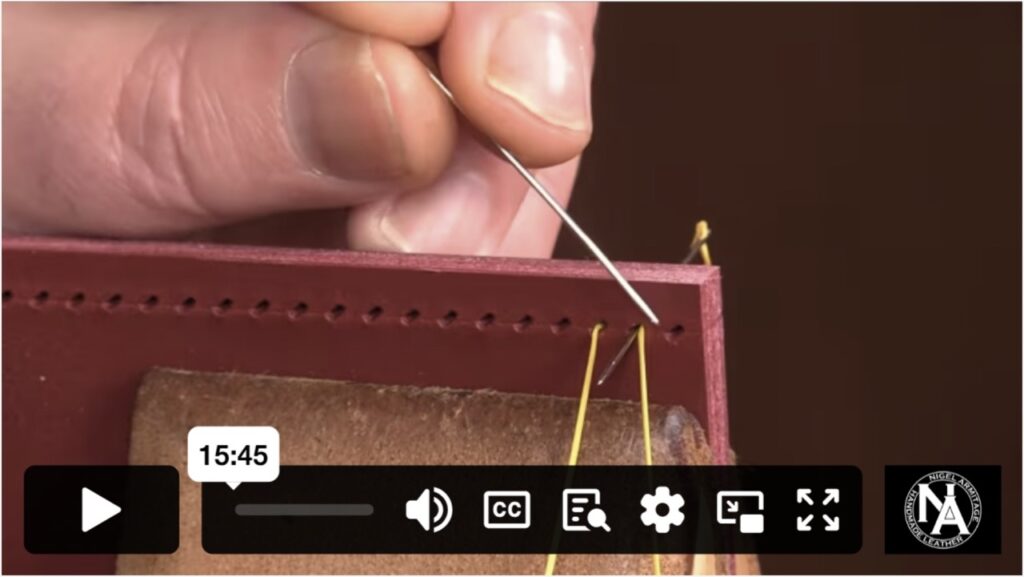
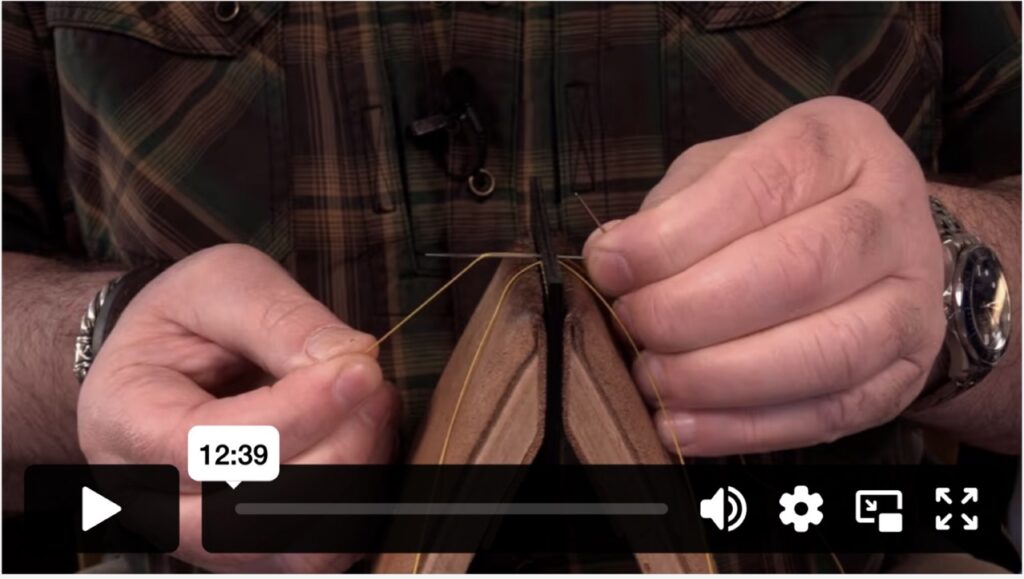
Modern Saddle Stitch Part 1
This is the core style of stitching in the modern style. It is still the Saddle Stitch, but we are using the modern irons that fully penetrate the leather. This reduces the need for an awl.
Updated Feb 2024
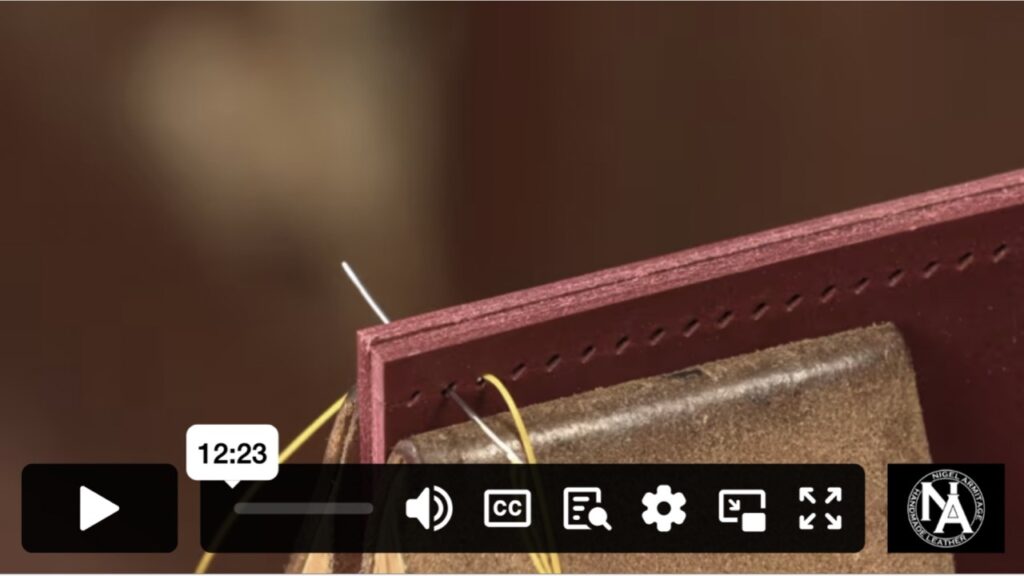
Modern Saddle Stitch Part 2
The series continues on with Part 2, this series on stitching is 4 1/2 hours so is broken down into sections. Watch them all! The series on stitching has recently been updated as my pre-pricking style has developed over the years.
Updated Feb 2024
Modern Saddle Stitch Part 3
Following my style of stitching, you will find that you are able to stitch in any direction, ideal when you get to larger or more complex builds where moving the item around in the clam is not an option.
Updated Feb 2024
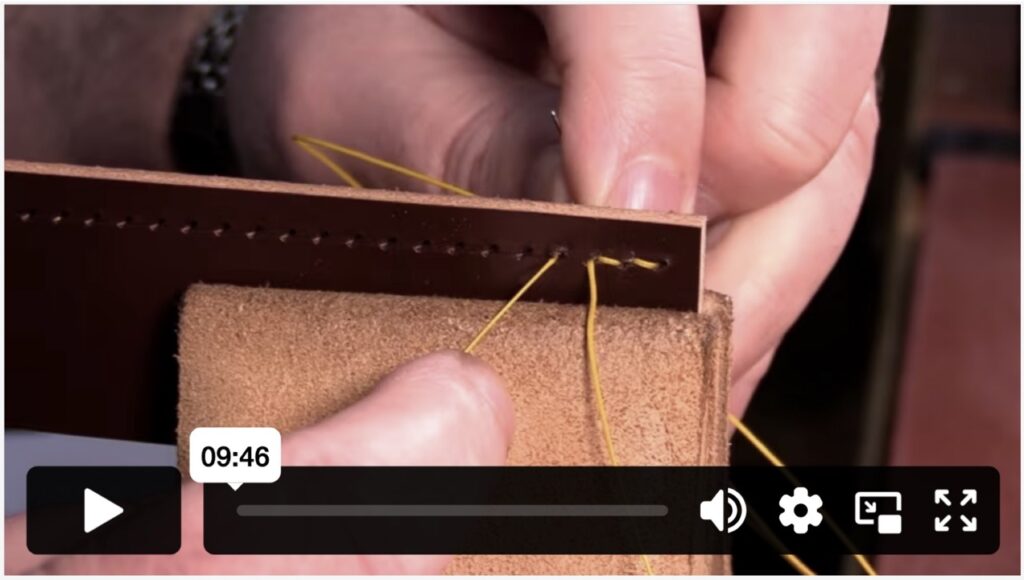
Modern Saddle Stitch Part 4
Just one of the many applications of stitching but one that many find problematic. There are even some who resort to drilling the holes. That appalling action is not necessary. Here, we get introduced to the ‘soft awl’, An excellent tool to help with multiple layers.
Updated Feb 2024
Back Stitching Right Handed
Beginning and ending your row of stitching can make or break the look of your stitching. Here we take a look at how to correctly apply your backstitches to both the beginning and end. This video is for Right Handed Stitchers.
Updated Jan 2024
Back Stitching Left Handed
Beginning and ending your row of stitching can make or break the look of your stitching. Here we take a look at how to correctly apply your backstitches to both the beginning and end. This video is for Left Handed Stitchers.
Updated Jan 2024
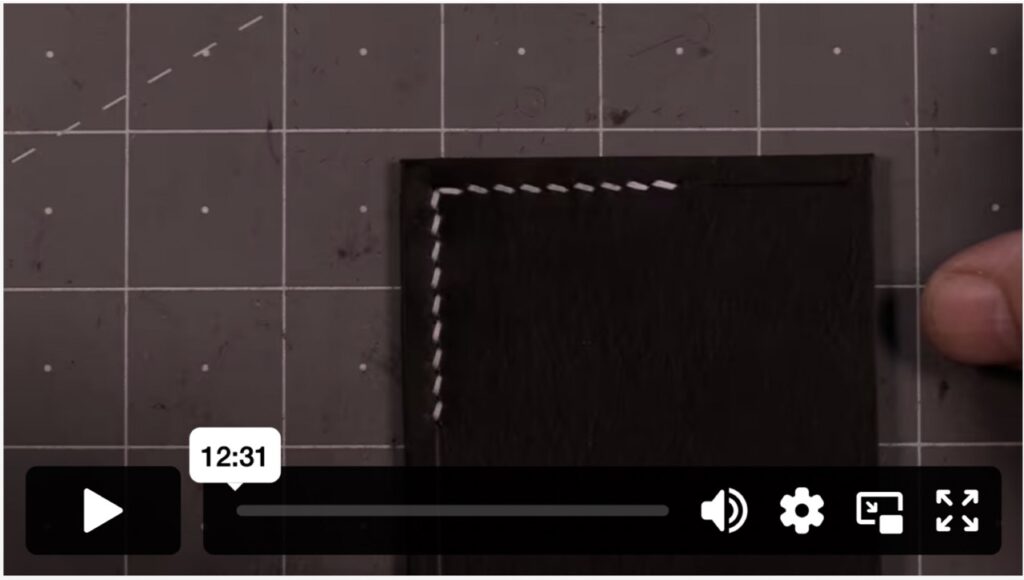
Why I have round holes at my corners
Stitching a corner seems simple enough… however, placement of our irons can affect how the corner looks. I use a round hole in corners so we take a look at why and how to apply it to your work.
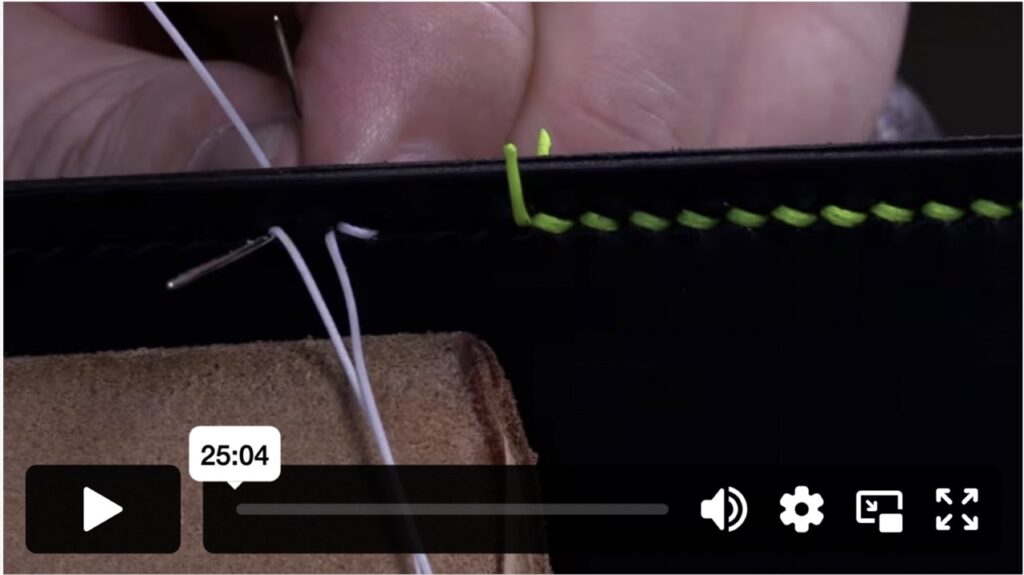
Thread Tension when Stitching
This is another technique that can make or break our stitching. Not enough tension and our stitching is baggy and loose. Too much tension and our stitch sinks or worse still, we damage the leather!
Messy Stitch Holes
Find your leather looks tatty after you have finished stitching? It could be that you are catching your holes as you stitch. Avoiding this is the best way to resolve the issue, but if you do catch your hole, this technique will help.
Dealing with Uneven Holes
Where we stitch and how we apply our holes is as important as the stitching itself. Here, we look at how to ensure your holes are symmetrical before we even get to the leather and avoid uneven holes.
Piercing the Thread and how to Fix it.
Piercing our thread is one of the biggest causes of frustration. It slows us down, work has to be undone and it can damage our thread. This is a very simple process to add to your technique to prevent this frustration.
Edge Dressing
Cold Creasing
Adding a Crease to the edge of the leather will protect it from water damage and staining by compressing the fibres. In addition to this, it is a lovely level of detail to smarten the edge. This is ideal for the softer leathers like shoulder.
Wood Creasing
Very similar to cold creasing as no heat is applied to the tool itself. However, with wood creasers, they do generate heat which then transfers to the leather. It is not a perfect solution for bridle, but will work.
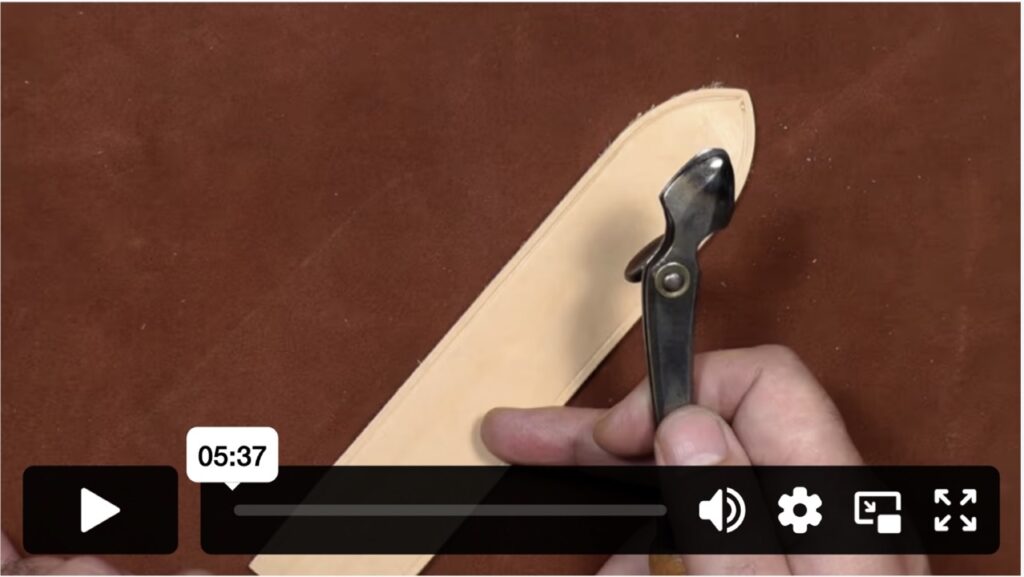
Edge Beveling
Here we look at how a beveler or edger works and how to apply it to your leather to ensure a clean cut every time. A good bevel will ensure a clean edge, especially if dressing the edge with edge dye or ink.
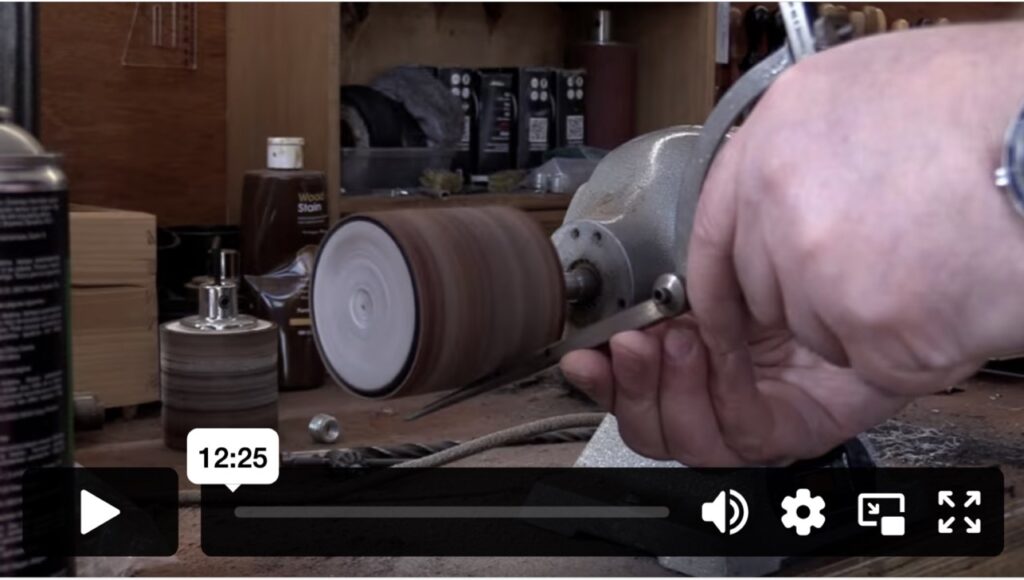
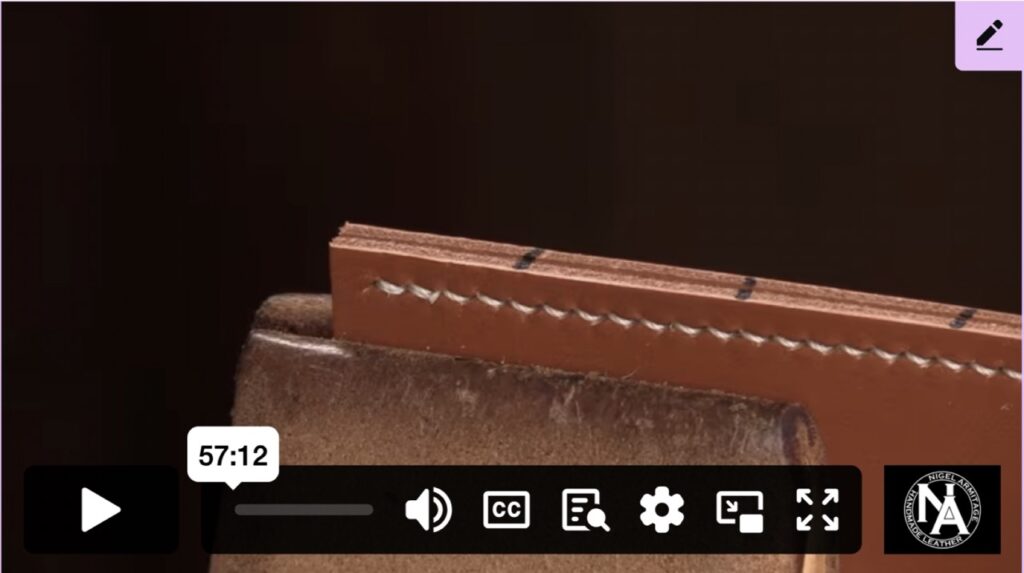
Burnishing
A step on from slicking, here we look at burnishing. The principle is the same, except when using a powered burnisher, the process is quicker, but more heat can be applied giving a slicker smoother finish, faster.
Slicking
A dressed edge can finish your item, making it look professionally made raising the bar of your making.
Edge Kote
Applying edge paint, kote or dyes to leather each have their own techniques and issues. Here we look at applying Edge Quote in such a way that it will never peel away from the leather.
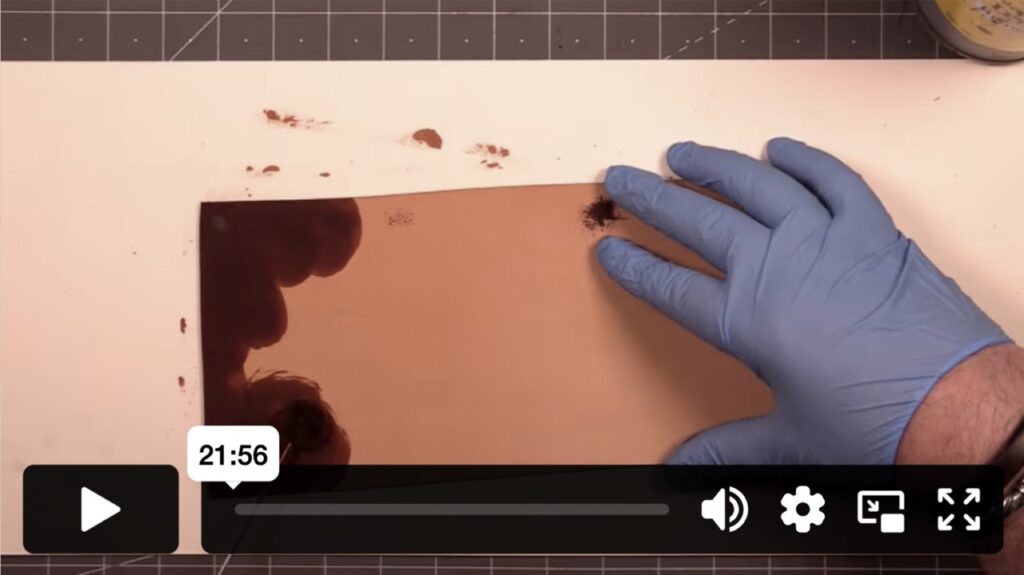
How to edge Chrome
Chrome is a harder leather to edge if you are looking to use Edge Kote. It is more resistant to slicking thereby making it harder to get a smooth edge. Here we look at building up the Kote in such a way that it can be slicked.
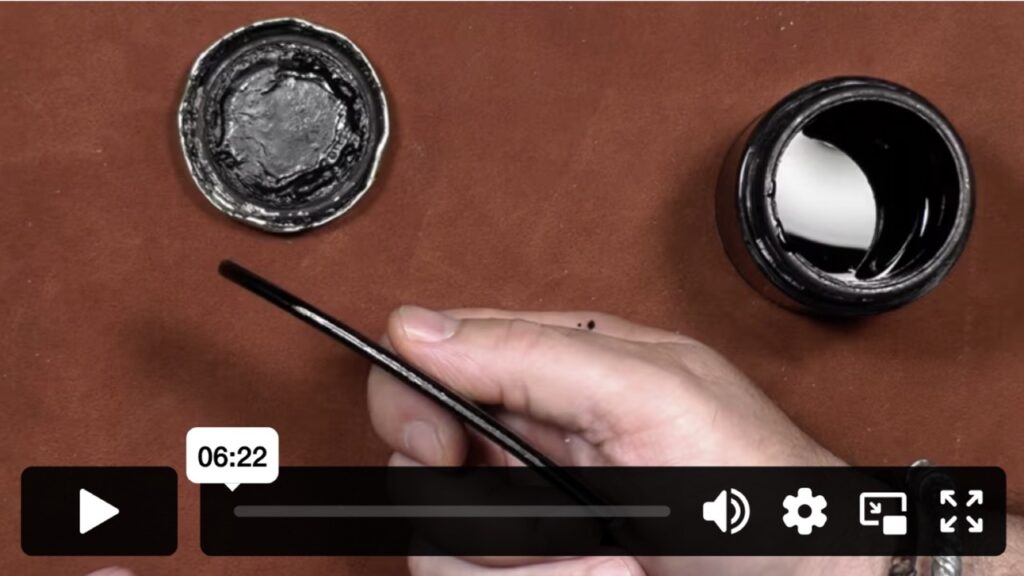
Dyeing Leather
Dyeing leather is often hurried and can leave an uneven finish. In this video, we take a look at a more reliable way to achieve a far more consistent and resistant finish.
Short Projects
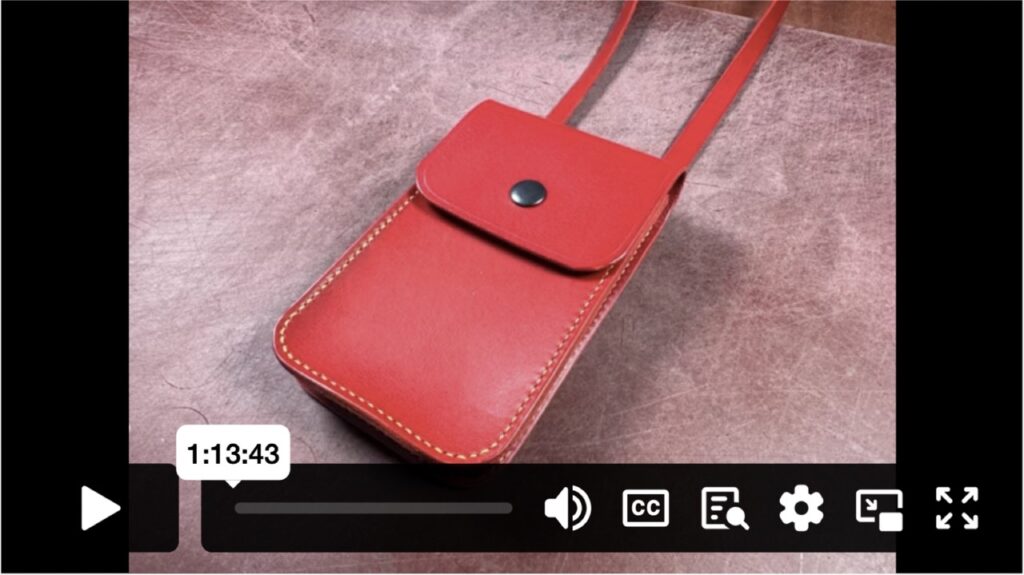
Phone Pouch Template
Part 1 of 2 This is a simple build using a minimal tool set. It is rich in techniques and skills, all of which are transferable to other projects. In this video, we look at how to create a template.
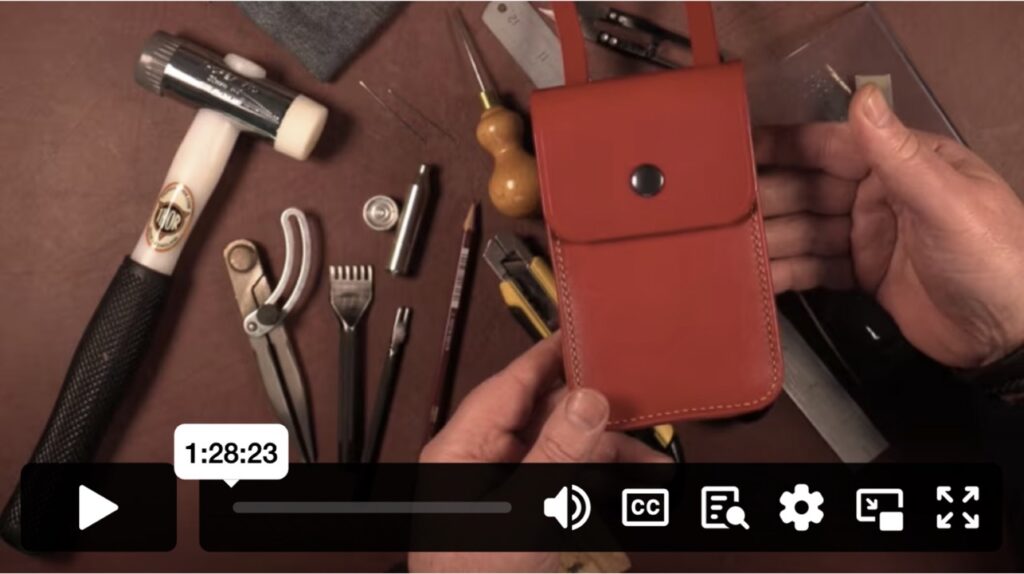
Phone Pouch Leather
Part 2 of 2 In this video, we used the template to create our leather pieces and examine how it is put together.
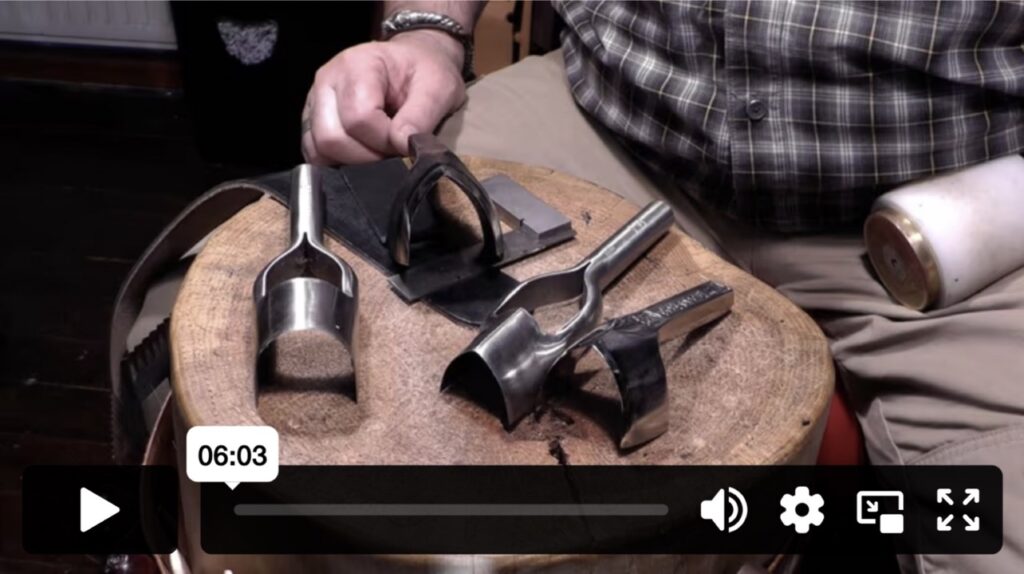
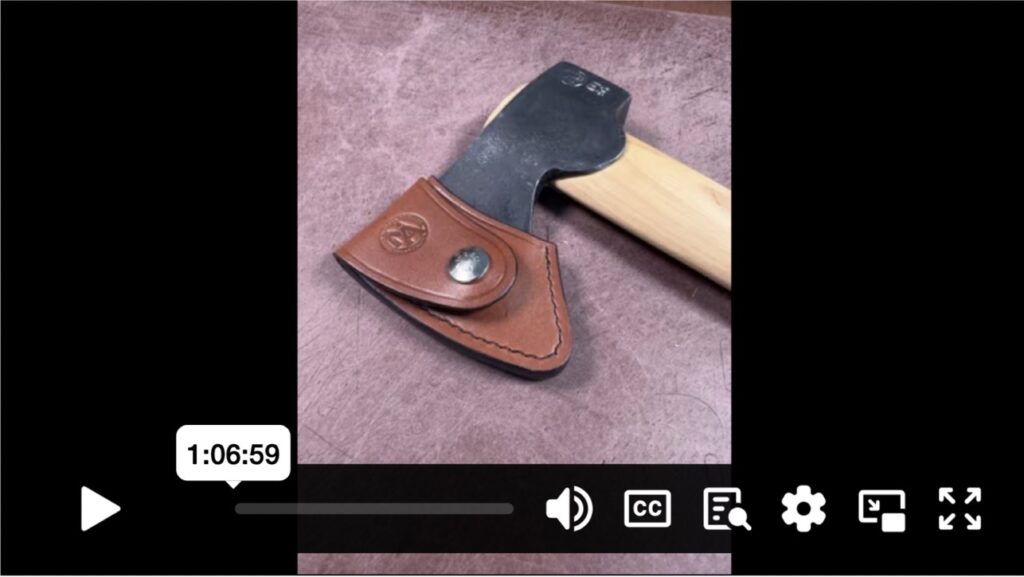
Axe Sheath
Using a Gransfors Bruks Wildlife Hatchet, we look at how to measure the head and create a template, before moving on to the leather and build. This video will give you everything you need to make an axe sheath for almost any axe.
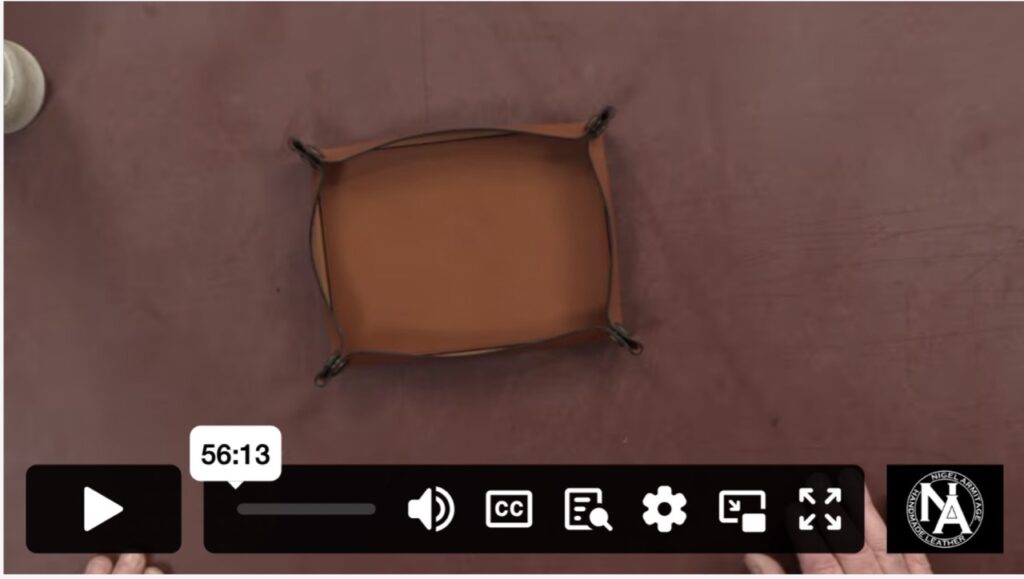
Valet Tray
This is a lovely little build and one to try with minimal tools. There is no stitching, but easy to add should you wish to do so. It is a short project and will not take long to see very satisfying results.
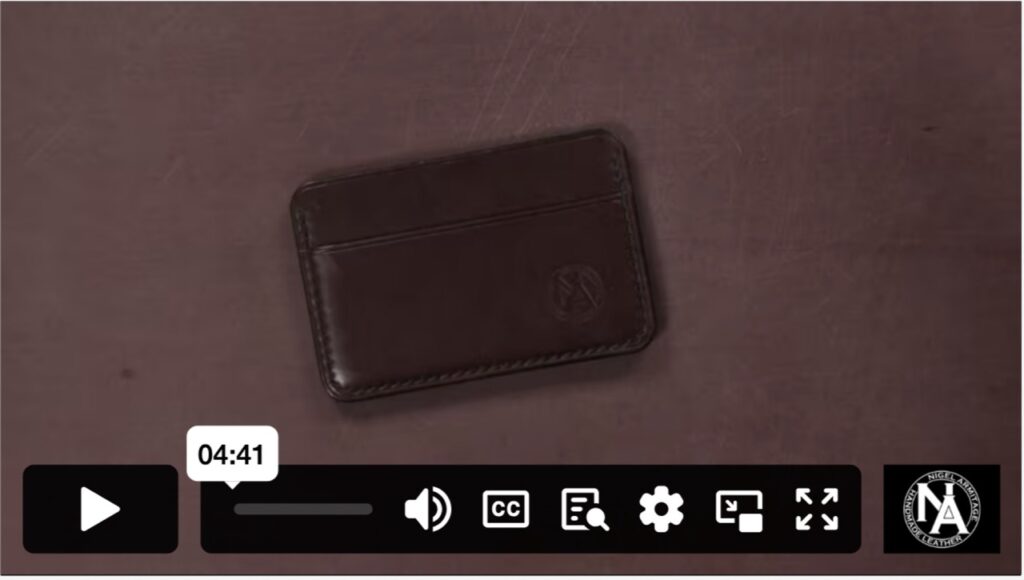
Card Holder Introduction
The card holder is a beguiling item. It appears to be very simple, that is not to say it is not, but it is incredibly rich in skills and techniques if done well. All of your core skills can be found in this project and it is a fantastic item that will help you develop and a leatherworker.
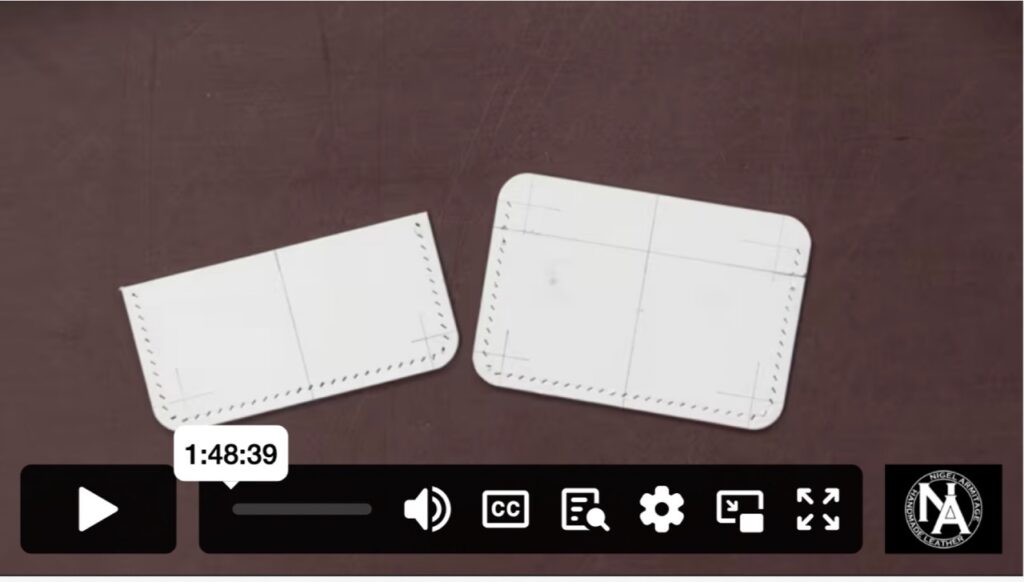
Card Holder Template
But it’s so simple, why do I need a template? Well… you are about to find out why! Template making is critical to a good build, the skills you will learn in this video apply when making anything and everything! Do not underestimate its value.
Card Holder Leather
Once we have our template, what then? In this video, we look at leather choice, how to cut the leather and skive it. Creasing, dressing, stitching and finishing are also covered. In the Intermediate section, we expand of this with a simple bi-fold wallet.
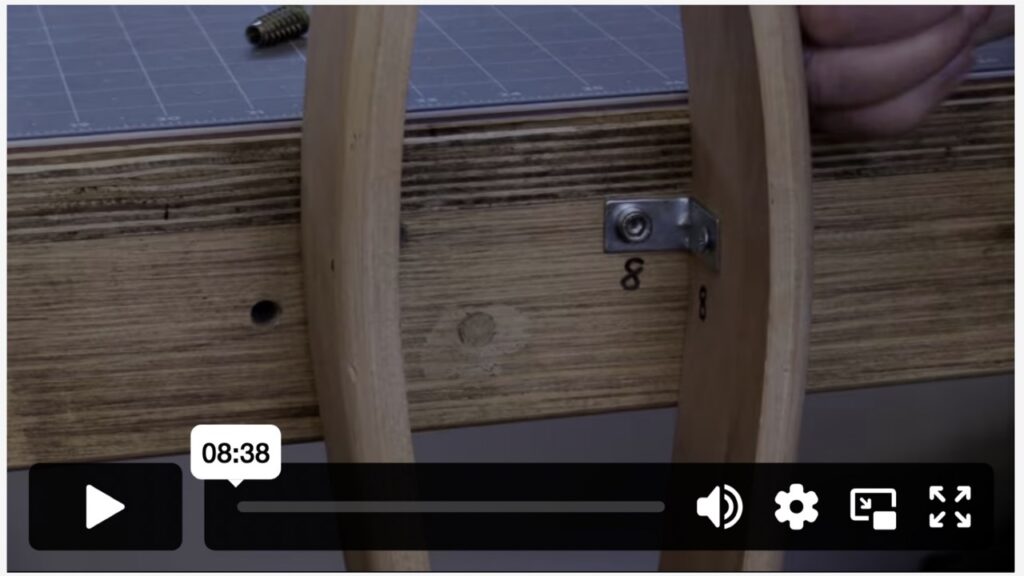
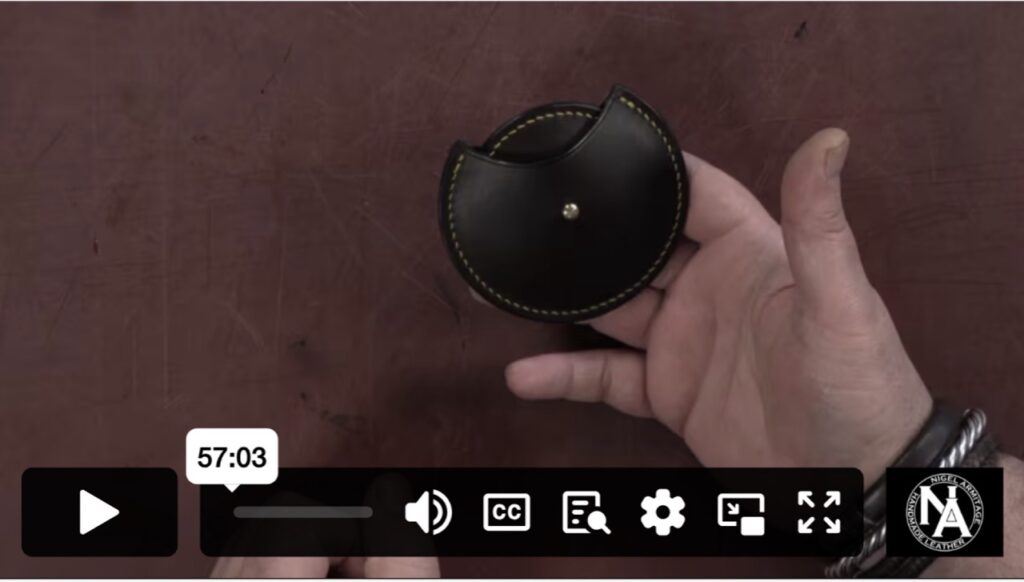
The Round Thing
Quirky! fun and interesting. This is a fun build and an unusual thing to offer. But, its value is in dealing with curves and circles. If you can deal with circles and curves well, it will expand your making repertoire significantly.
Dog Leather Projects
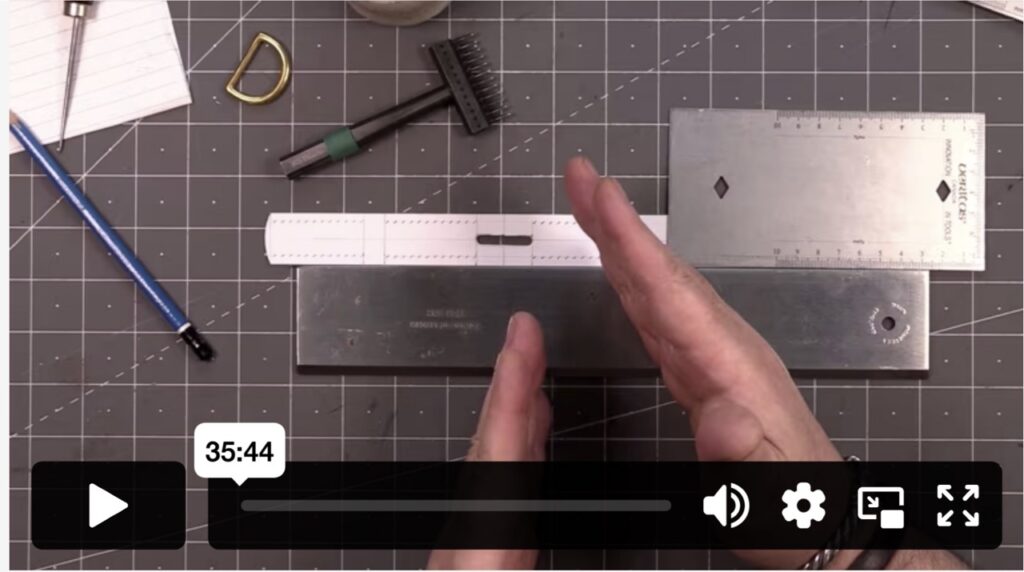
Dog Collar Template
Part 1 of 2 Dog collars are an excellent short project and an excellent prelude to belts. In this video, we look at making a template for a simple unlined 1 inch dog collar.
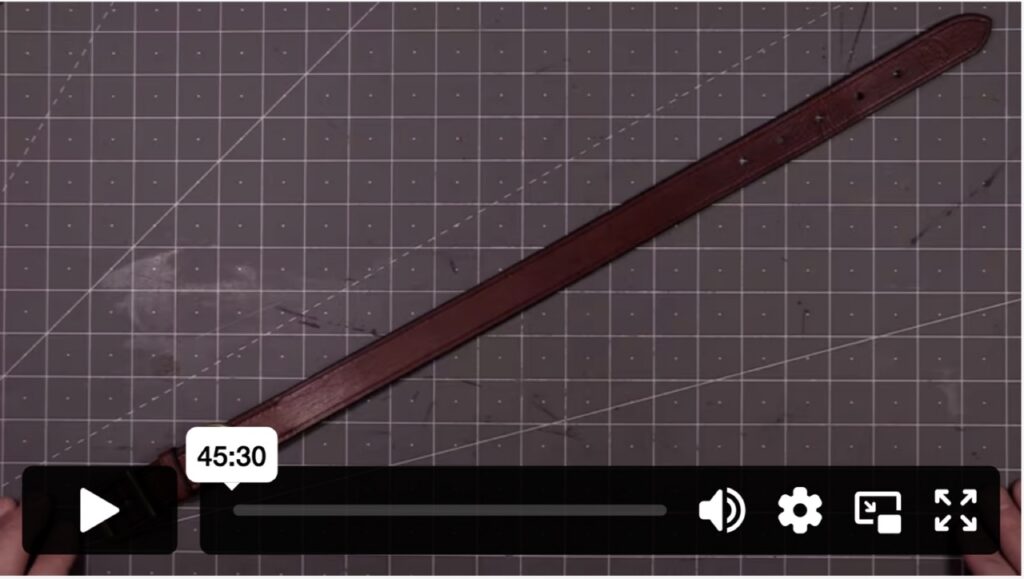
Simple Dog Collar
Part 2 of 2 In this video, we take our template made in part one and create our collar. We discuss buckle size, choice and leather types that are suitable.
The Development of a Bag
We start here in the Beginners Section with Project 1, The Slip Pouch and Project 2, The Flat Pouch.
The series then continues in the intermediate section with Project 3, The Possibles Pouch and Project 4, The Travel Bag.
It finishes in the Advanced section with the final and more complex Project 5, The Saddle Bag.
Development of a Bag Introduction -
The Development of a bag is a series of five projects over eight videos. The idea is to remove the mysticism of bag making by breaking down the stages into a simple format.
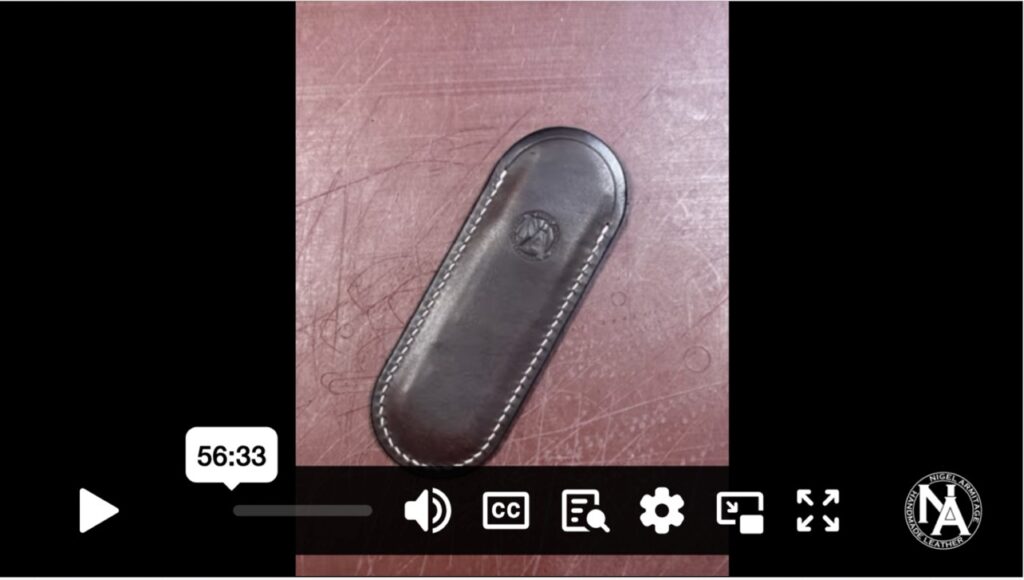
Development of a Bag Project 1 Slip Sheath
This project is part of a series called the Development of a Bag. Whilst there are many references to the series in the video, it is still an excellent foundational project, rich in skills and techniques. An ideal starting point in your journey.
Development of a Bag Project 2 Flat Pouch
This is the second in the series, the Development of a Bag. It is a direct follow from the Flat Pouch and shows how to introduce and calculate a bend when adding a flap.
Each Project builds on the last, we follow the principle, if you can make this, then you can make that!
Project 2 is the same as project 1, except we have now made it bigger and added a flap.
Project 3 is the same as project 2, except there, we have again made it bigger but now added a gusset.
It is a stage by stage breakdown of bag making.
Rather than looking at the whole and being intimidated, if we can break it down and appreciate how we get each component, the task becomes far more achievable as well as much clearer.