The ideal place to develop your skills and grow as a leatherworker
Below is a collection of videos which take a deeper dive into leatherwork well suited to the intermediate, this section is in addition to, and to be used in conjunction with the videos in the beginner section. The links to the videos will only work once you have subscribed. The beginner videos are not solely beginner level, but rather focus on the core skills a beginner should start with. Combining those, and the videos below will give you a well rounded approach to your craft. It is of note, that some of the projects start in the beginner section and continue in here, as others then continue into the advanced section. It is worth taking a look at all the sections to get a full appreciation of the channels rich and varied content.
The channel is updated with a new video every two weeks. Being an Intermediate Member will give you access to all videos that have been added to the Beginner and Intermediate sections.
£89.97 Initial 3 Month Signup – Then £29.99 per Month thereafter.
After the initial signup fee is paid, no further payment will be taken from your account for the first 3 months of subscription. You are just paying 3 months in advance.
Once the 3 months has lapsed the subscription will default to the subscription amount listed above for the level you have subscribed to and will continue until canceled.
Skills and Techniques
Tool Maintenance and Use
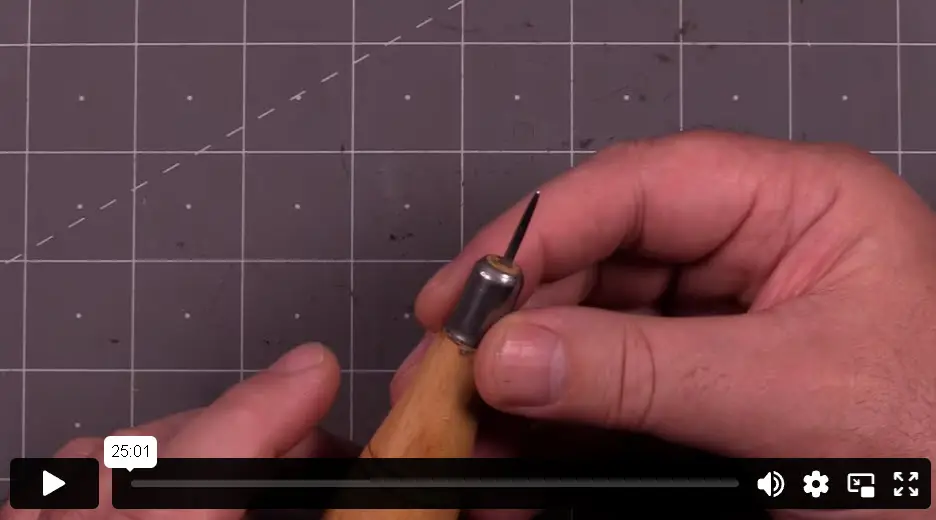
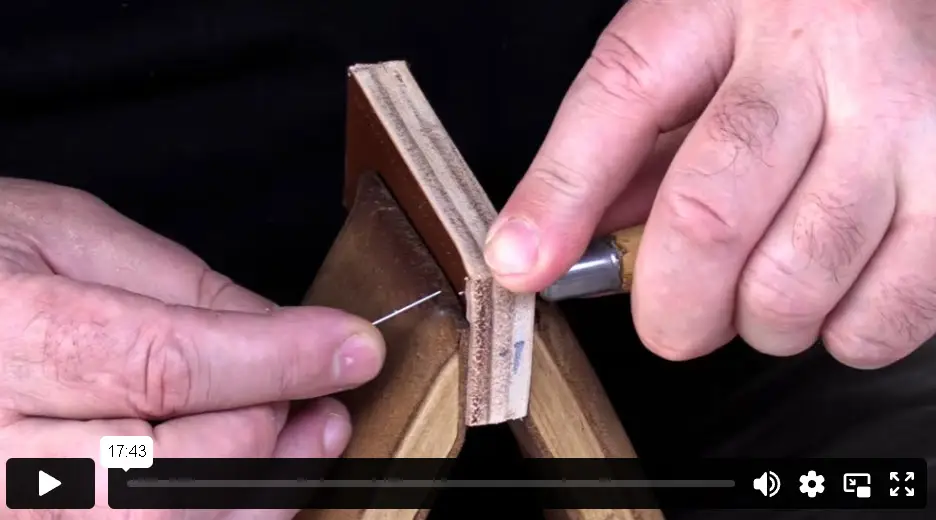
Making a Soft Awl
This is something that cannot be found in the shops. In fact, if you ask for it, you will receive a blank look. It is something you have to make and works well with my pre-pricking technique, especially on multiple layers.
Sharpening a Beveler
Many suppliers send out the tools you need to keep your bevels sharp. However, if you don’t have those or have older bevellers that need love, we take a look at how to maintain your tool here.
Prioritising your Crease
Non of the old tools came finished and certainly not prioritised. This is something you did once you got your new tool. In this day and age, learning to do that is harder, so here we look at how to adjust your tool to get the best from it and set it to suit left or right handed.
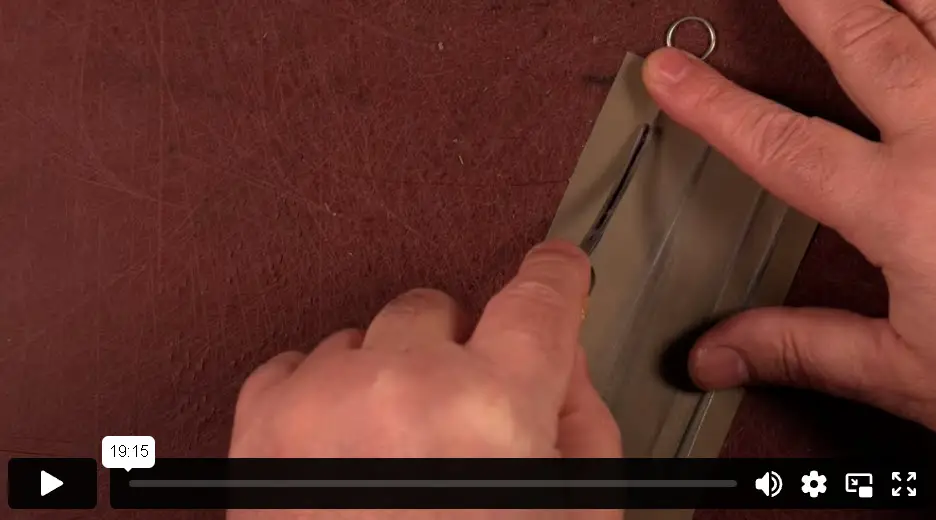
Using a French Skive
Without doubt, one of the most versatile skiving options there is. Here we look at some of the techniques you can achieve with a good French skive.
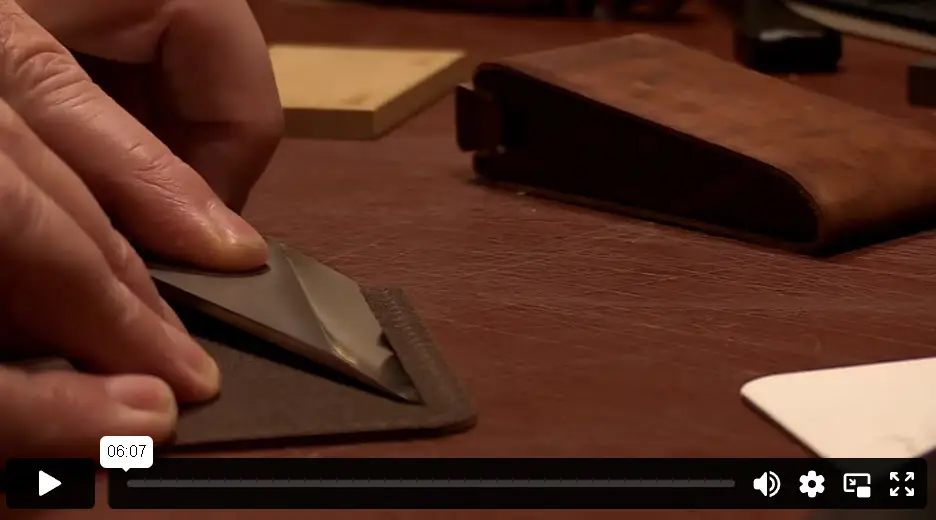
Skiving with a Skiving Knife
A far more traditional approach to skiving, we look at what makes a good skiving knife and a technique that will help you achieve your skiving goals.
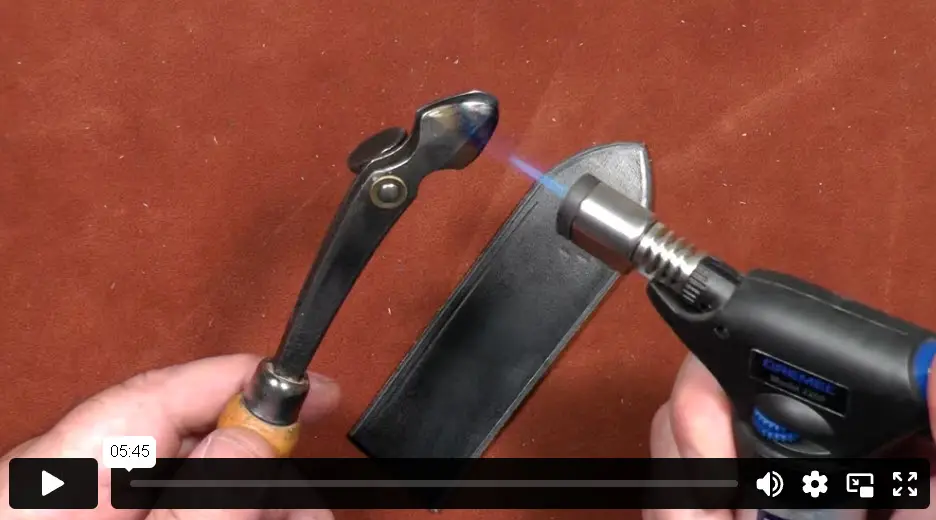
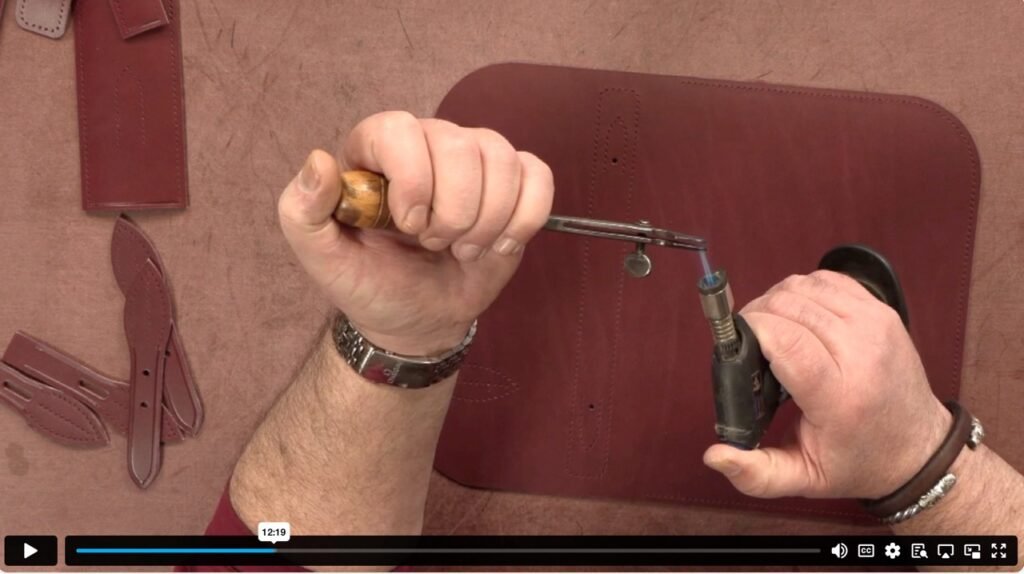
Creasing with a Hot Creasing Iron
When finesse is required, adding heat to the tool will create a strong crease and use less power. It is also a good technique for more stubborn leathers.
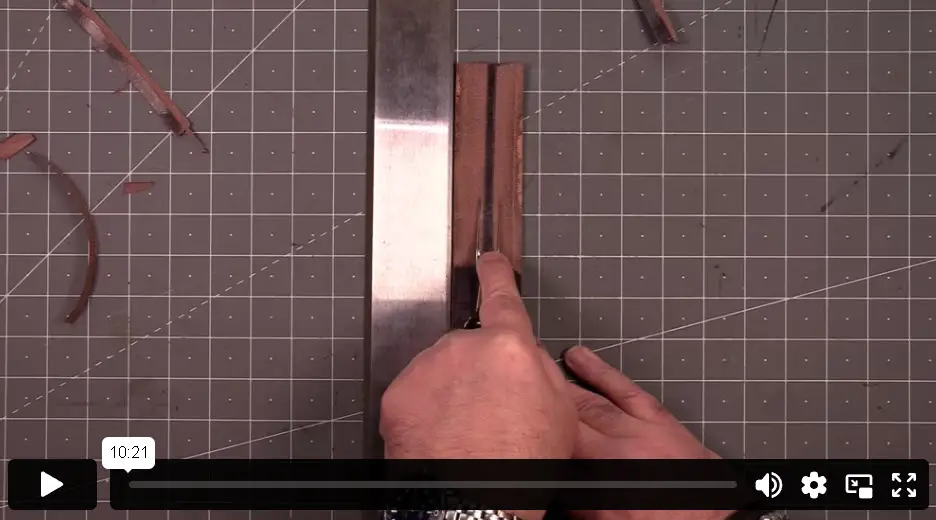
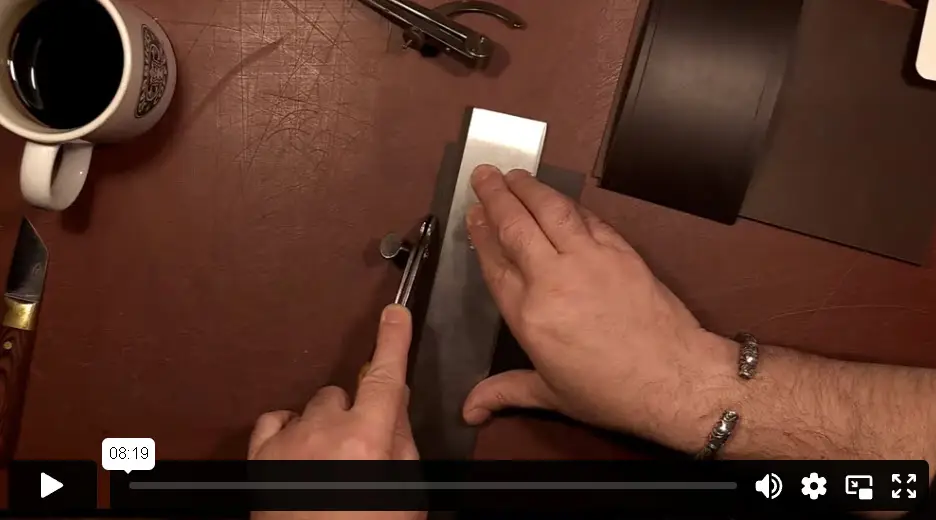
Skiving the back of a Belt - French Skive
Splitting or skiving machines are very expensive. Can we thin down our leather using the tools we already have? The answer is yes, here, we look at using a French skive to thin down the back of a belt.
Design and Template Making
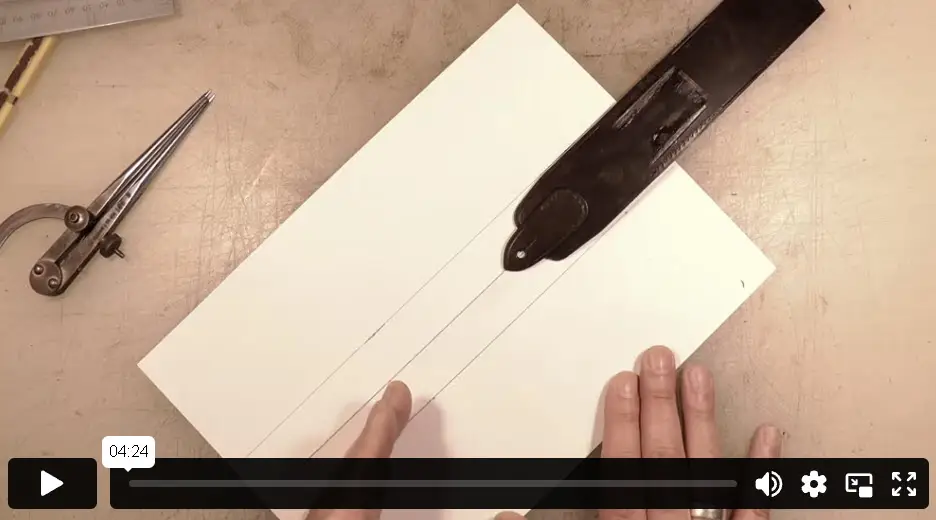
Cutting a Template for a Tapered Cup
The tapered cup is a good vehicle for this technique, however, it is a good technique for any occasion where one end of an item is wider than the other.
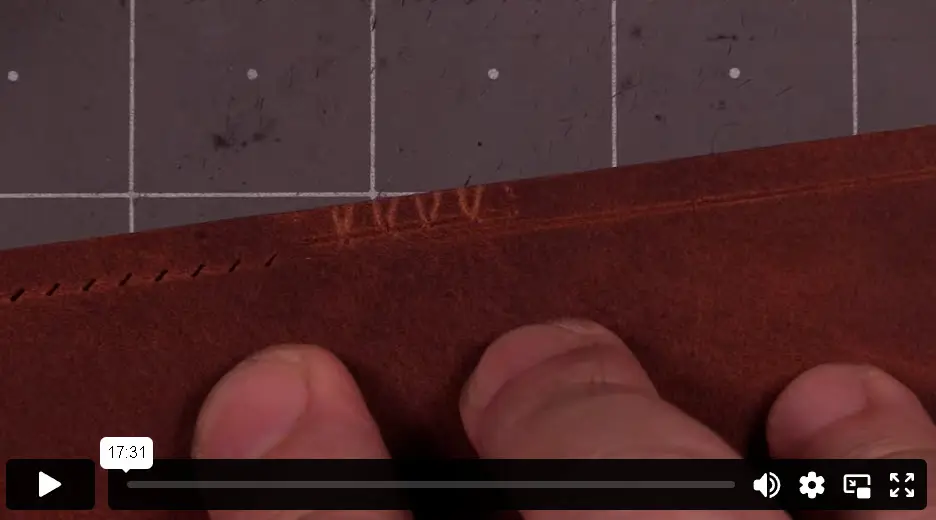
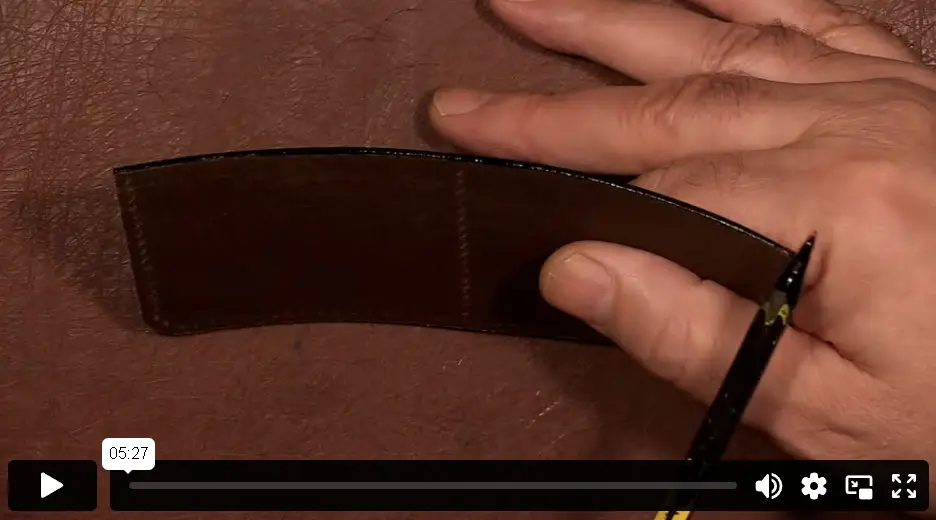
Measuring and Cutting a Scallop
Scallops are a nice level of detail to add to the tips of pockets or bags. The technique also has a practical application of adding a pinch space to make access to objects in the item easier.
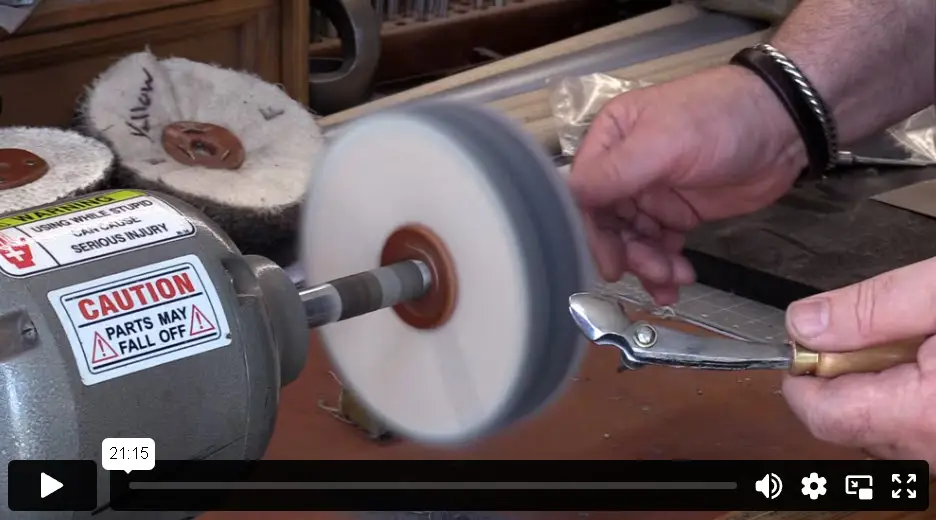
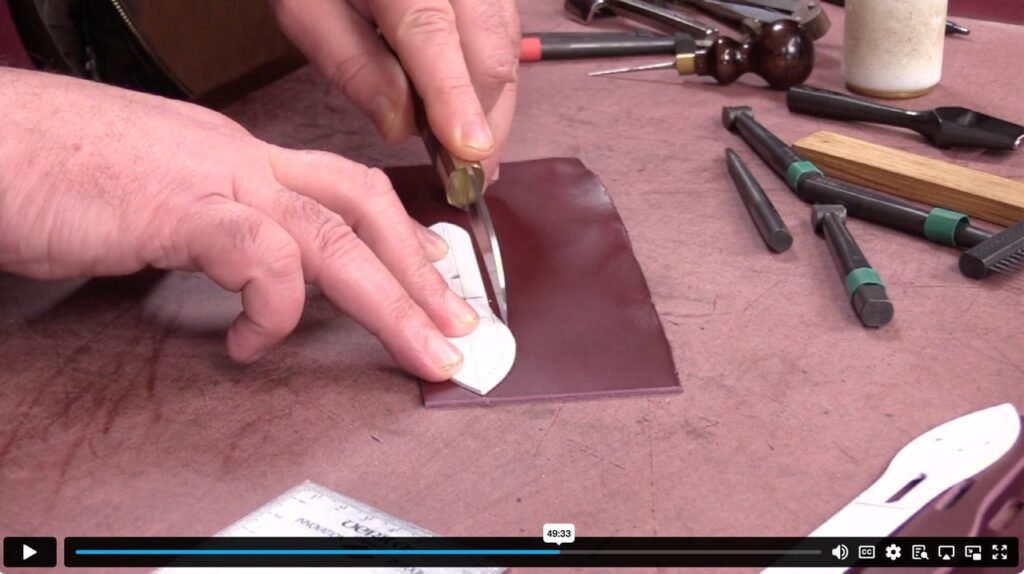
Cutting an English Point with Discs
Strap end punches are rather expensive, also they only do one job on one size of leather. Here we look as using discs that can be used anywhere to achieve the same result at a fraction of the cost.
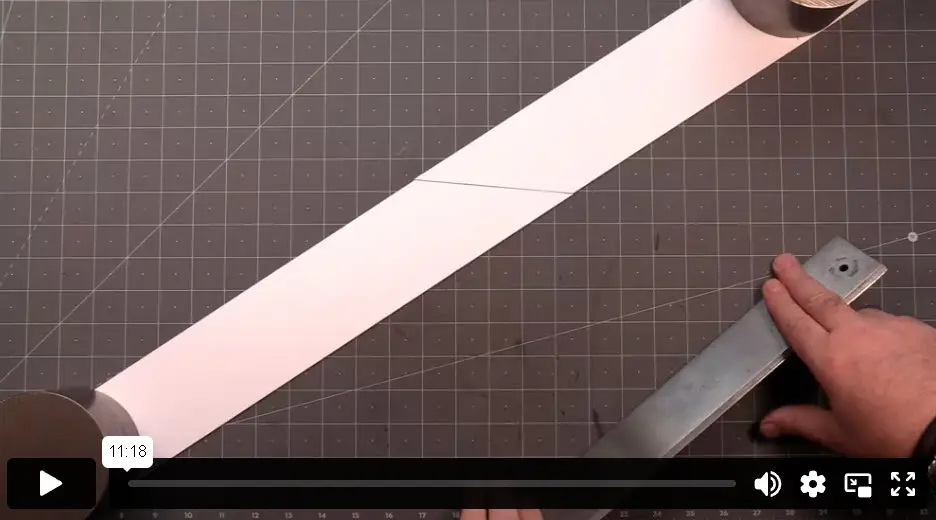
Extending a Long Template
Finding materials to use as templates can be tricky, this is a very strong way of joining card to have a template any size you need.
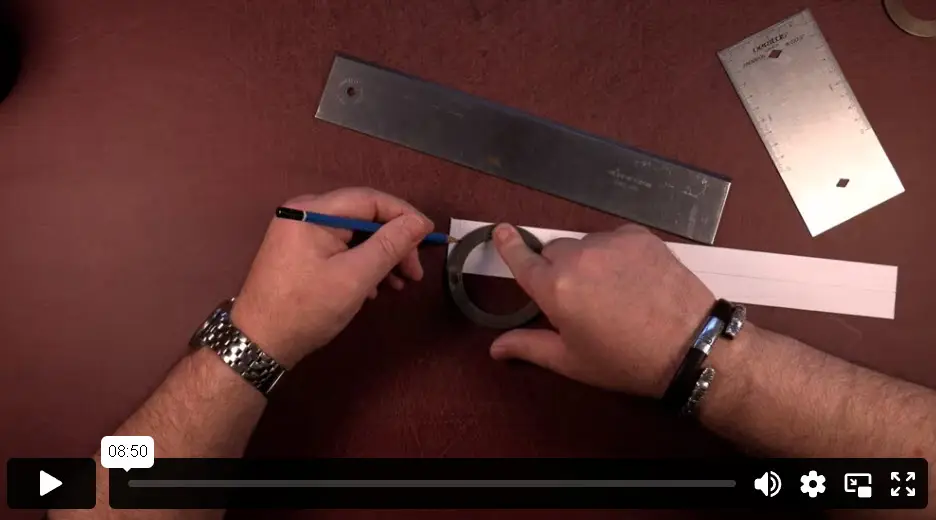
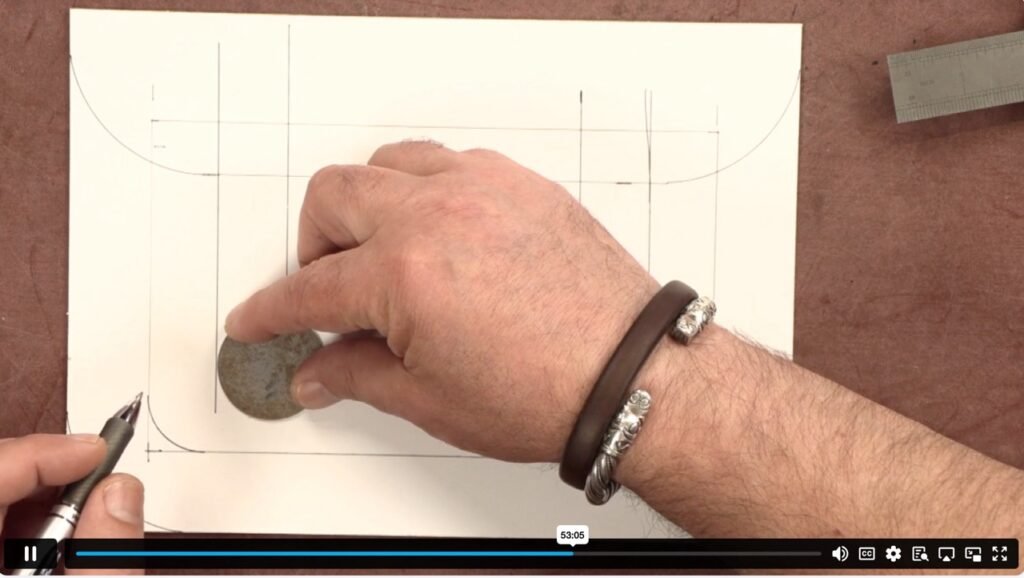
Drawing an Oval
Ovals and curves are often avoided because we cannot be as consistent as we want with them. This technique will assist you in obtaining a perfect oval, any width or length you want, every time.
Centering a Tab
Do you keep setting your tabs and hardware off centre? However hard you try to eye it in, it’s never quite right? This will help you a lot!
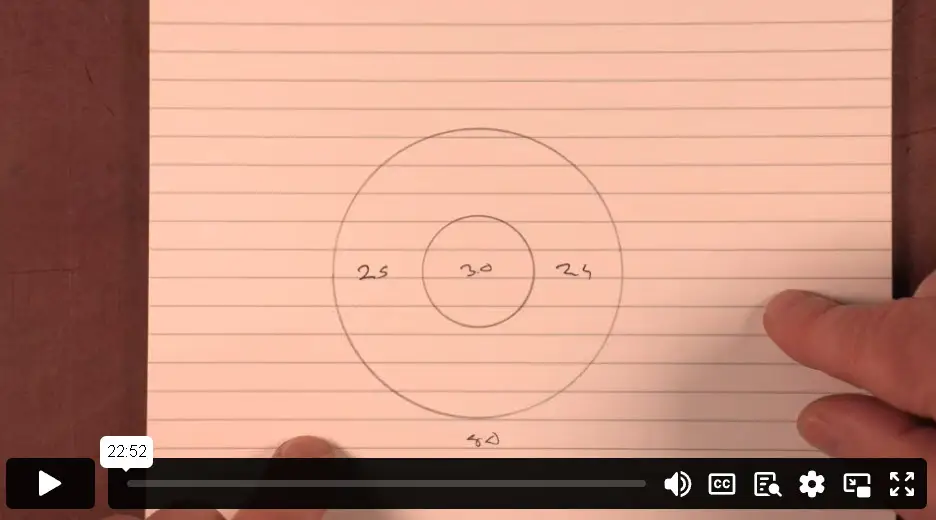
Concentric Circles
Often when adding pockets to items, that have rounded corners, the pockets are set into the item. Choosing the right curve can be an issue. Here we look at concentric curves to solve that problem.
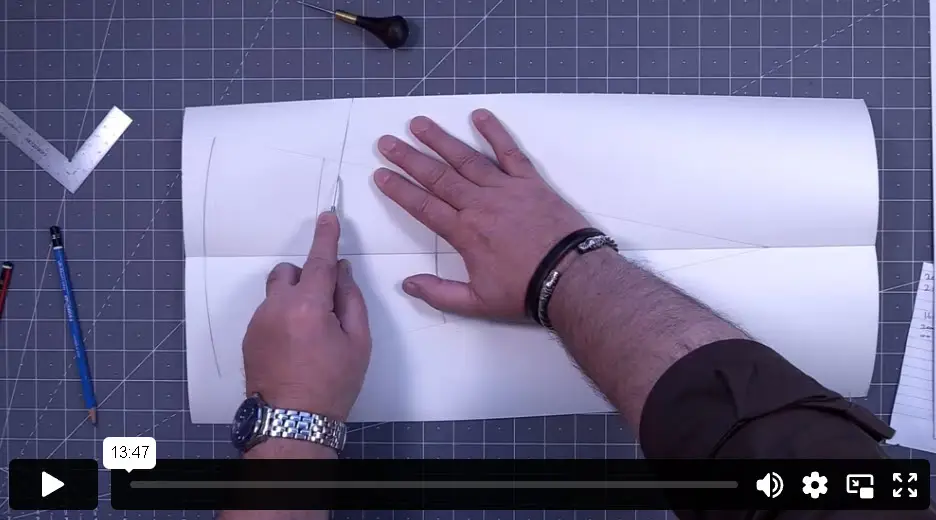
Calculating a Bend
How often have you had to add a flap in two parts because you don’t know how to calculate the bend properly. Let’s solve that in this video.
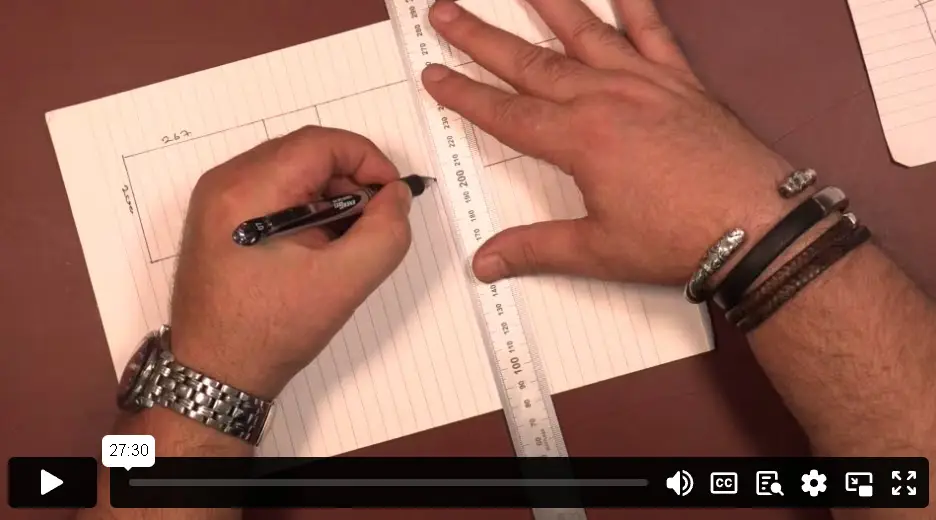
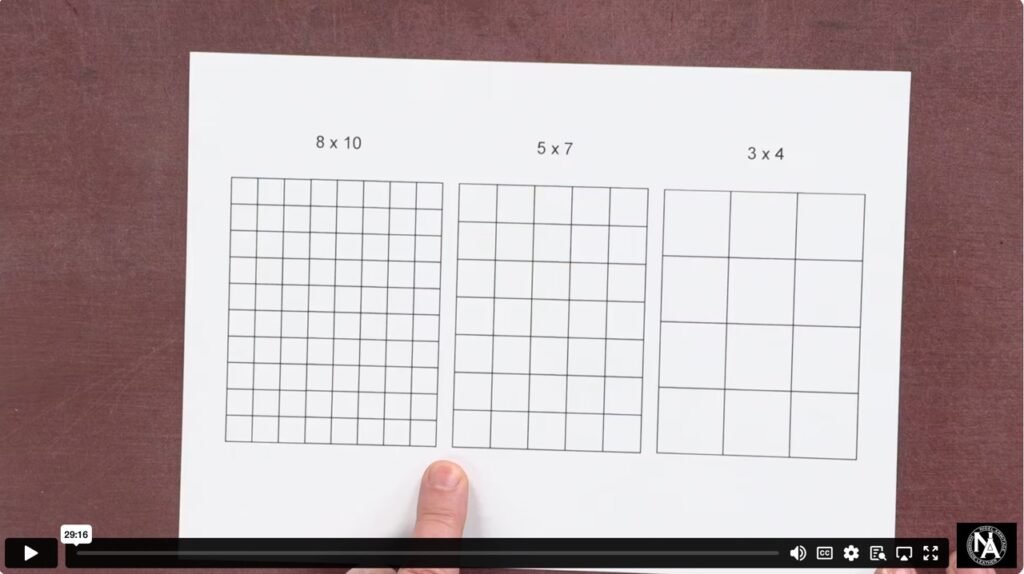
Aspect Ratios
This is a bag makers dream! We are drawn to symmetry and correct aspects in all items we see. Why then do we not use this in our making process? In this video, if we are working to external dimensions, we will choose a suitable aspect for our build.
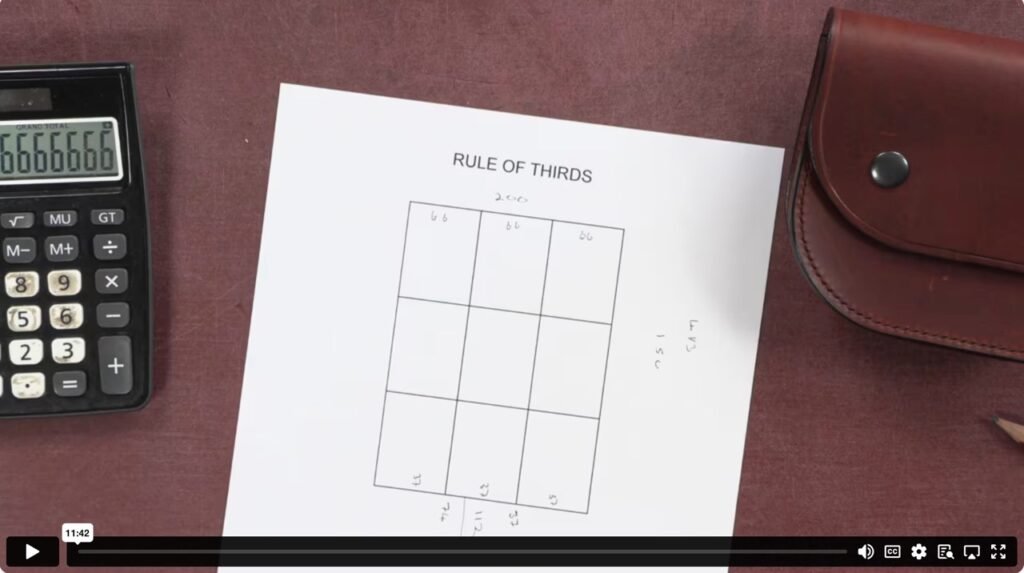
Rule of Thirds
The rule of thirds is a remarkable powerful tool in out skill toolbox to assist not only bag making, but the making of many other items. It assists in the placement of closures, hardware, flap length, straps, 3 is the magic number.
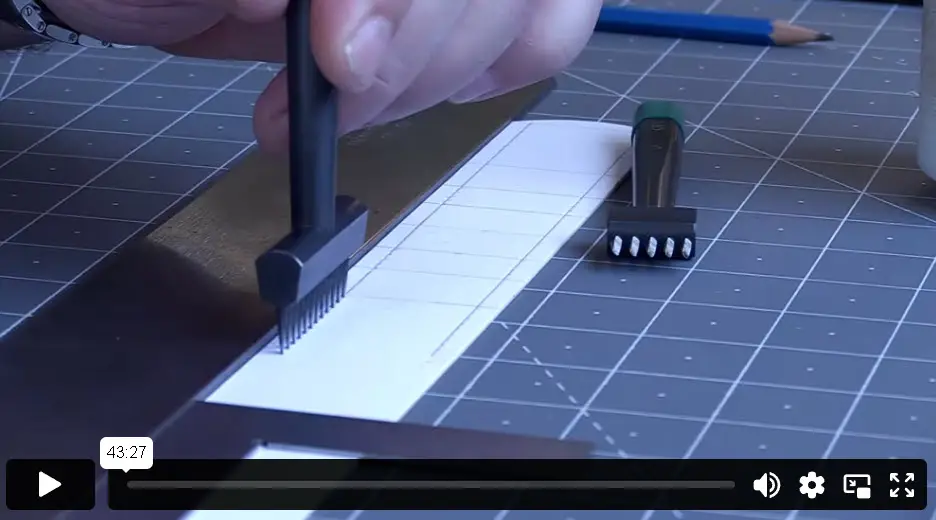
Stitch Marking and Stitching
Traditional Saddle Stitch Right Handed
This is how to approach the working seam, or traditional saddle stitch when stitching leather. This video is for you if you are right handed.
Traditional Saddle Stitch Left Handed
This is how to approach the working seam, or traditional saddle stitch when stitching leather. This video is for you if you are left handed.
Leading and Dragging Irons
Holes not lining up and don’t know why? This problem has always been with us for a long time, marking our holes with a pricking irons kept it hidden though. With the new modern irons, it became more of a problem. Here we look at what we have been doing and what we should be doing to resolve the issue.
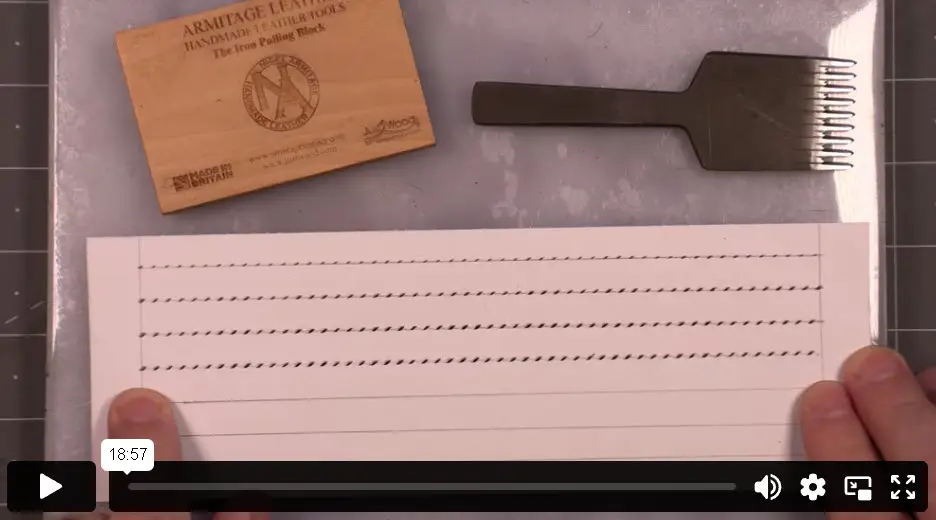
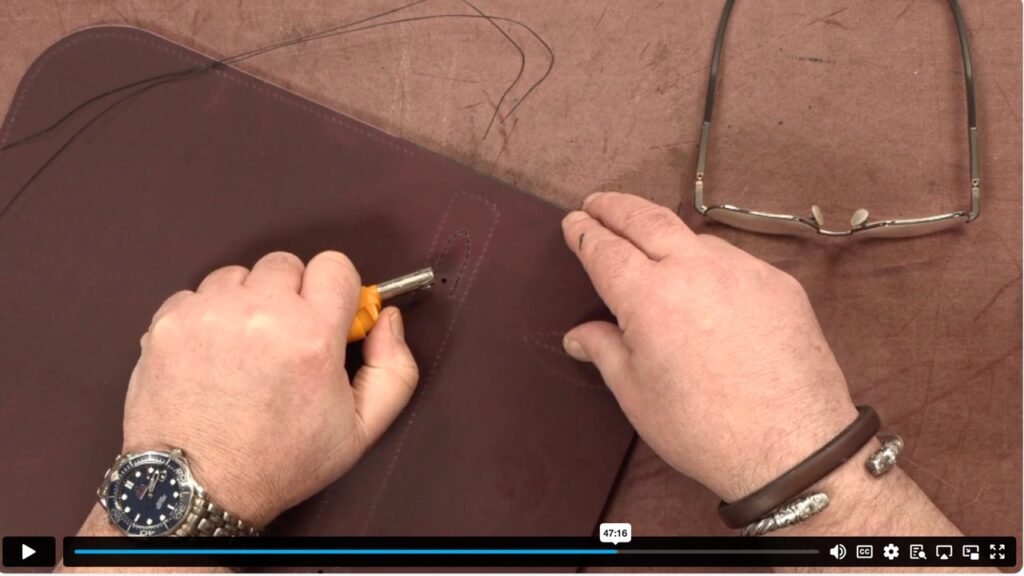
Stitching Multiple Layers when Glued
Struggling to stitch thick items with multiple layers? Lets look at pre-pricking to resolve that.
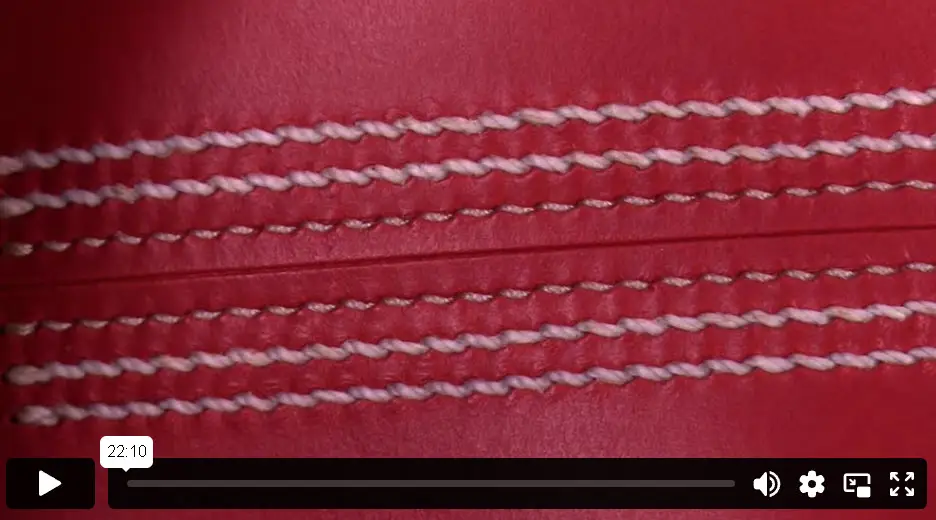
Cricket Ball Stitch
Applied as more of a decorative stitch in this video, we look at how to achieve the classic looking cricket ball stitch on any item. It is unlikely that you will be making a cricket ball, so we have looked at producing this stitch on the flat.
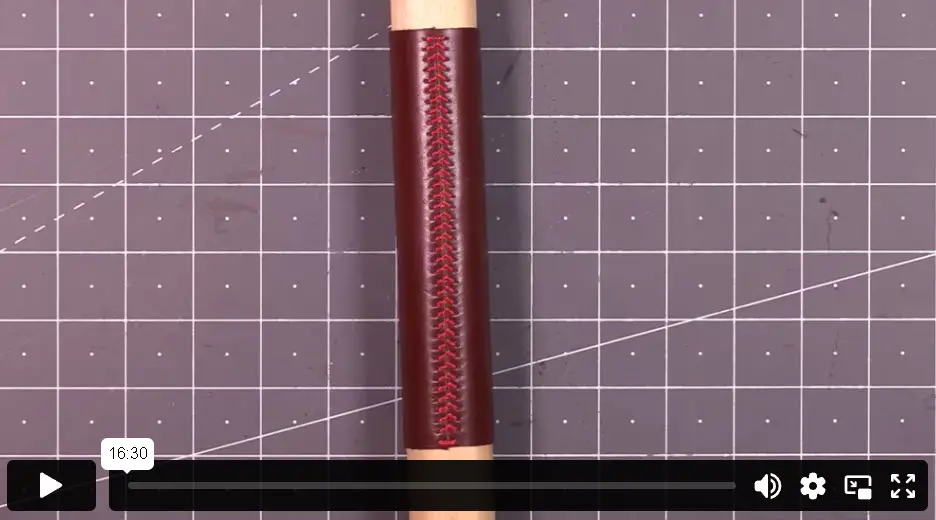
Baseball Stitch
Also known as the American stitch, this is a lovely was of joining leather that wraps an item. Not only good for balls, it is a nice stitch for steering wheels, sticks and tools.
Saddlers Twist
Stitching straps in two parts can be time consuming and place too many back stitches over small areas like belts and collars. Here we look at stitching both sides with the same thread by passing the thread from one side to the other without interrupting our thread.
Snapped Thread
Ever snapped a thread or run out? Here, we look at a simple but effective way of continuing our stitching with minimal visual impact.
Stitching Between Fixed Points
Sometimes, we find that we have to stitch between fixed points. This usually occurs on tight corner items. Here, we look at how to space our stitching for those occasions.
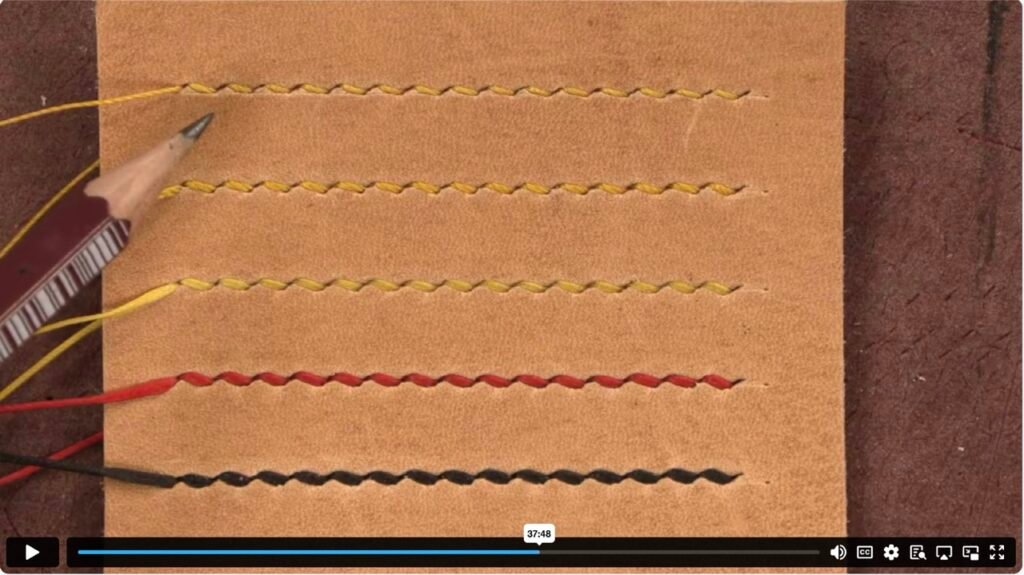
Choosing the Best Thread for your Project
It is easy to fall into the trap of believing you need different irons to get a different stitch. This is not always the case. You may be surprised to find that you can fit quite a variety of thread to the irons you have and get different results.
Seams and Edging
Rolled Edge
Often, we do not want to have a raw edge of leather on our item, wrapping it or turning it are good choices here. This is just one of the many ways we can finish our edges nicely.
Turned Edge
Often, we do not want to have a raw edge of leather on our item, wrapping it or turning it are good choices here. This is just one of the many ways we can finish our edges nicely.
Turned Seam
This is where we look at stitching an internal seam so we see no stitching on our item. This is an ideal technique for thinner leathers.
Reinforcing a Seam
Perhaps our leather on a turned seam is not as strong as we would like, or… we want it to do more that it is capable of. Here we look at reinforcing it to add more strength.
Reducing Bulk on an Internal Seam
Sometimes, having too much leather on the inside of a seam can affect its look or performance. Here we look at what can be done to reduce the excess bulk of that leather.
Binding A Curved Edge
Adding a binding on a curve can be done a number of ways. In this video we look at gluing and trimming.
Pre-Pricking a Bound Edge
Gluing is all well and good with binding, but it can get messy. Here we look at using our measurements to pre-prick all of the holes, cut the leather to size and simply stitch.
Gussets and Bag Making
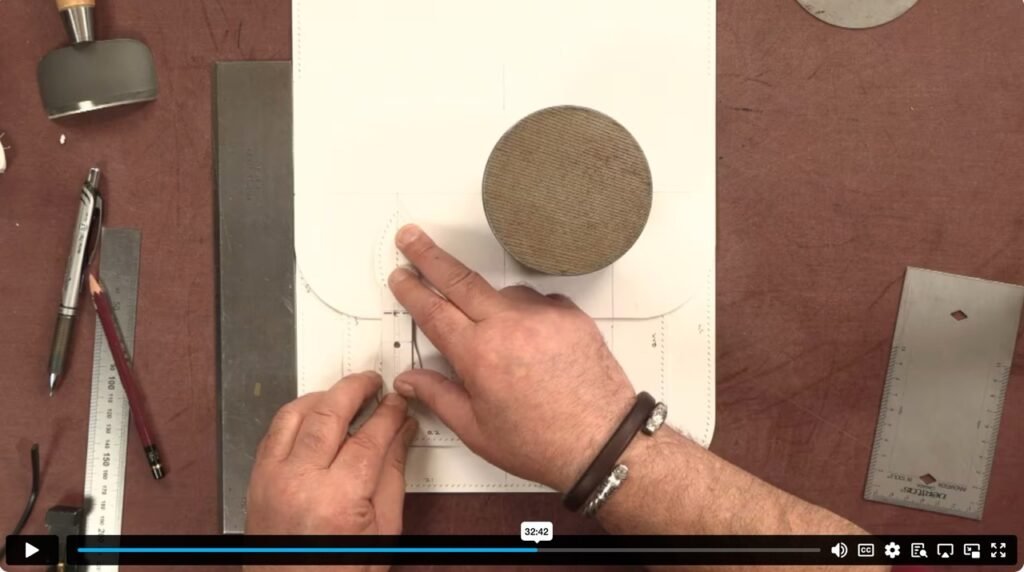
The Round Bottom Gusset Template
Many of the gusset videos coming up include a round bottom. This is by far the easiest gusset design to learn as the leather is stressed less when bending around a large curve. This video covers the template used in the following videos.
C Shaped Gusset Simple Seam
By far the simplest way of adding a gusset to a bag or pouch. Do not be put off by simple though, it is still and extremely beautiful and strong gusset.
S Shaped Gusset Lapped Seam
Just changing one thing can have a huge impact. In this video, we change a simple seam to a lapped seam and the whole dynamic of the bag changes. Greater shape with more volume and very easy to achieve.
S Shaped Gusset Swelled Base
Very similar in construction to the previous video, but here, we change the shape of the gusset. This immediately changes the shape of the bag and gives far more volume.
Full Horseshoe Gusset
Not the most practical gusset, it has to be said. But… an absolute classic and looks very old world.
Half Horseshoe Gusset
Here, we look at the horseshoe gusset and make a simple change which immediately brings more volume to the bag but still keeps that classic and timeless design.
A Gussetless Design
It is not truly gussetless. The gussets are included in the body of the bag and show themselves as you begin to stitch. However, it is made with a single seam and is another classic shape for a bag or pouch.
Small Corner Gusset
There is a limit to how small we can go round a corner before issues begin to arise. In this video, we look at a number of options use to prevent the gusset from shrinking in behind the face.
Bag Strap Attachments
Bag Strap - Stitched
We begin to look at adding bag straps to our bags in this series. This is the simplest way of achieving that goal, stitching the strap directly to the gusset.
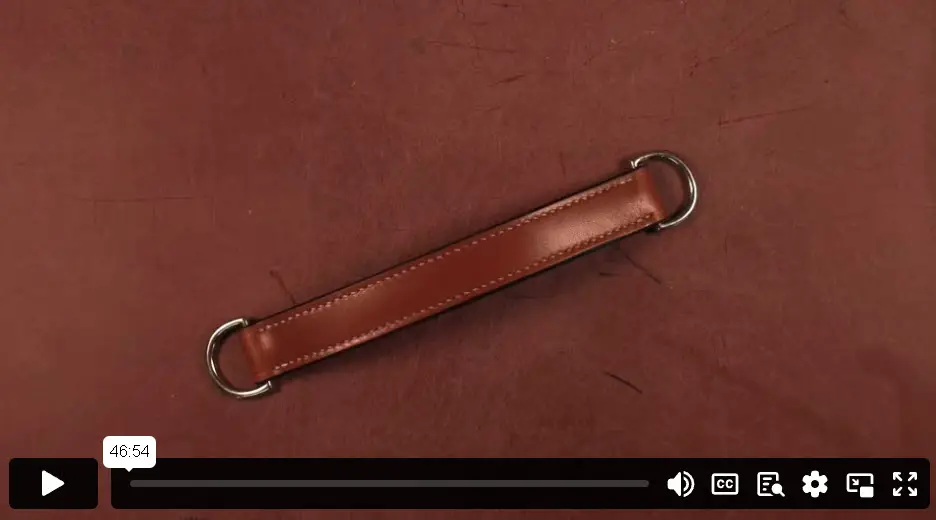
Bag Strap - D Loop
This is an excellent choice if you are looking to have your strap removable or want the choice of different strap options.
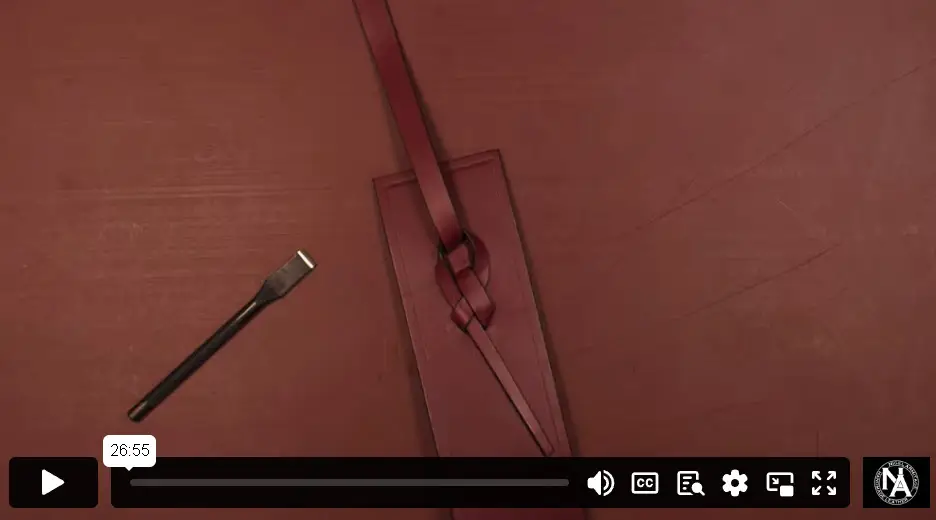
Bag Strap - Buckle
By far the most classic look when adding a strap. In addition to this, the adjustability is now on the bag, rather than having to add and adjustable option to the strap.
Bag Strap - Tied
A very quirky option and follows the hardwareless option nicely, It is also quite a stylish way to add your strap to a bag.
Bag Strap Attachments continue in the Advanced Section with more complex builds.
These include: Billet Hook, Tapered and Raised Dee and the Stitched Loop.
Bag Handles
Stacked Handle
A very robust handle here, simple in build but effective in use. An ideal option for a heavier bag or case.
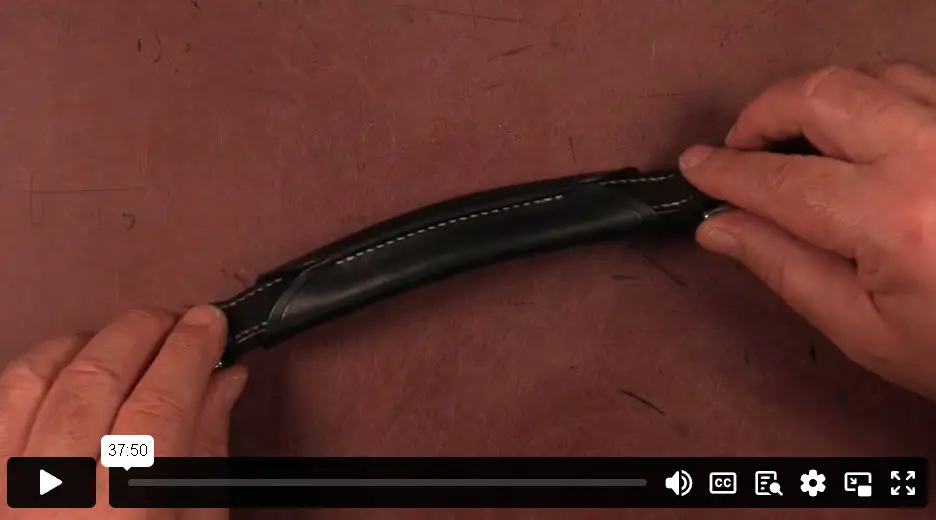
Wrapped Handle
This is a lovely option when creating a bag that elevates a stacked handle to the next level. It is well suited to satchels, tool bags and cases.
Swelled Handle
Very similar in design to the stacked handles, but here we look at changing the shape of the handle to add more of a swell to it’s shape.
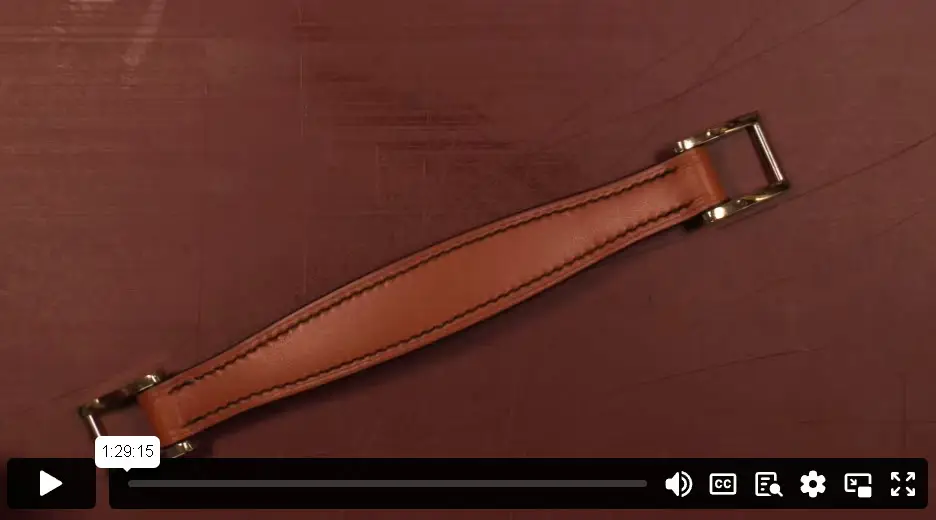
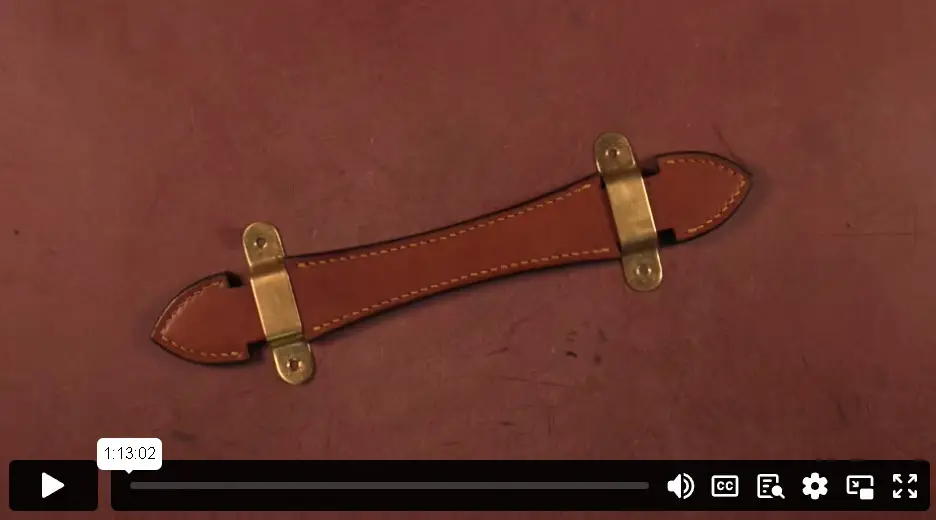
Trunk Handle
An absolute classic of a handle here. Designed in the main for trunks and travel chests due to it sitting flat unless in use. However, a fantastic option for a top handle on heavy bags and cases as well as top carry boxes.
More Handle Options are available in the Advanced Section.
These include: Bolstered, Round – Stitched, Round with Loops.
Techniques
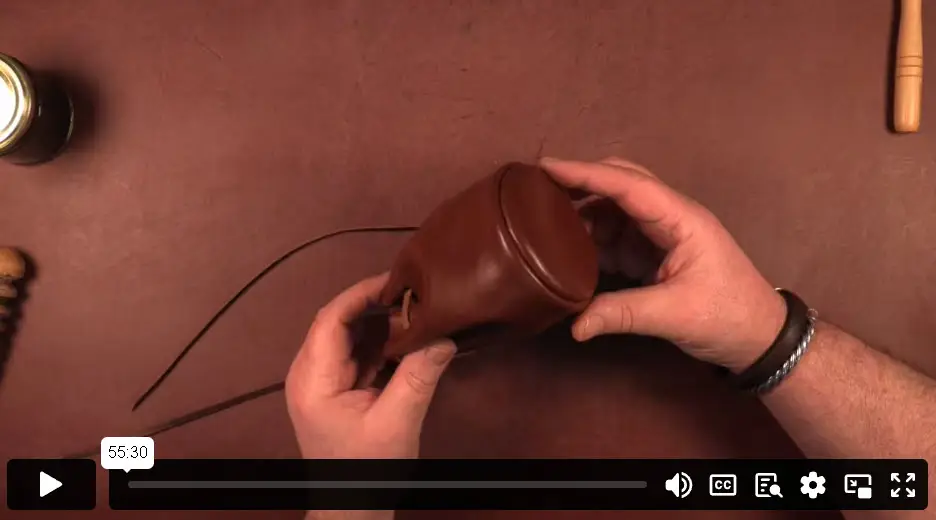
An Introduction to Wet Moulding
One of the simplest ways of beginning wet moulding is to buy a form that suits your design. Here we use a 3D printed form for a multi tool and look at what we need to do to the leather to get it to mould properly.
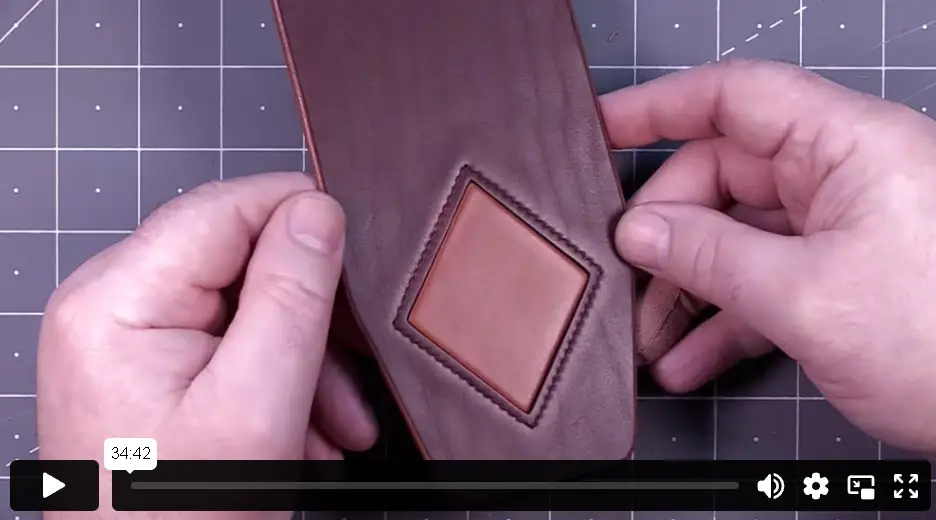
Adding a Simple Inlay to Leather
Adding an inlay to an item is a wonderful way to elevate the design. we look at this process by adding a layer of different leather to the body of our item and exposing it using a simple shape hole to expose the inlay.
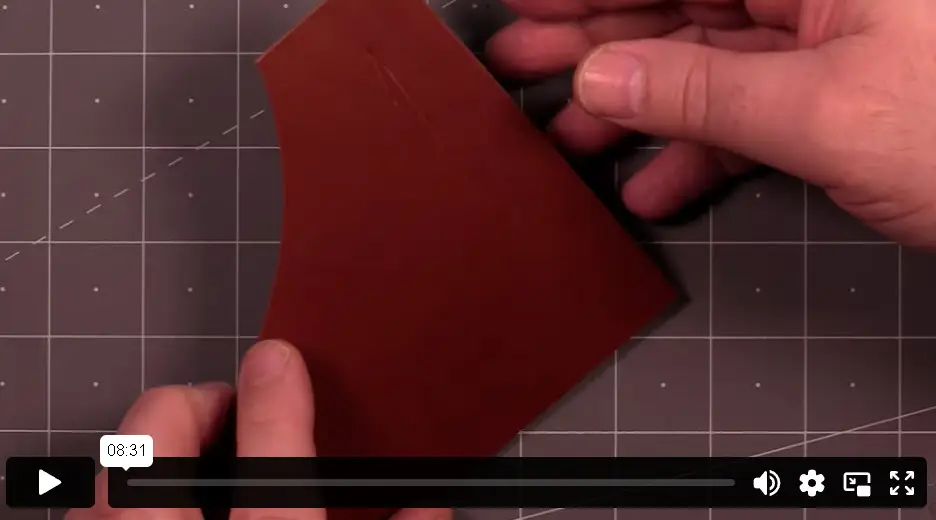
Dealing with Marks on Leather
It is irritating when making an item to inadvertently mark it. We have a quick look at what can be done to lessen or remove those marks.
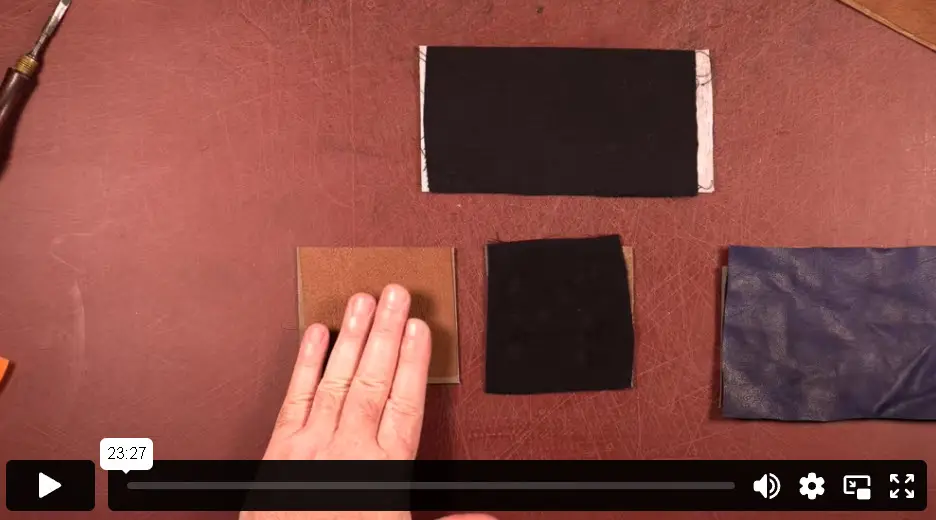
Gluing a Lining to your Leather
Adding a lining to an item is an excellent way to make it stand out. Here we look at a number of materials and how to attach them to leather to get the best results.
Adding a Bolster to a Belt
Adding a Bolster or raised section to a belt can elevate the item very quickly. It is also an excellent way of adding strength if you intent to use a leather not well suited to belt making.
Short Projects
Drawstring Pouch
This is such a cute build, two pieces of leather stitched together at the base using a turned seam. This creates this lovely pouch that has a myriad of uses.
Dog Collar - Lined
Building on the dog collar covered in the beginners section and now incorporating our lining skills. We look at creating a lined dog collar.
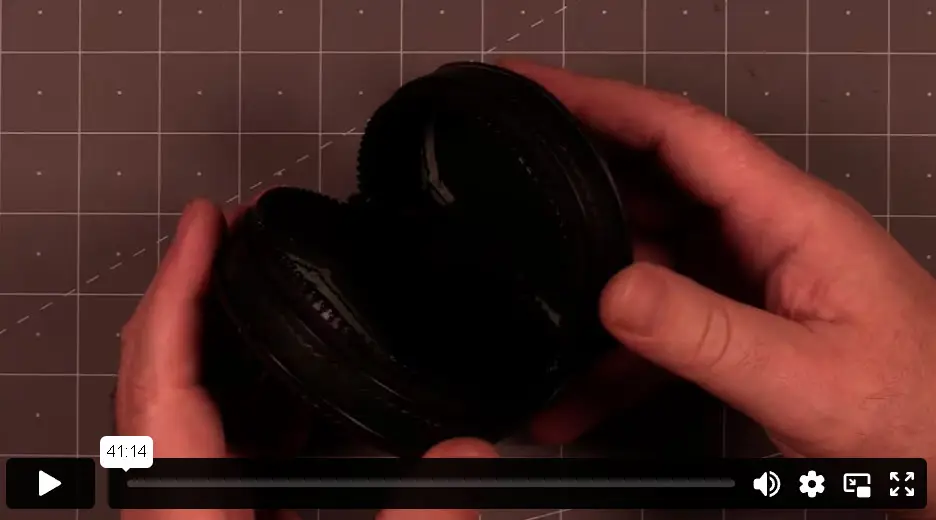
Round Zipped Pouch
This is a fun project that can be sized to any dimensions. Whilst I make it clear, I am not a fan of zips, they do have their place and can be very practical.
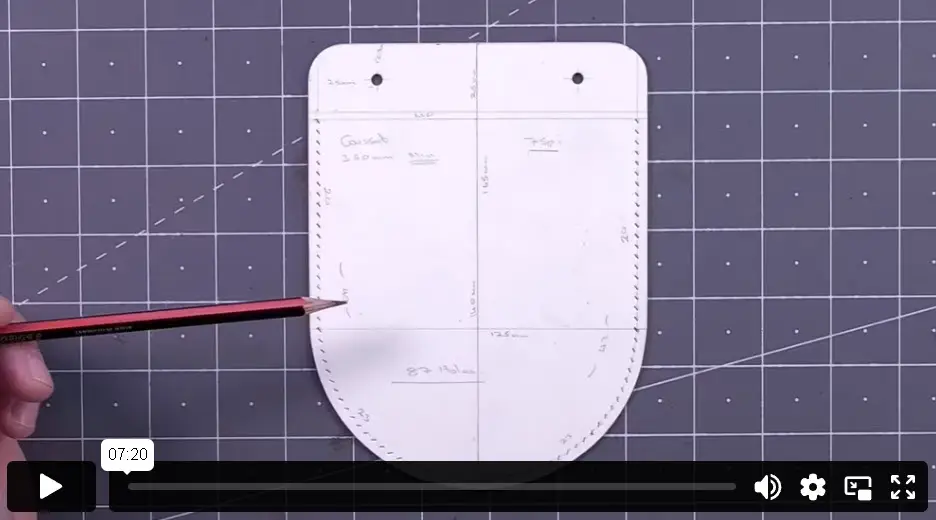
Trowel Sheath
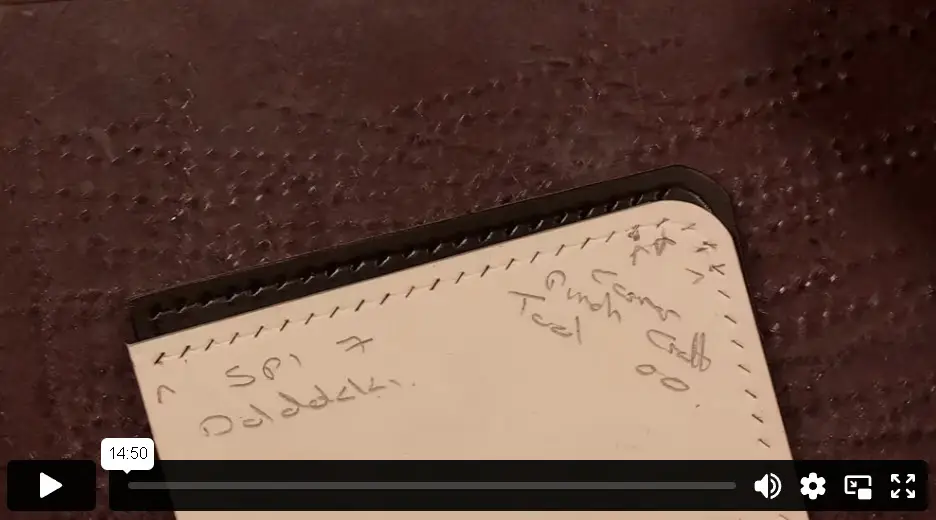
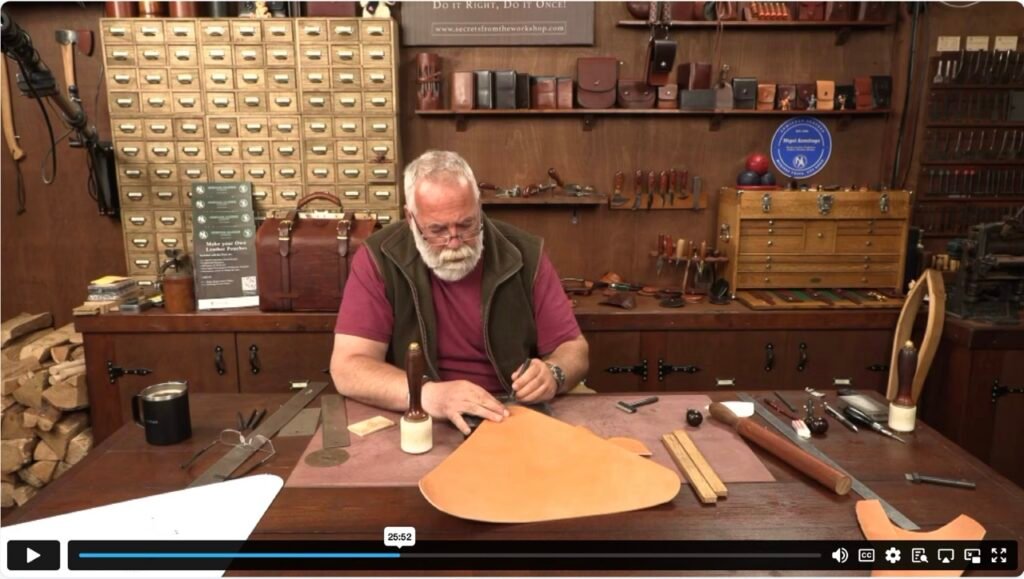
Tool sheaths are a great project for gifts or sales, there are simply so many applications in this topic. Here we look at how to measure the tool and apply those measurements to our template in order to make the sheath.
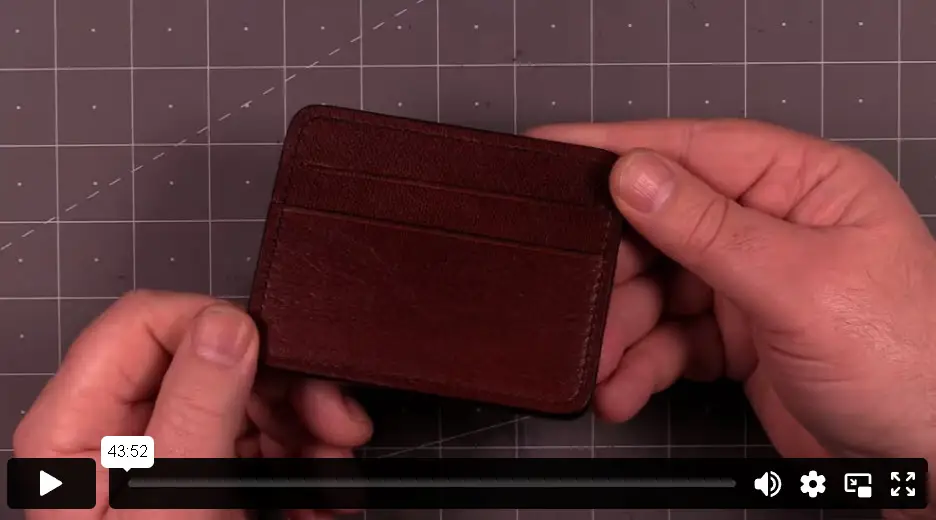
4 Pocket Card Holder
This project is building on from the two pocket card holder in the beginners section. However, here, we add an additional pocket to each side. Once you know how to add one… there is no limit!
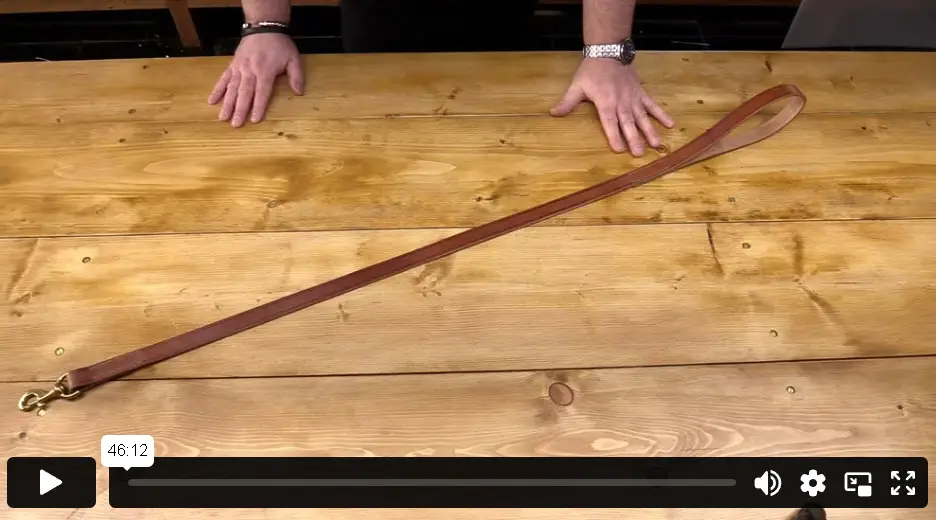
Standard Dog Lead
As we have a few collars covered on the channel, it stands to reason that we have a dog lead. This is a walking, or standard lead, usually at 3ft. We must take care that it is fit for purpose, especially for a dog prone to pulling.
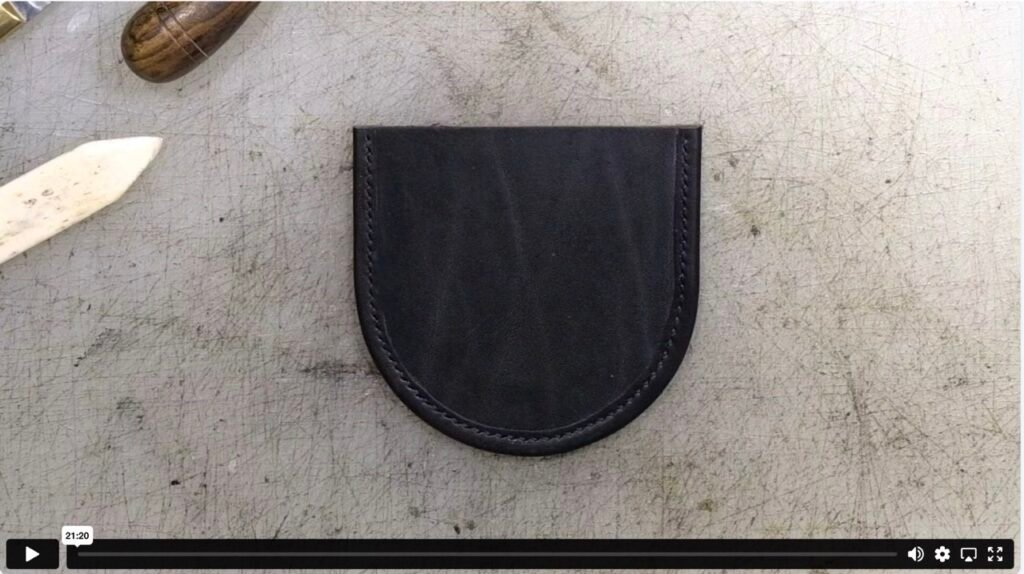
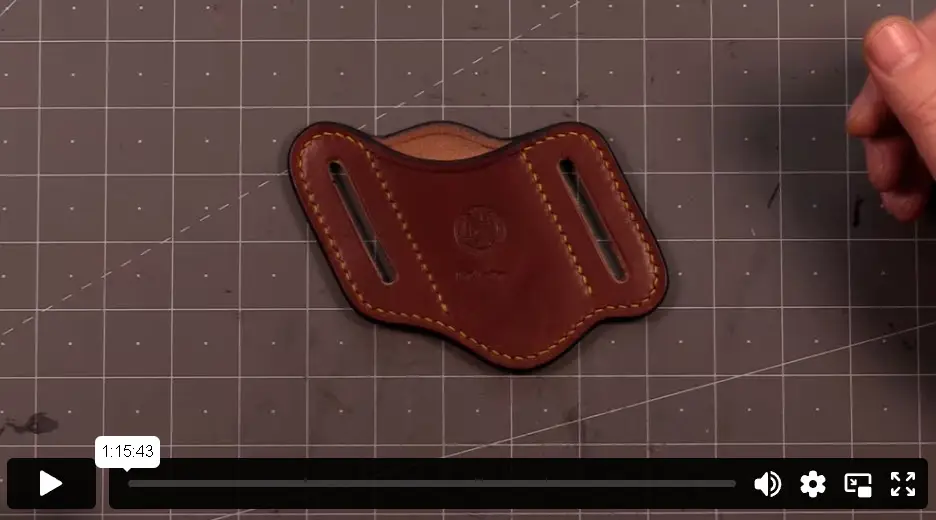
Pancake Sheath
Such a fun project to make. This is a true example of how an item can design it’s own sheath or case.
The principle followed on this project is: What job does the item have to do and how do we design the sheath while allowing it to do those jobs?
Lined glasses Case
Another great application for lining an item. building on the lining video, we look at adding a lining, but more importantly, an internal trim to hid the edges of that lining. This makes it possible to line an item with any material.
Zipped Pouch Simple Seam
Zips again! Here we look at adding a zip to a folded piece of leather and stitched with a simple seam. Not overly technical and a great introduction to adding zips.
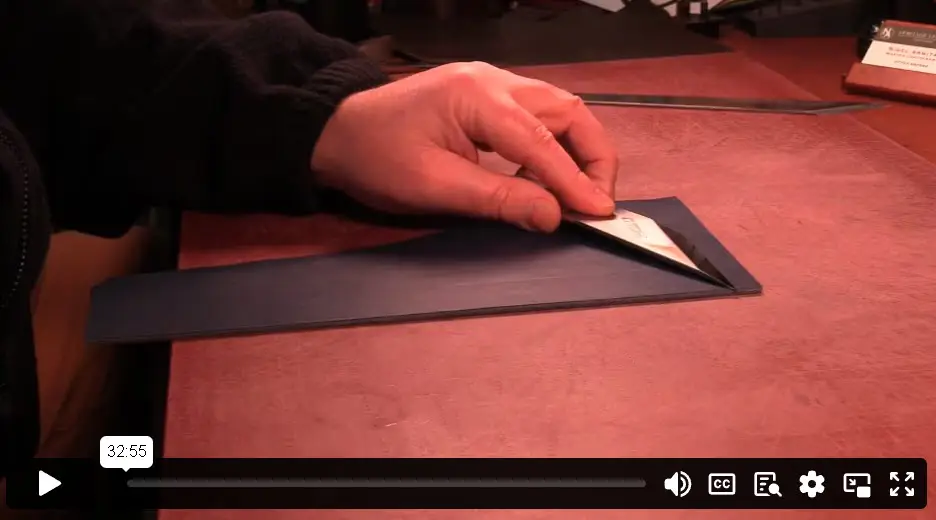
Simple Wallet Template
Part 1 of the Wallet build looks in detail at the Template. Building on from the Card Holder, here we change the design slightly, go deeper into skiving and create a simple bi-fold wallet.
Simple Wallet Leather
Part 2 of the Wallet build now looks at cutting and preparing the leather for stitching. We go a little mad on the skiving, but the results are worth it.
Belt Projects
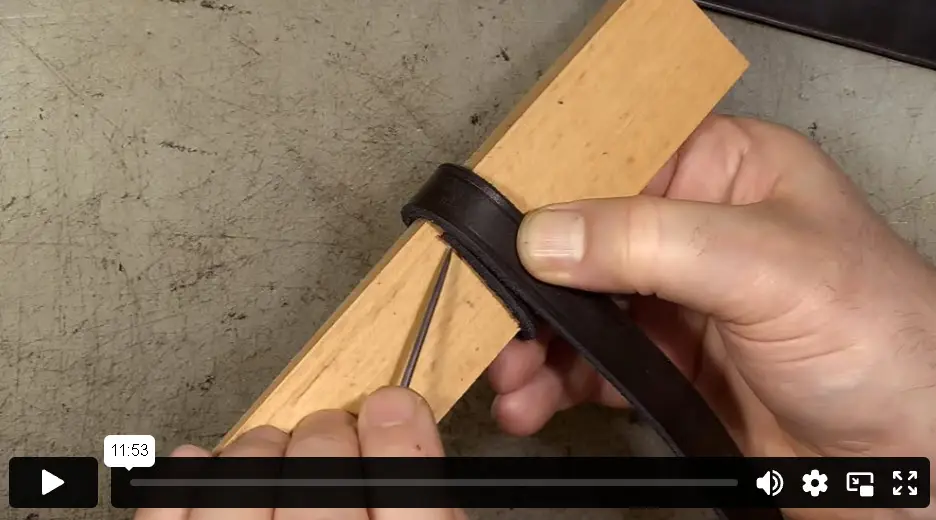
Making a Leather Belt Keep -
This is an excellent approach to making belt keeps. Not all keeps are stitched into place. We can have loose keeps which are attached like metal ones or running keeps that slide along the full length of the belt.
Stitching in a Loose Leather or Metal Keep -
Now we know how to make a leather keep, we can add this, or indeed a metal keep to our belt. This technique shows you how to stitch in a loose keep.
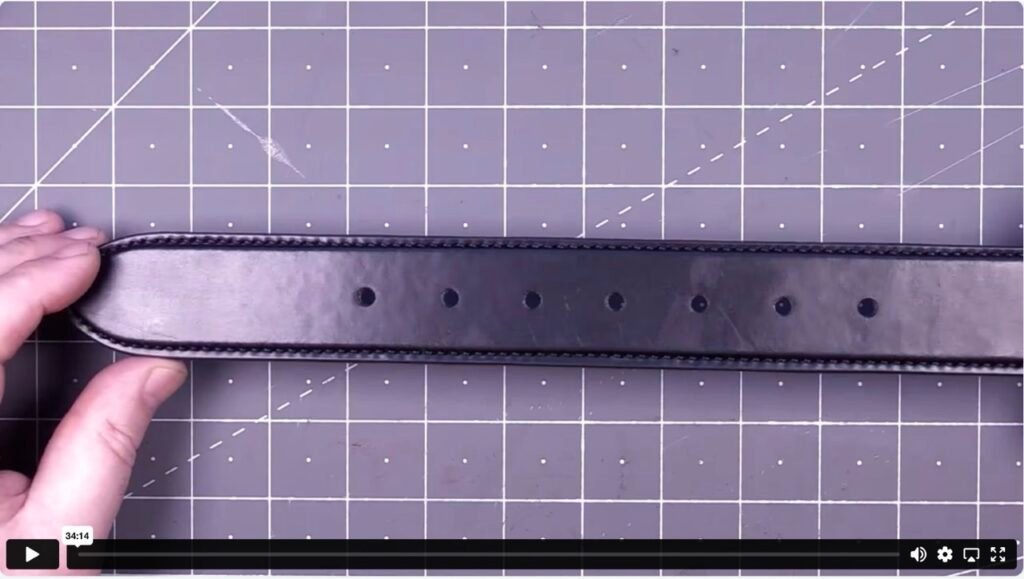
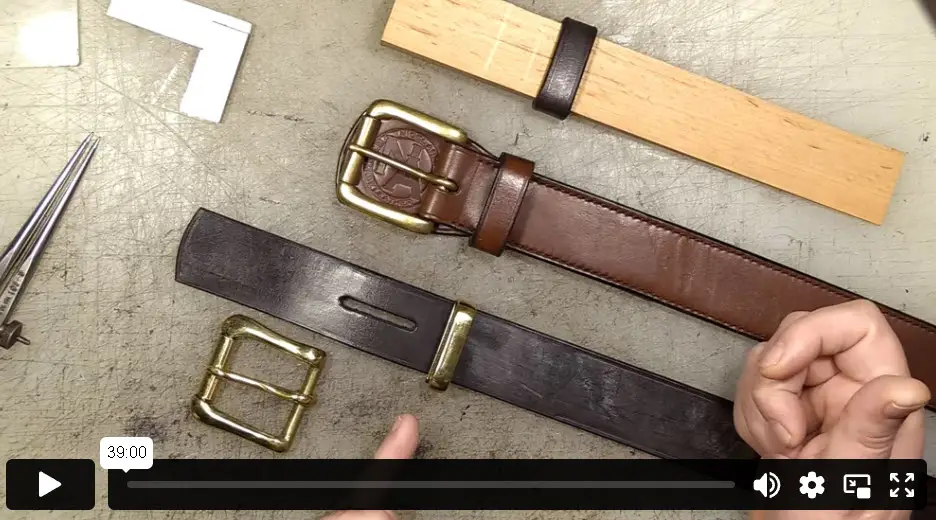
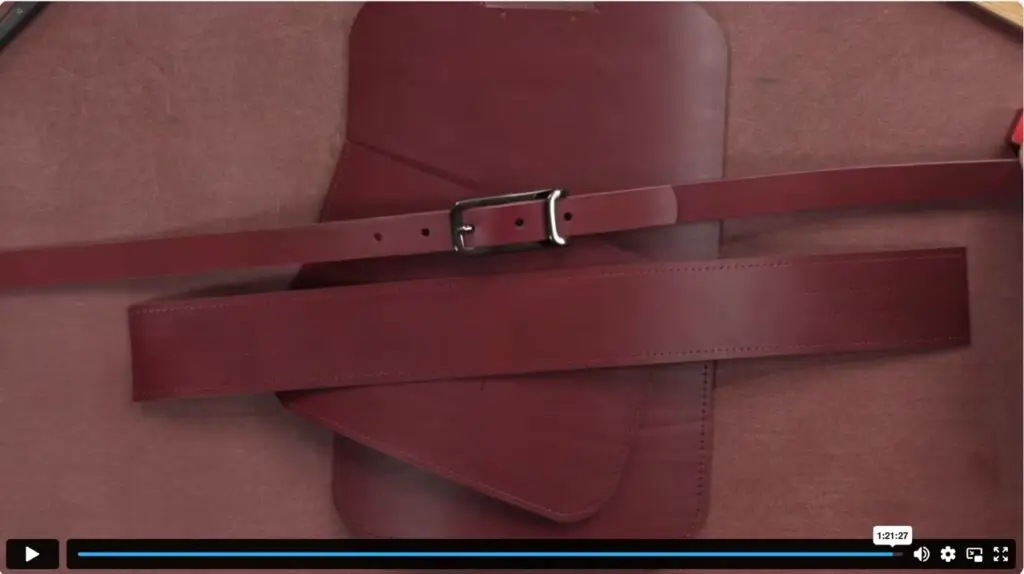
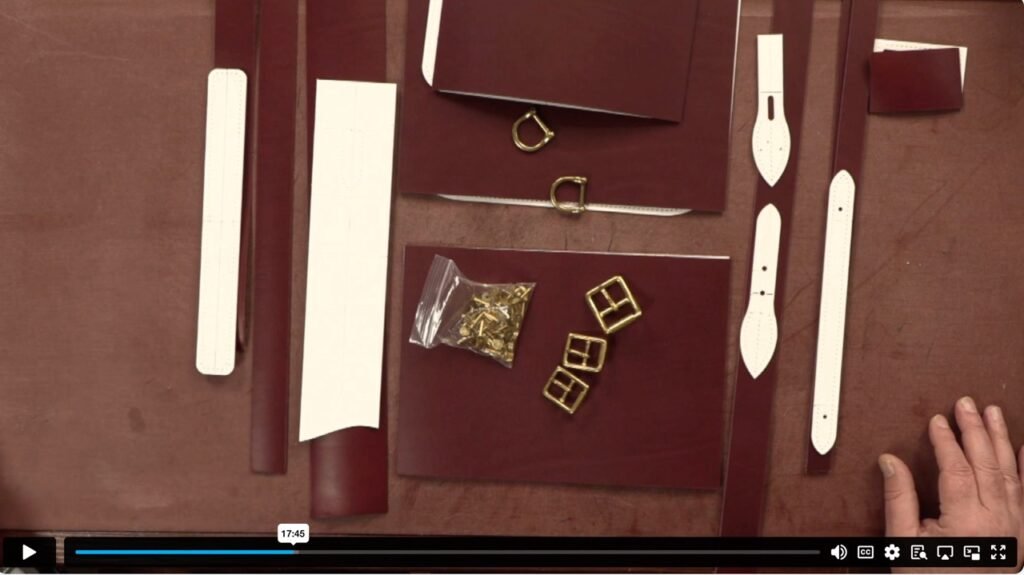
Making a Belt Introduction Part 1
Part 1 of 6 Here, we begin a series of videos on Belt Making. In this introduction, I discuss what the belt will be, discuss choices in leather, hardware and keep options.
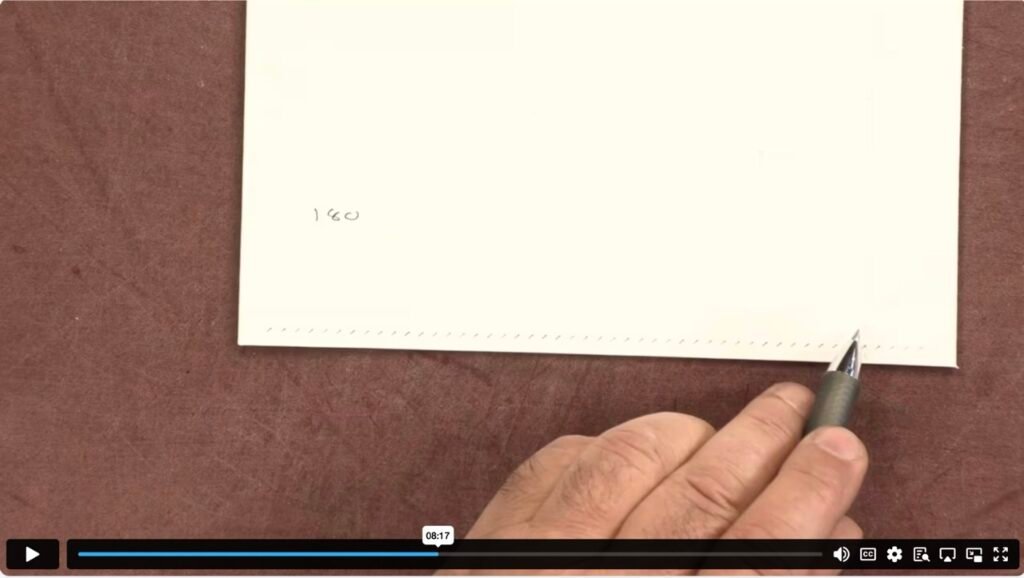
Making a Belt Template Part 2
Part 2 of 6 Always a critical part of any build, the template. For a belt, the template is quite unique, not only does it give us all the information we need to take to our leather… It also helps us to correctly measure our belt.
Making a Belt Cutting the Leather Part 3
Part 3 of 6 Leather choice and cutting options.
Making a Belt Creasing and Bevelling Part 4
Part 4 of 6 Creasing and bevelling the belt.
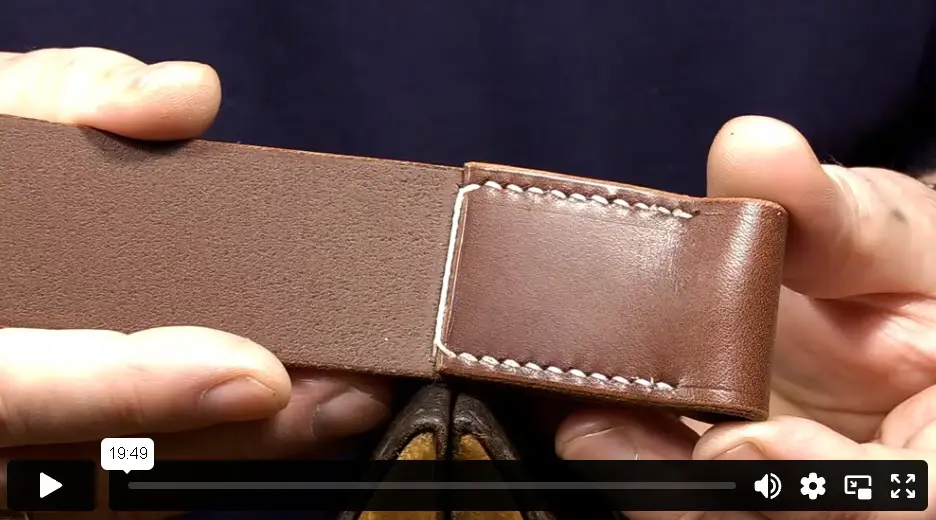
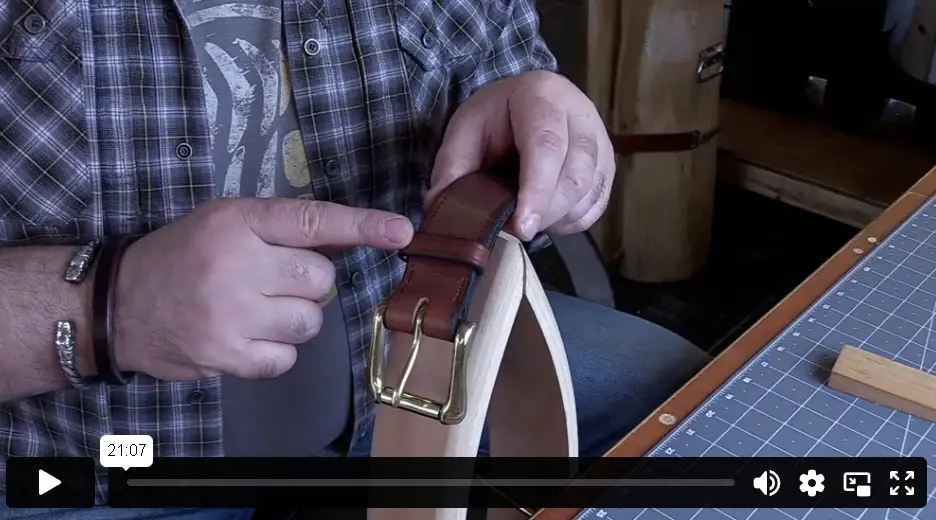
Making a Belt Making the Keep Part 5
Part 5 of 6 Making the keep for the belt. This is a little different to the Keep Making video.
Making a Belt Stitching the Belt Part 6
Part 6 of 6 How to stitch the belt together.
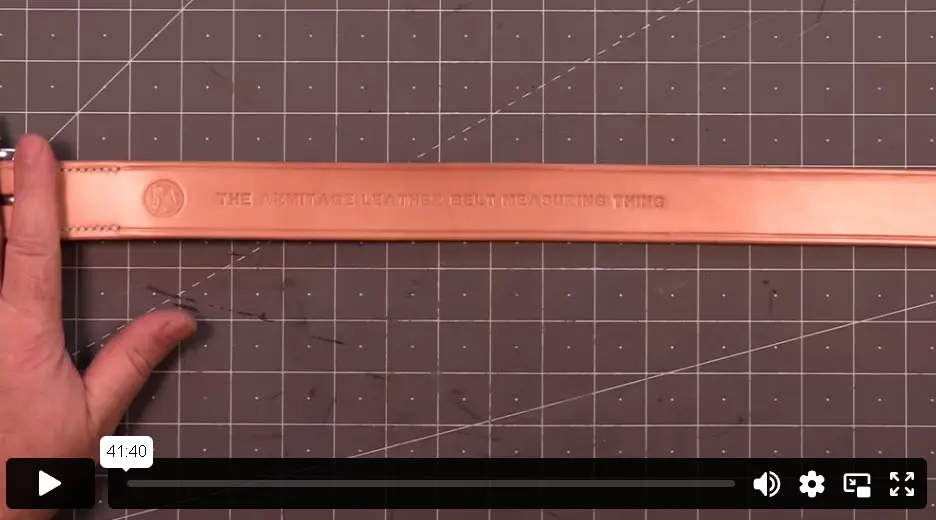
The Armitage Leather Belt Measuring Thing
The perfect tool for a belt maker’s workshop. This is a belt customers can try on and it will give you the exact size of belt that customer requires. A must have for custom belt makers.
The Notebook Project
The Notebook Introduction Part 1
In this series, we begin to look at making a notebook. Measuring the notebook, Pre-Pricking the leather, skiving the edges and getting a face stitch both front and back are the focus of this project.
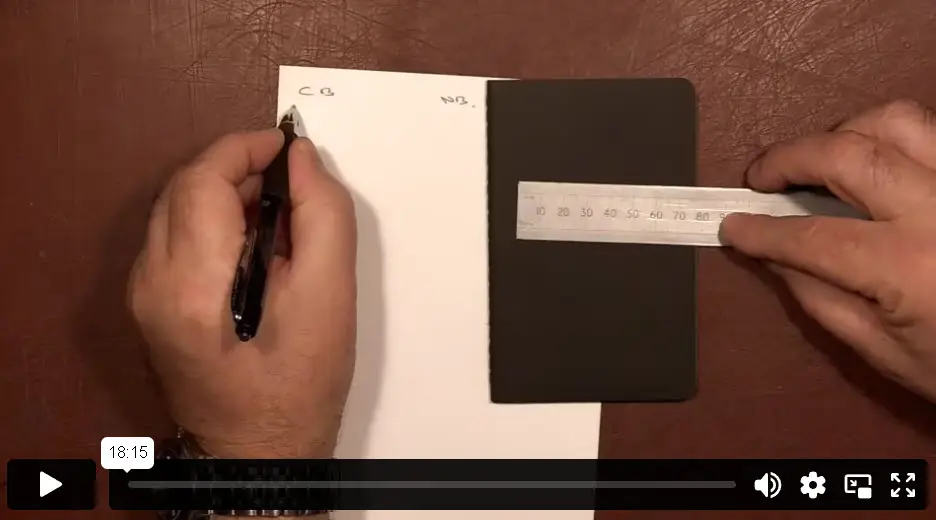
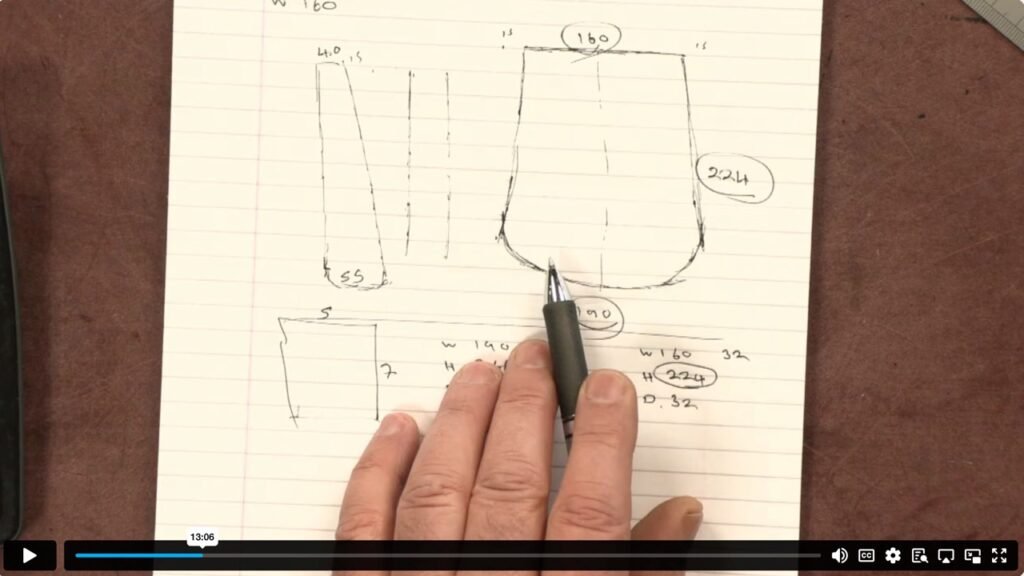
The Notebook Measuring the Book Part 2
Part 2 of 9 How you measure the notebook, adding the seam allowance, wriggle room and thickness. Along with calculating the bend of the book make this part of the series a must watch.
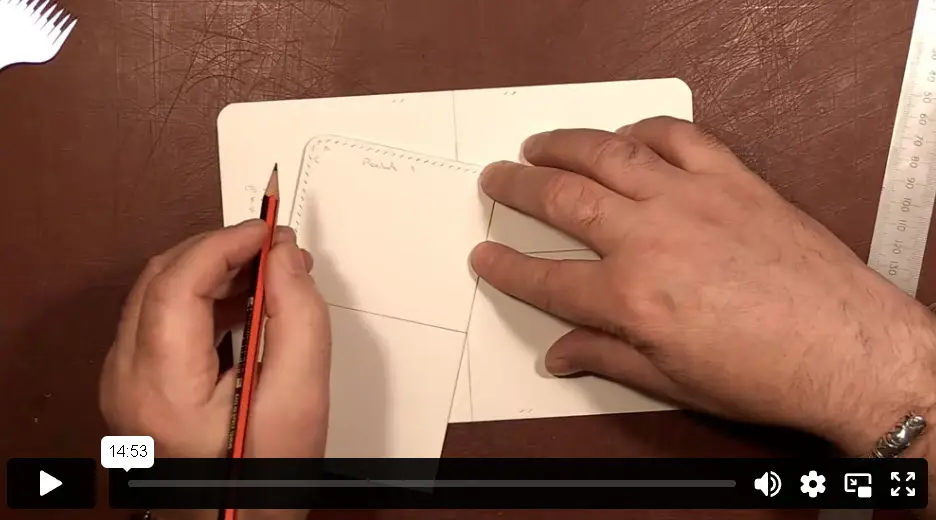
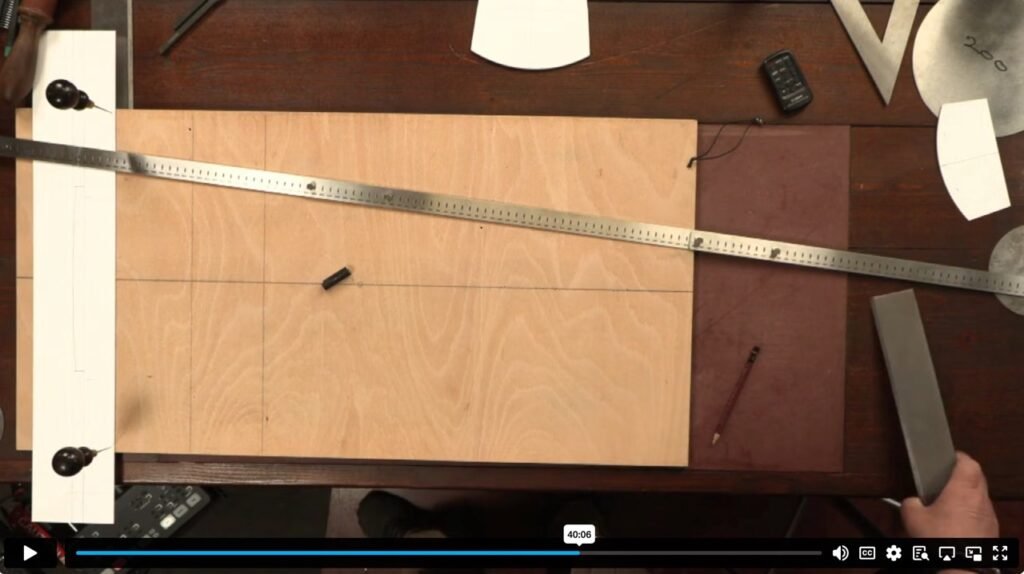
The Notebook Making the Template Part 3
Part 3 of 9 With all measurements obtained in the previous video. It’s now time to apply those to the template.
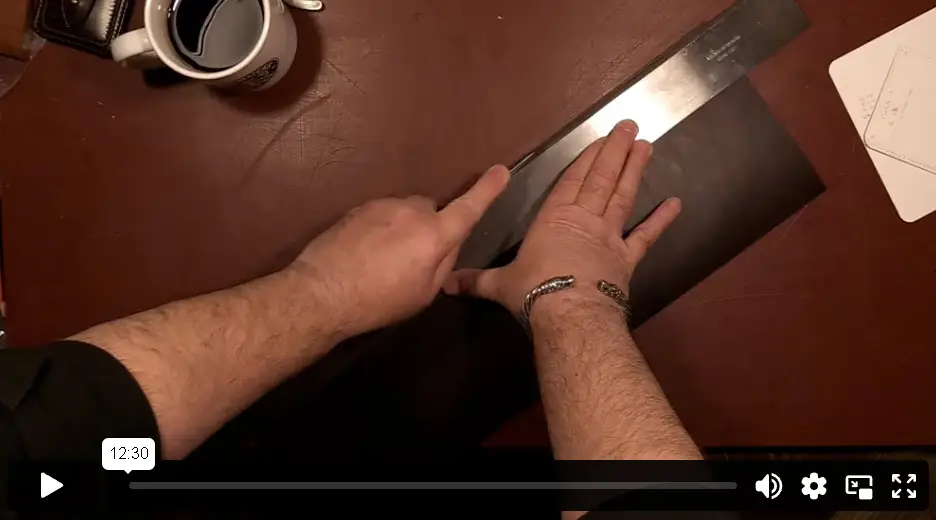
The Notebook Cutting the Leather Part 4
Part 4 of 9 Is there a correct way of cutting the leather for a project like this? Of course there is! Lets take a look.
The Notebook Creasing and Bevelling Part 5
Part 5 of 9 Where to crease and bevel prior to construction is important knowledge. This is all part of knowing the order of process. Get it right… a good build follows.
The Notebook Stitch Marking Part 6
Part 6 of 9 Applying our stitch marks to the leather is another critical step to our build. Getting it wrong can ruin an item.
The Notebook Edge Dressing Part 7
Seven of Nine Nuff said!
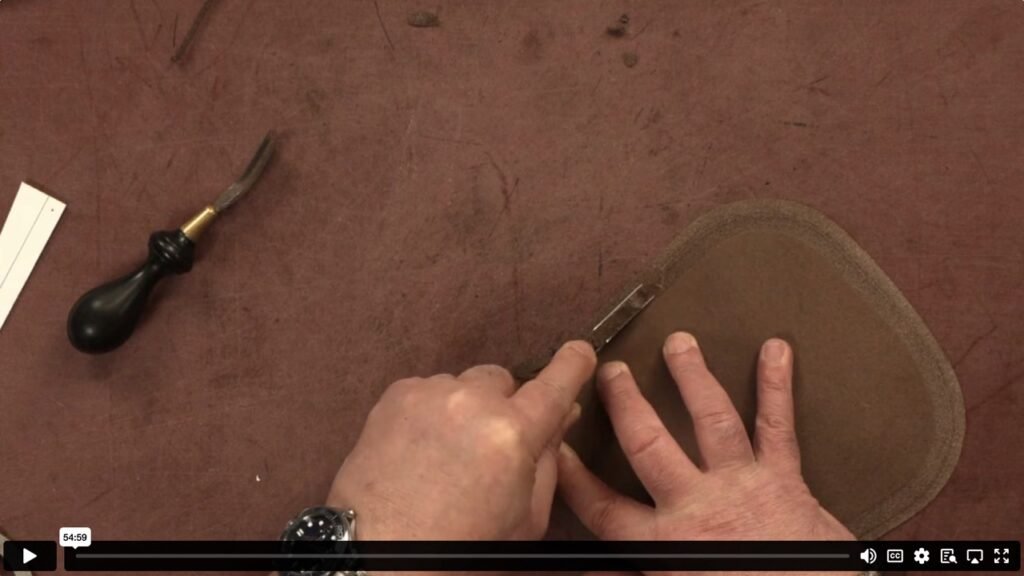
The Notebook Skiving the Edges Part 8
Part 8 of 9 I will start by saying this is optional. If skiving is not your thing, it is very easy to ruin an item by hacking at the leather. However, if you have practiced the skill and are able to do so, this technique can really elevate an item.
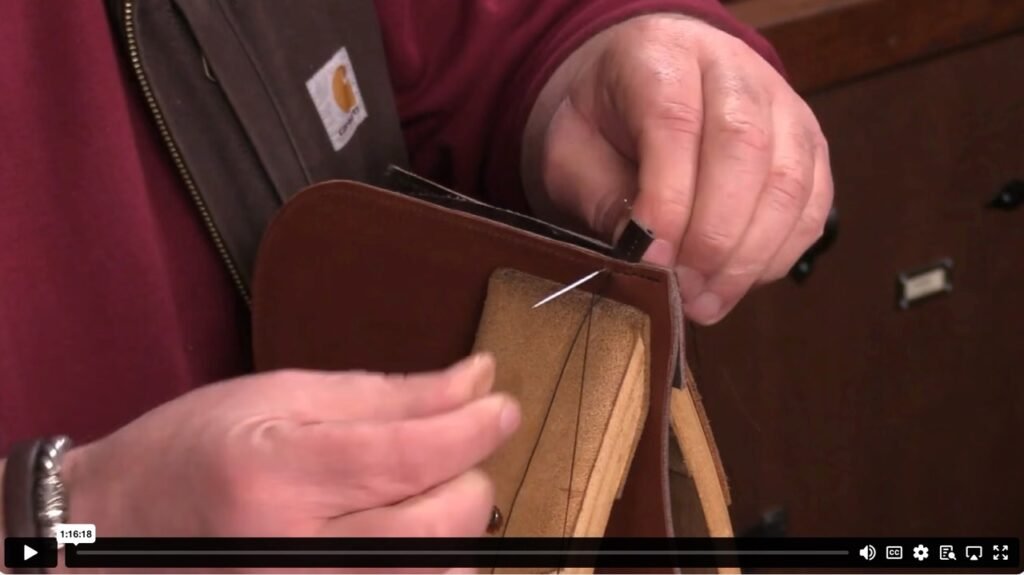
The Notebook Stitching and Finishing Part 9
Part 9 of 9 The final part in the order of process. Dressing the edges. This is where we see all of the skiving really come to life.
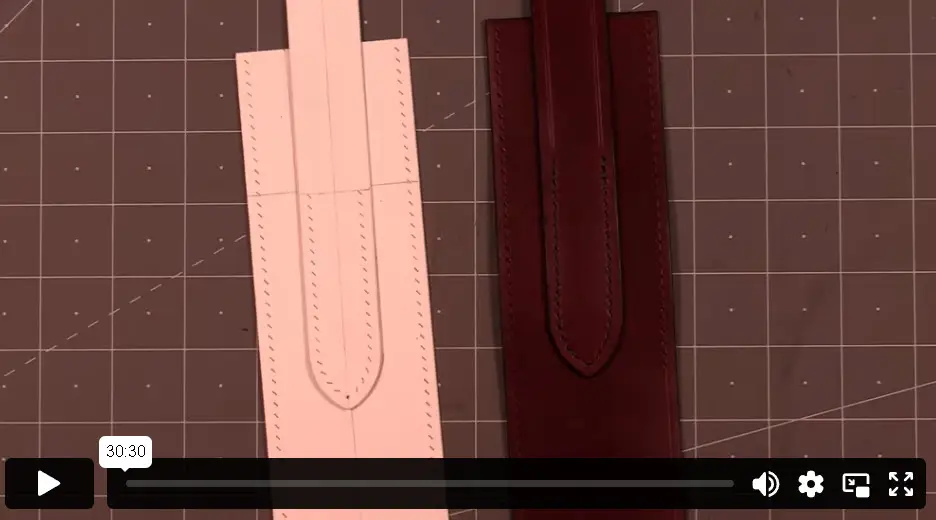
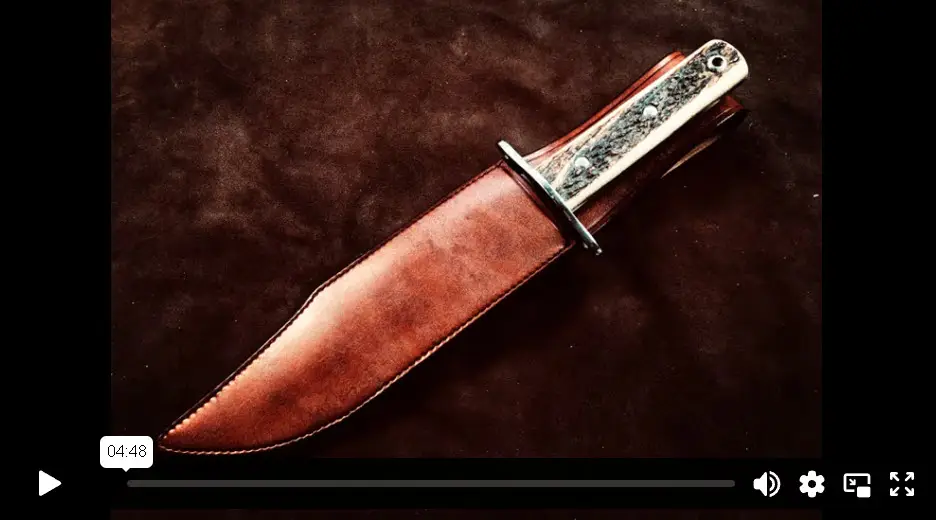
The Classic Knife Sheath Project
Classic Knife Sheath Introduction Part 1
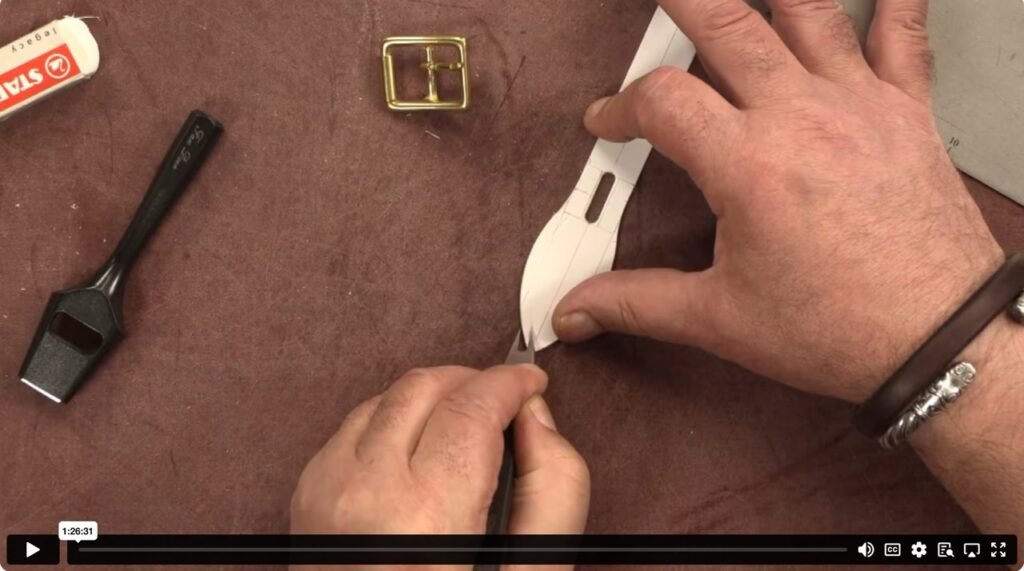
As leatherworkers, at some point, we will be asked to make a knife sheath. In this series, we look at a very simple design of knife, examine how to measure it, allow for the welt and taper and look at how we create the belt loop.
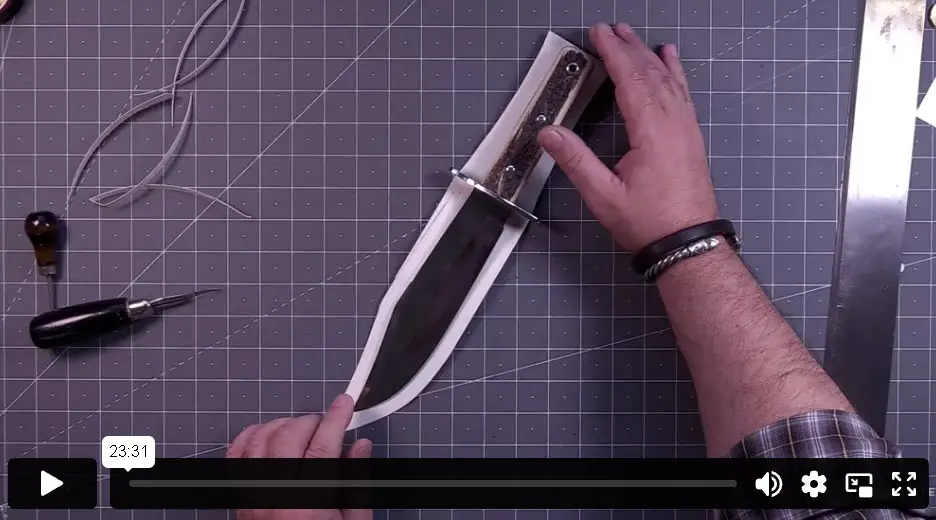
Classic Knife Sheath Template Making Part 2
Part 2 of 6 In this part, we examine how to measure the knife, allow for the welt and taper and look at how we create the belt loop. With this information, we create our template.
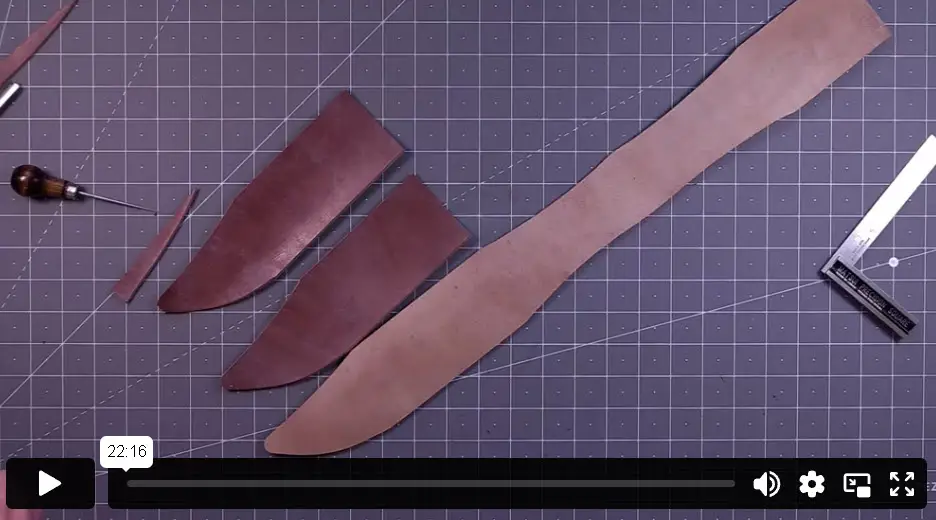
Classic Knife Sheath Cutting the Leather Part 3
Part 3 of 6 Taking the information and template from part 2, we look at leather choice and cutting.
Classic Knife Sheath Stitch Marking Part 4
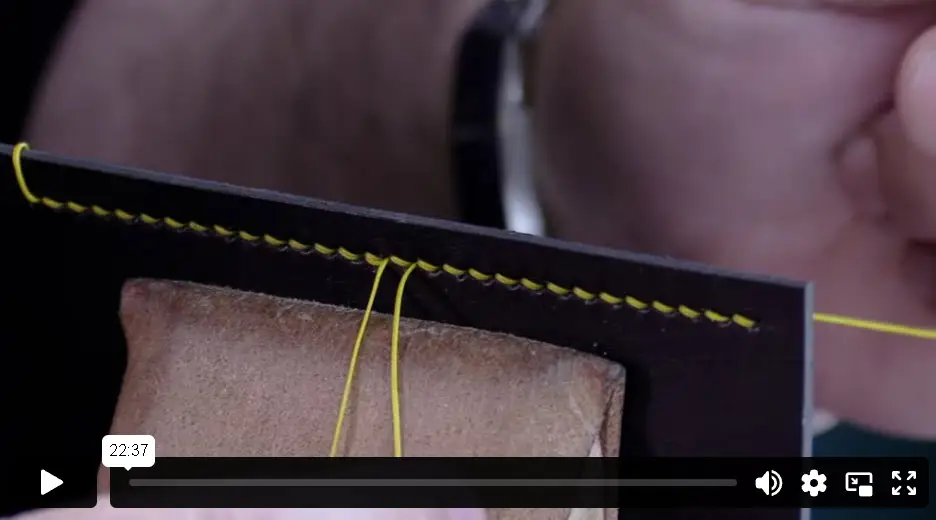
Part 4 of 6 We will be dealing with multiple layers of leather in this project. Here we look at how best to apply our holes to the leather to ensure we can follow the path of least resistance.
Classic Knife Sheath Stitching the Sheath Part 5
Part 5 of 6 Stitching multiple layers can be a challenge. We look at how we have made our holes to make this task easier and also what else can be done to assist with the task.
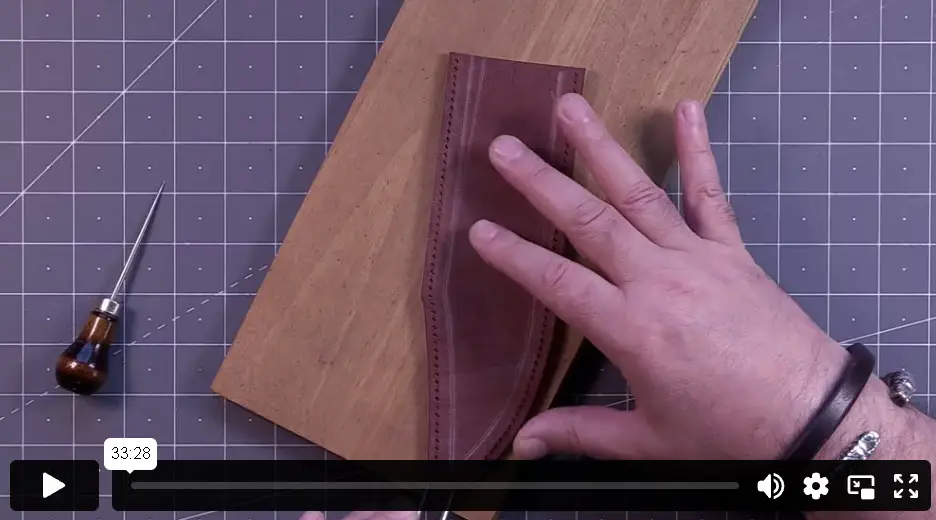
Classic Knife Sheath Edge Dressing Part 6
Part 6 of 6 The final part of our project, dressing the leather. Often on thicker items will involve some sanding and a lot of rubbing.
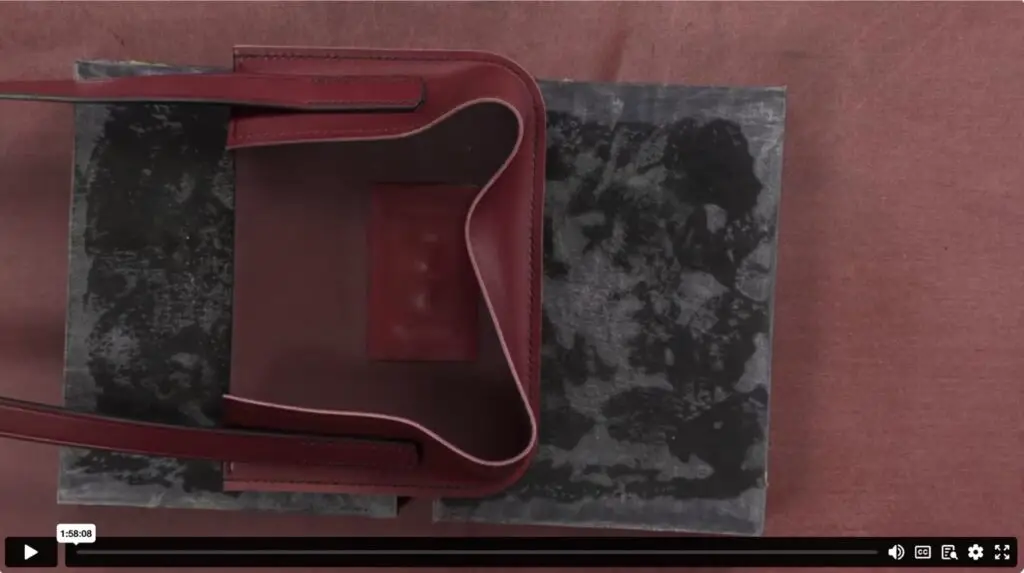
The Dopp Bag Project
The Dopp Bag Introduction Part 1
An absolute classic! This item is widely made but often on a machine. Here we look at how to create a template, adjustable to whatever size you want and make it fully by hand. This series continues into the advanced section with parts 5 and 6 where we look at lining a Dopp Bag.
The Dopp Bag Template Making Part 2
Part 2 of 6 The emphasis here is any size you want! I have chosen a set of dimensions, but you can adjust these to suit your needs. We then apply those dimensions to the template.
The Dopp Bag Cutting the Leather Part 3
Part 3 of 6 With the correct template, this section is relatively easy to follow. Make your leather look like your template.
The Dopp Bag Stitching Part 4
Part 4 of 6 Definitely one to follow carefully, the order in which this item is stitched together is quite specific. It’s not difficult to grasp, but it is important. This series now continues in the advanced section with lining in part 5 and 6.
The Development of a Bag Project
Development of a Bag
The Development of a bag is a series of 5 projects over 8 videos.
It makes its start with the simplest projects in the Beginners Section with a Slip Sheath and a Flat Pouch. It continues here with the Intermediate projects, the Possibles Pouch and the Travel Bag. It then finishes in the Advanced section with the more complex Saddle Bag.
Development of a Bag Project 3 Possibles Pouch
Part 3 of 7 In this video, we look at continuing the development of a bag started in the beginners section with the slip Pouch and Flat Pouch. Here we expand on the previous projects by adding a gusset and expanding the bend.
Development of a Bag Project 4 The Travel Bag
Part 4 of 7 With gussets under our belt, we begin to look at a design change at the bottom of the bag along with adding weather flaps. This project then continues into the advanced section with the saddle bag.
Watch Strap Projects
Watch Strap Straight
Here we look at the simplest version of a watch strap, straight and flat. Don’t underestimate it though, these simple watchstraps look beautiful. This video covers the template and build.
Watch Strap Tapered
Building on the straight, flat watchstrap, we change the design here a little and taper the strap. This begins to expose the more classic design we are used to seeing in watchstraps.
A Raised Watchstrap is covered in the Advanced Section.
Shoulder Bag Project
Shoulder Bag The Template
A simple enough project for any intermediate leatherworker. However, it is rich in skills and a real consolodation of all the recent template videos.
Shoulder Bag Cutting The Leather
In this section of the project, we look at what leather to use, how to apply the information from the template to the leather to ensure we cut all of our pieces out and mark them correctly.
Shoulder Bag Dressing and Stitching
In this section of the project, we look at dressing all the parts of the bag that cannot be done once stitched. Then, we move onto the stitching and order of process.
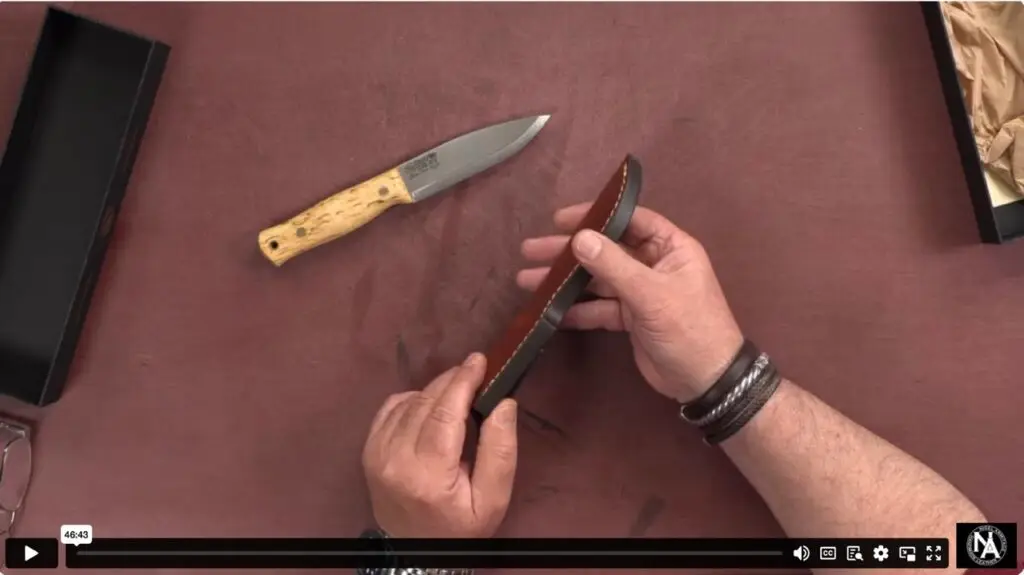
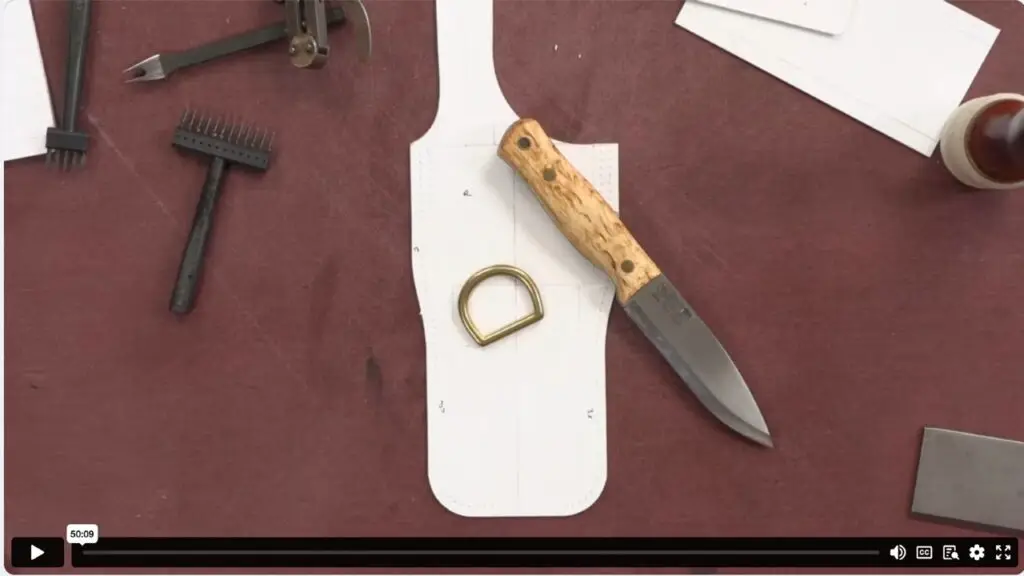
The Bushcraft Sheath
The Bushcraft Sheath Measuring the Knife
The Bushcraft Knife Sheath is one well suited to the Woodlore style knife.
It is a simple and versatile design with the main body being a single piece which als forms the belt loop. In this video, we look at how to measure your knife.
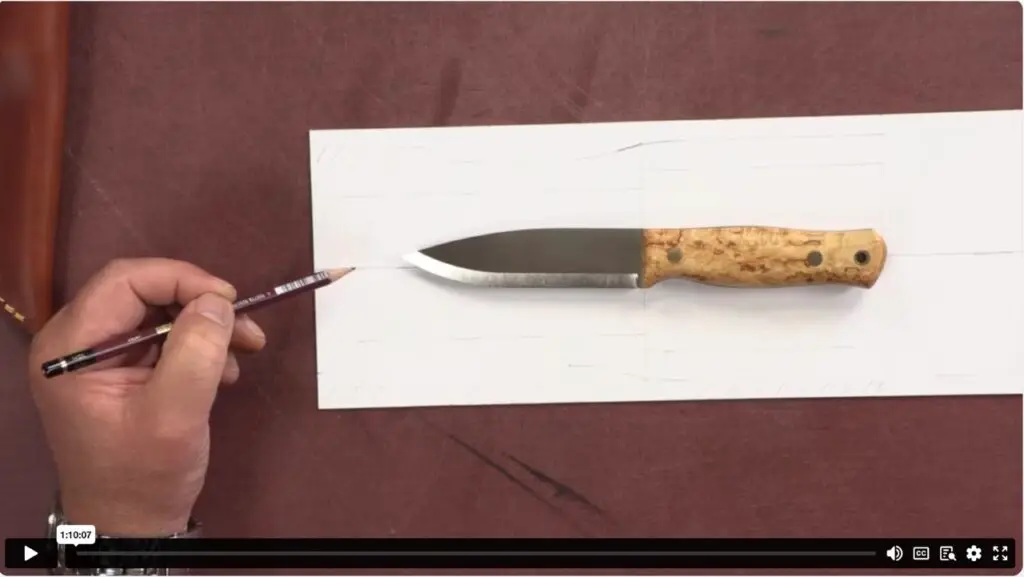
The Bushcraft Sheath Template Part 1
In this video, we begin to make the template for the sheath. This is where adjustments can be made to suit your knife. We cover what needs to be done and why.
The Bushcraft Sheath Template Part 2
Working on from Part 1, we develop the template to suit the knife. Like all good templates, all the information is needed before you even think of getting the leather out.
The Bushcraft Sheath The Leather Bit
In this video, we look at leather choice, cutting all the pieces needed and preparation of them.
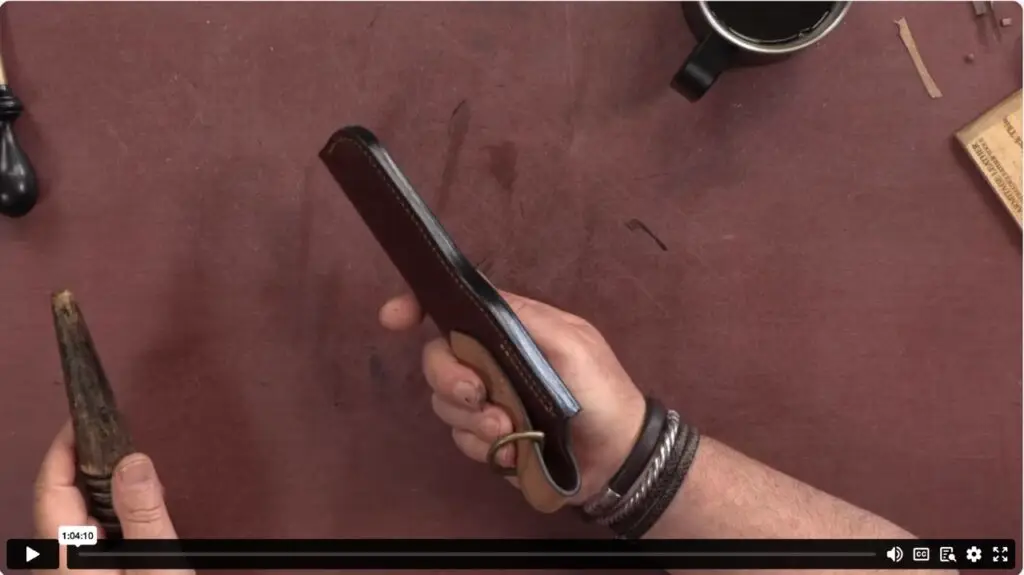
The Bushcraft Sheath Dressing the Leather
In this final part of the seris, we look at not only bringing the sheath to life, but protecting in from the elements by corectly dressing the leather in preporation for it’s roll.
The 'Hand' Bag
The 'Hand' Bag Introduction
Welcome to the ‘Hand’ Bag Project. This project looks at how any shape can be used to create an item. Imagine a Violin Case Handbag or an asymmetrical shaped bag, fitting a gusset to this type of bag can be difficult. Here we take a detailed look at adding a gusset to an odd shaped item.
The 'Hand' Bag Template
This is where the magic lives for an asymmetric item, the template. The template is of course, the cornerstone of any item. However, when you elevate your template making skills, anything becomes possible. In this video, we look in detail at that process.
The 'Hand' Bag Leather
It is in this video that we see the true power of pre-pricking. Asymmetric shapes, more holes on one side than the other, can it be done? Of course it can. Trust the process!
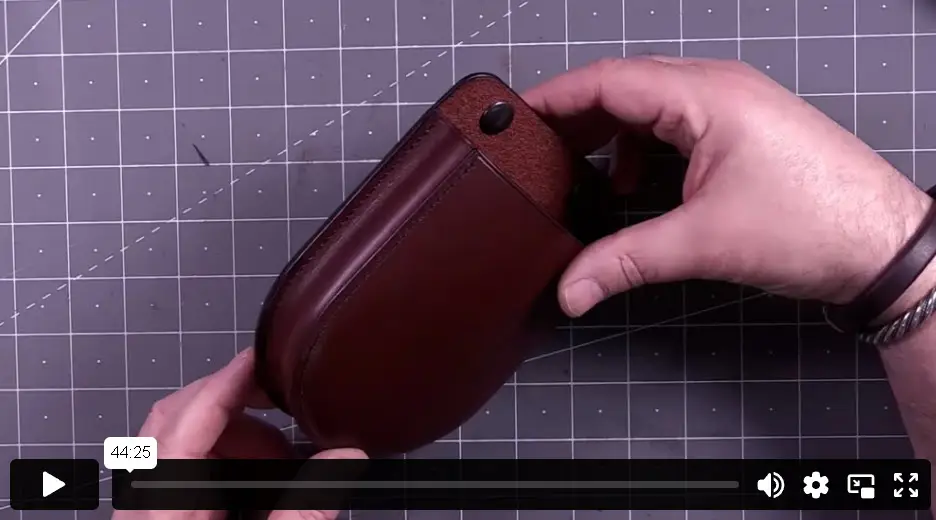
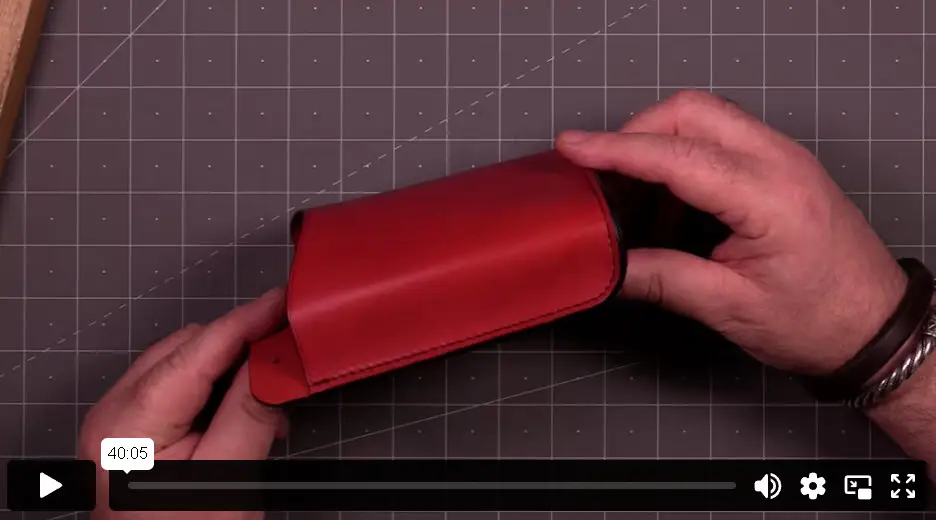
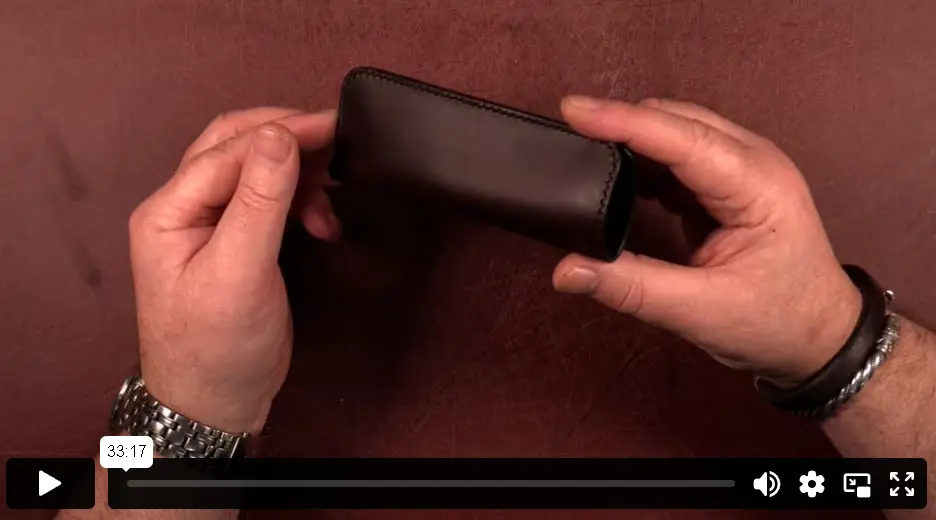
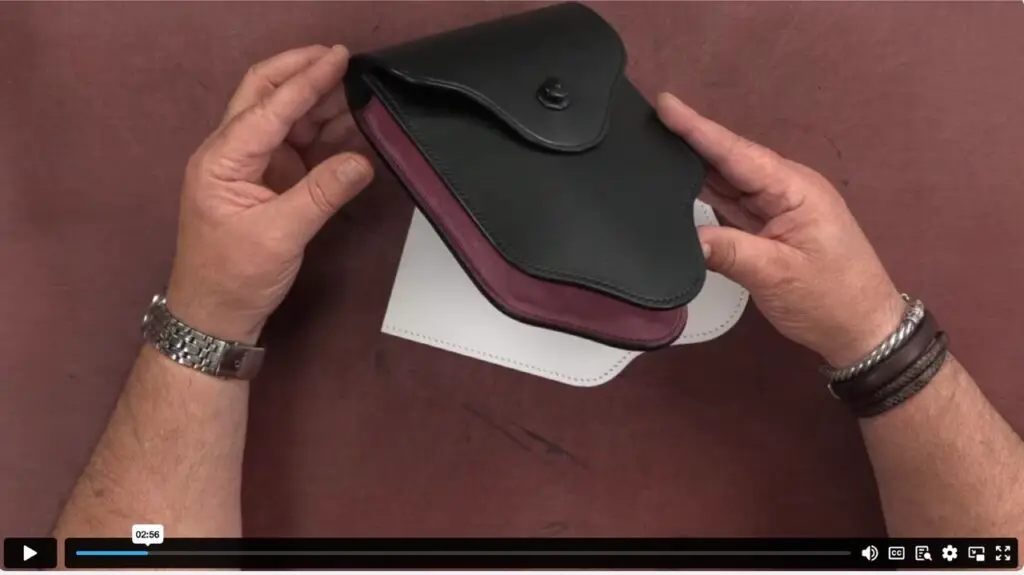
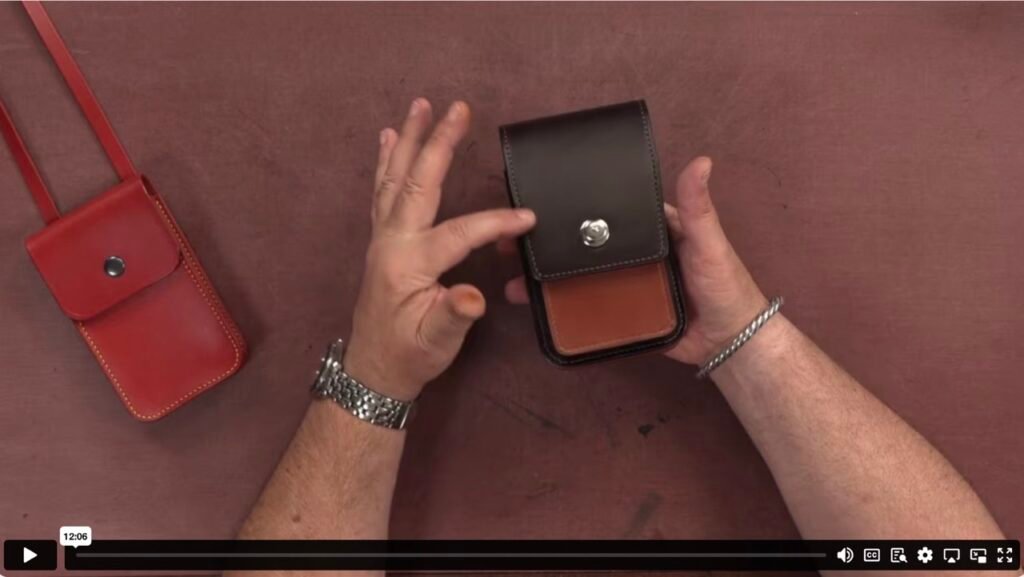
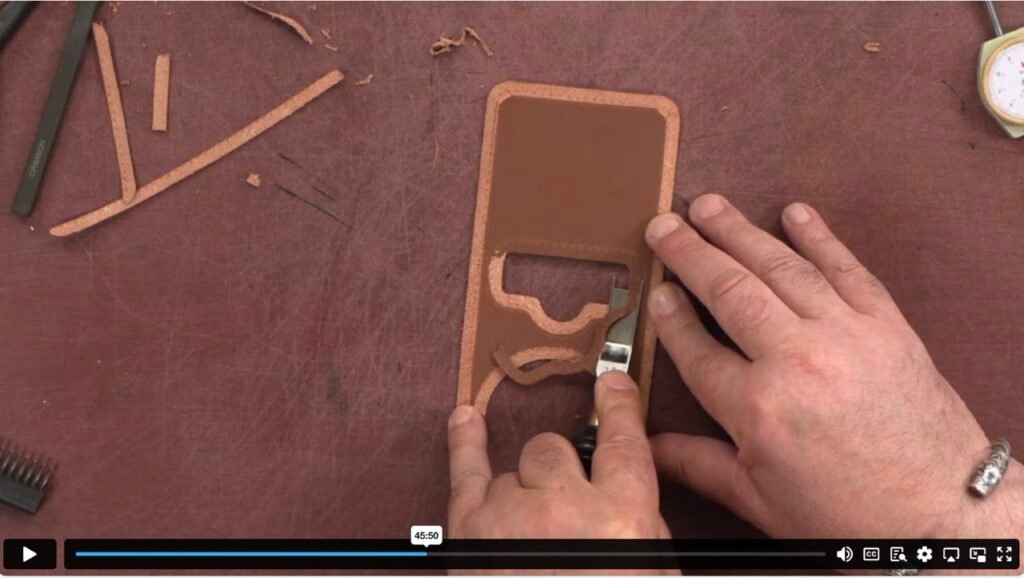
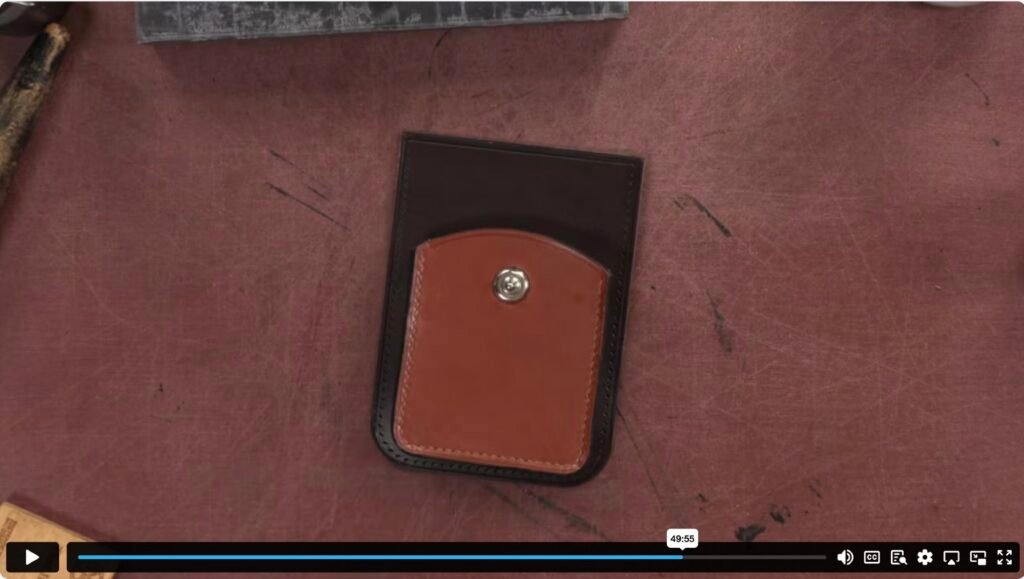
The Phone Pouch (The Nice One)
The Phone Pouch Introduction
Building on there concept of the phone pouch in the Beginners Section, we look again at the design. And run away with it! Similar in principle, but we use the proper tools, more techniques and add a whole bunch of stuff. A lot of fun to build and a real eye catcher.
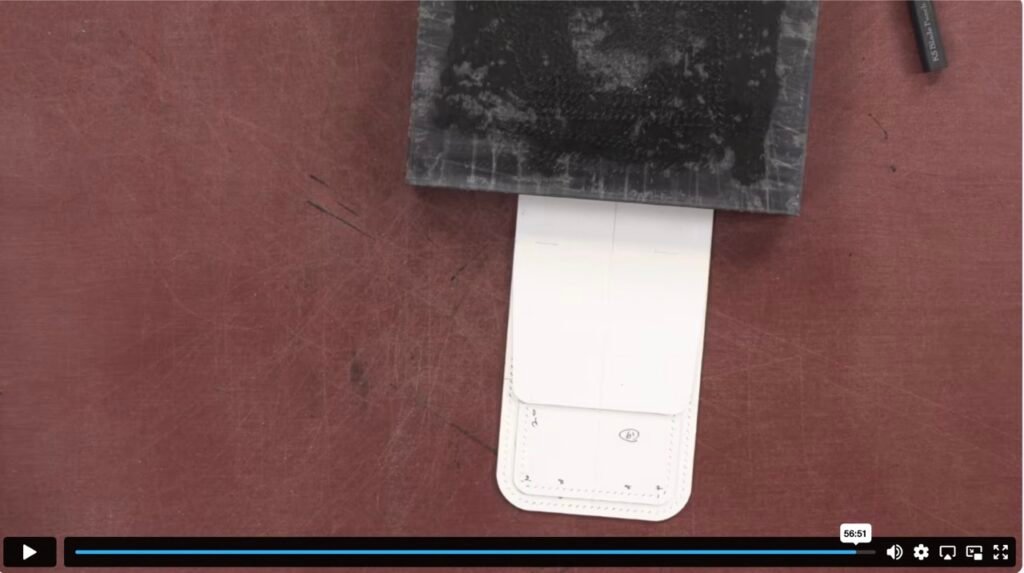
The Phone Pouch Body Template
Starting as always, we begin by gathering our measurements and applying them to our templates. In this video, we start with the body template.
The Phone Pouch Pocket Template
This template can be a choice. It is a cool addition and helps to elevate the item, but it is not an absolute requirement.
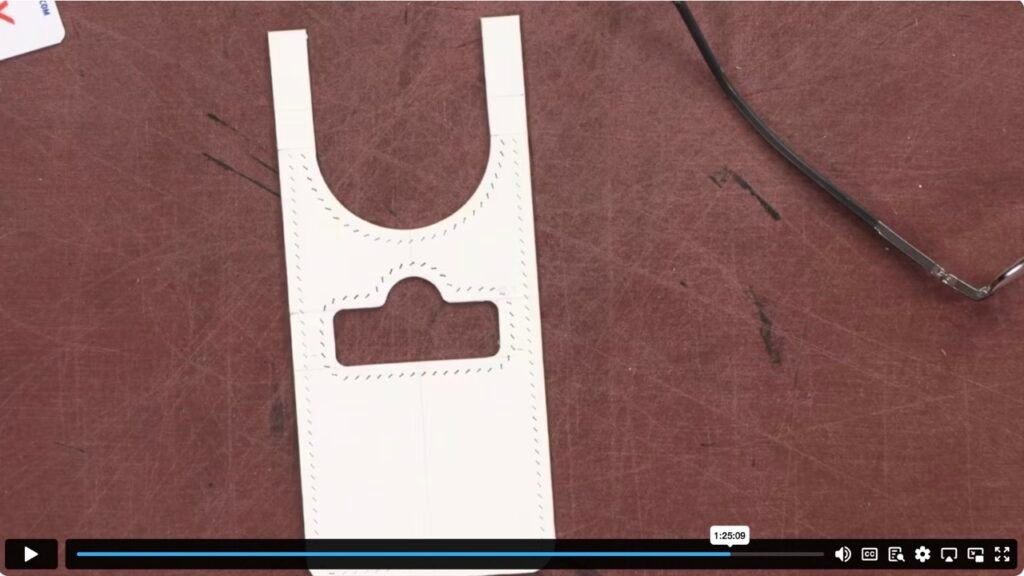
The Phone Pouch Yoke Template
This template can also be a choice. However, in this instance, it is how we will be attaching the strap to the bag.
The Phone Pouch Lining
Here we look at adding a lining to the pouch. It is leather which assists with keeping the edges simple so no binding is required. Even though it is simple, it elevates the item quite a lot.
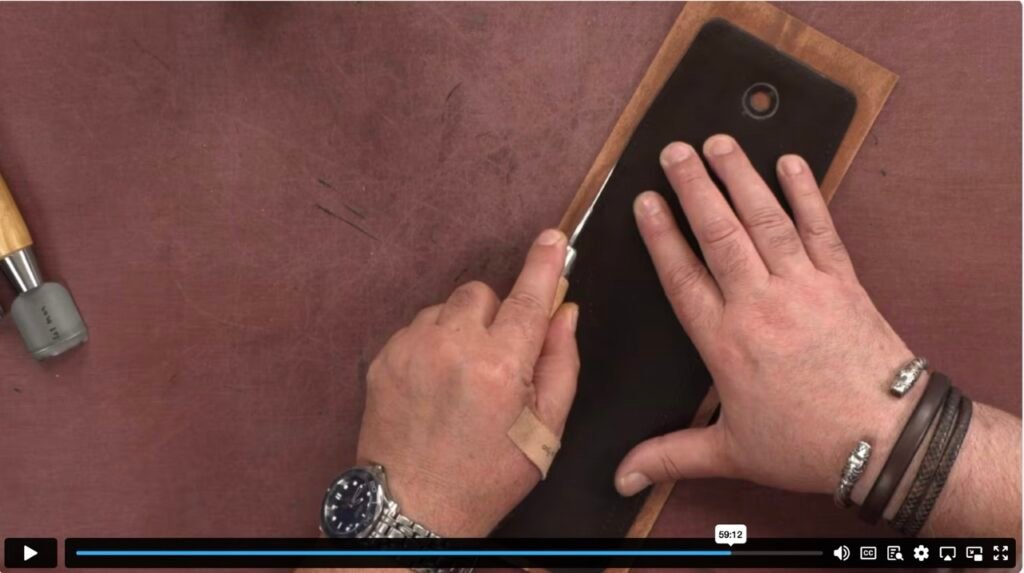
The Phone Pouch Yoke Leather
We can now begin to prepare the leather for construction. There is quite a bit of skiving here, so practice first. It can be left off if you are not confident, but it does help to give the pouch some depth.
The Phone Pouch Stitching the Pocket
Moving back to the front of the pouch, we begin to look at stitching the small gusseted pouch on to the front of the larger pocket.
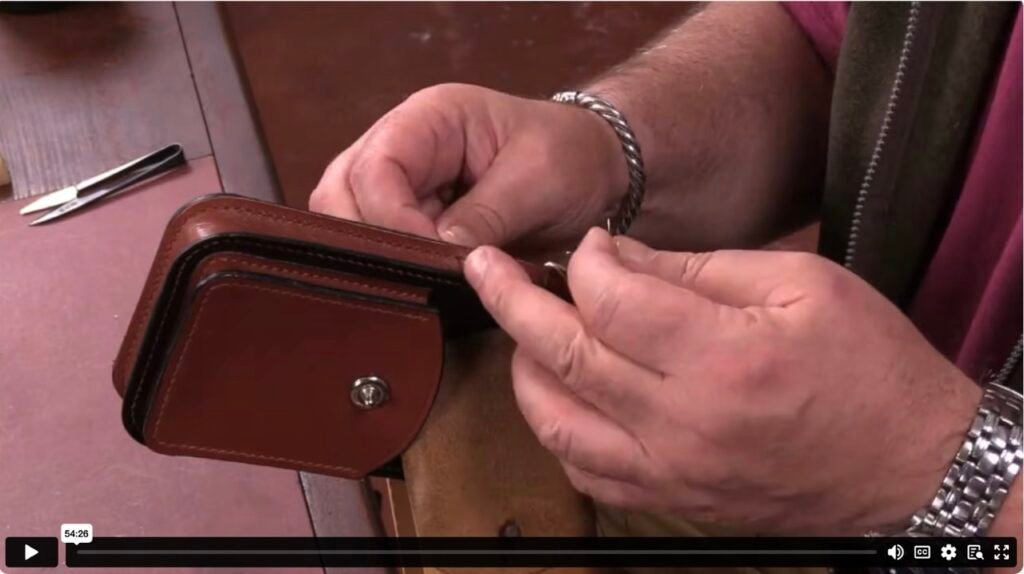
The Phone Pouch Stitching the Body
The project now comes to a conclusion with the body being stitched together. This final stage brings everything together where we can see the beauty of the item come to life.
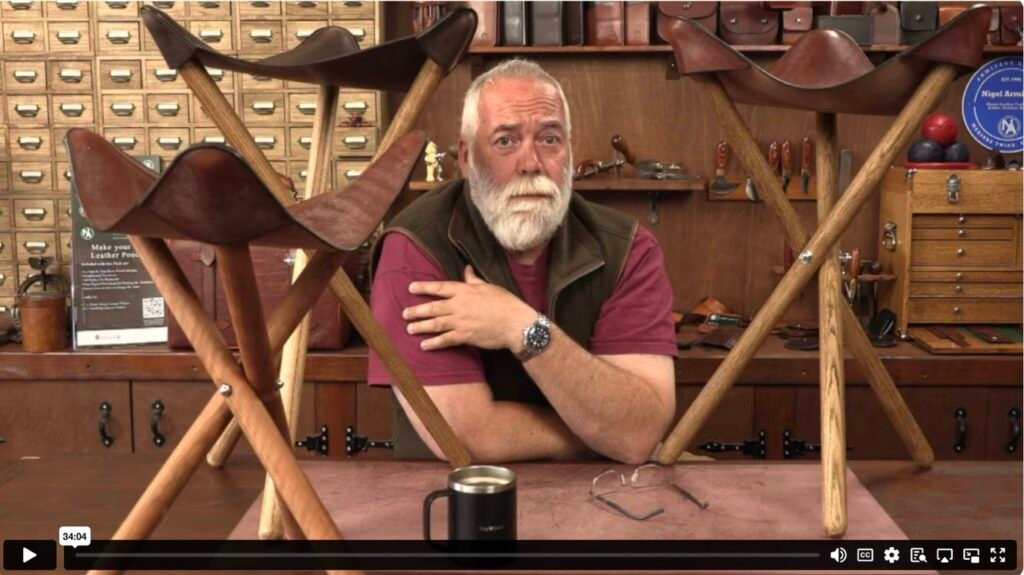
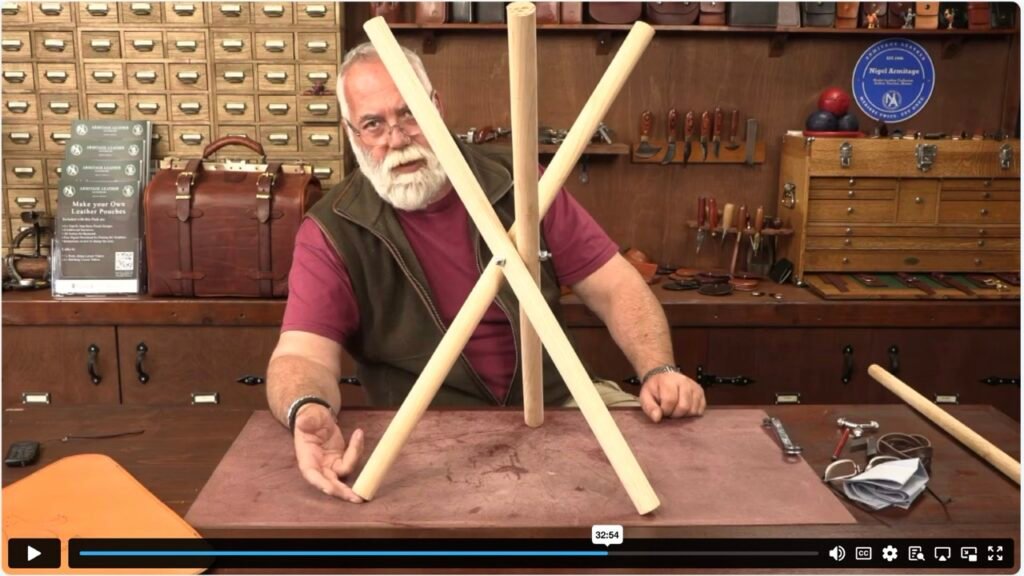
The Tri-Stool
The Tri-Stool Template
Welcome to the Tri-Stool Project, Template section. Here we look at a simple triangle shaped template with slip pocket corners that once transferred to the leather will become the seat for our Tri-Stool.
The Tri-Stool Leather
Moving on with this project, we look at sizing the seat, selecting the leather and cutting out the sections for construction. I also add a bit of personal detail which is optional.
The Tri-Stool Legs
The small bit of stitching required is covered in this video, but in the main, it is all about the legs. This stool can be so diverse and the legs help with offering that variety.
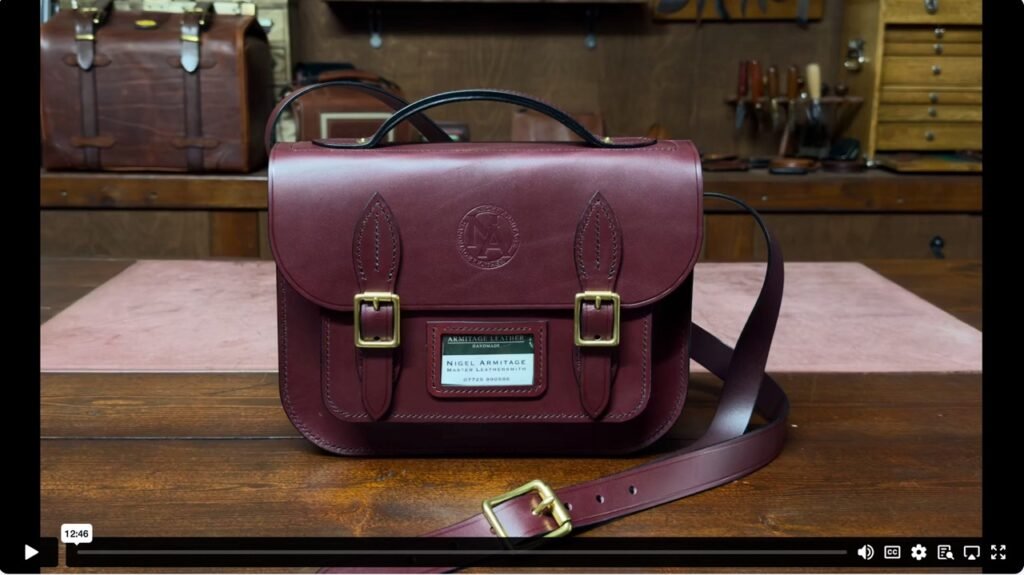
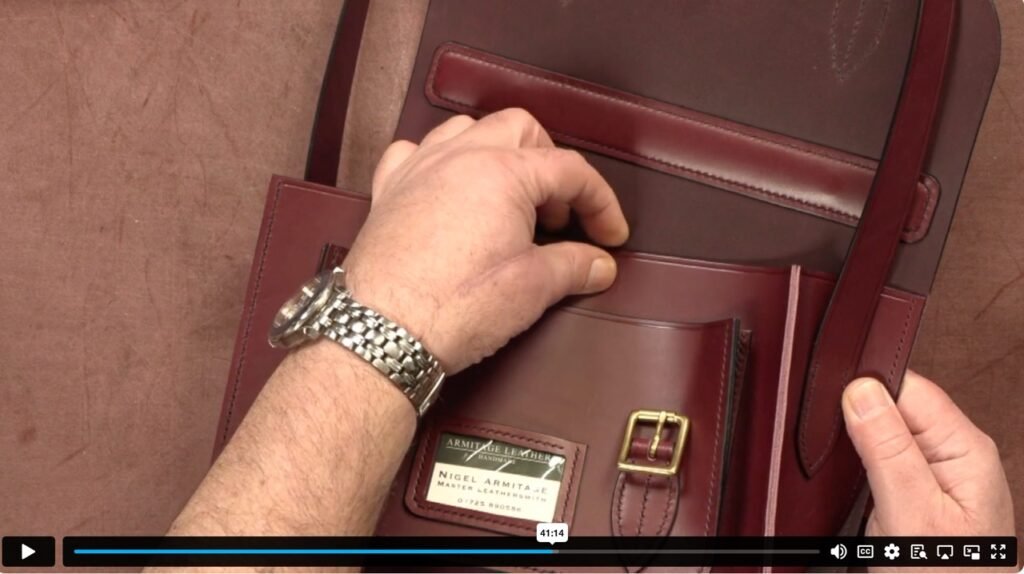
The Old School Satchel
Satchel Intro
In this series, we take a look at the classic School Satchel. This design may well be over 100 years old, but the concept of the satchel may go back as far as the Romans. Thats one more thing they have done for us.
Satchel
Template 1
In this video, we look at the dimensions of a Satchel, how we can adjust them to our purpose and begin the template. In this build, I reduce the size by 25% but give you the full size dimensions on the off chance you want a larger version.
Satchel
Template 2
Moving forward with the template, we begin to look at pocket and buckle tab placement,
Satchel
Template 3
For a simple little bag, there is a lot to it. We continue with the templating of this build covering gussets, bend, flap, pocket and placement of the closures.
Satchel
Template 4
Moving on with the templates, we now include the handle, how it is attached, its support and cover for that support.
Satchel
Leather 1
Having spent a lot of time on our templates, our understanding of the construction of the bag is now very clear and all errors have been factored out. Time to get our leather out.
Satchel
Leather 2
Moving on with the leather, we begin to look at the smaller parts and the finer details of the satchel..
Satchel
Dressing the Leather
Prior to stitching, we want to dress all the parts of the leather that cannot be dressed once it is stitched together. We also look at adding the PVC for the window and making the holes for the tabs.
Satchel Stitching 1
We begin to stitch our bag in this video. There is certainly an order of process required, we take a look at that in detail.
Satchel Stitching 2
This is the final video in the series. Here we look at the final part of the stitching needed to complete the bag. Over to you.
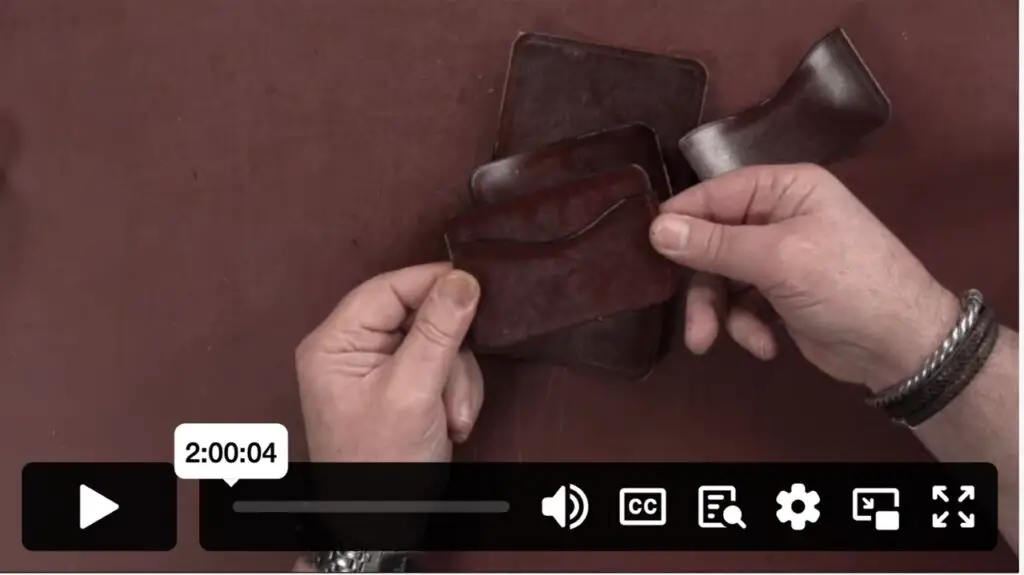
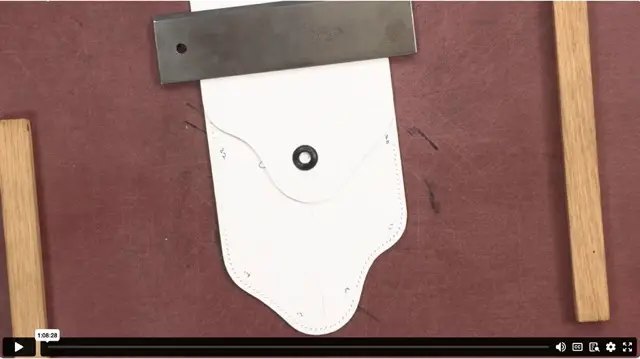
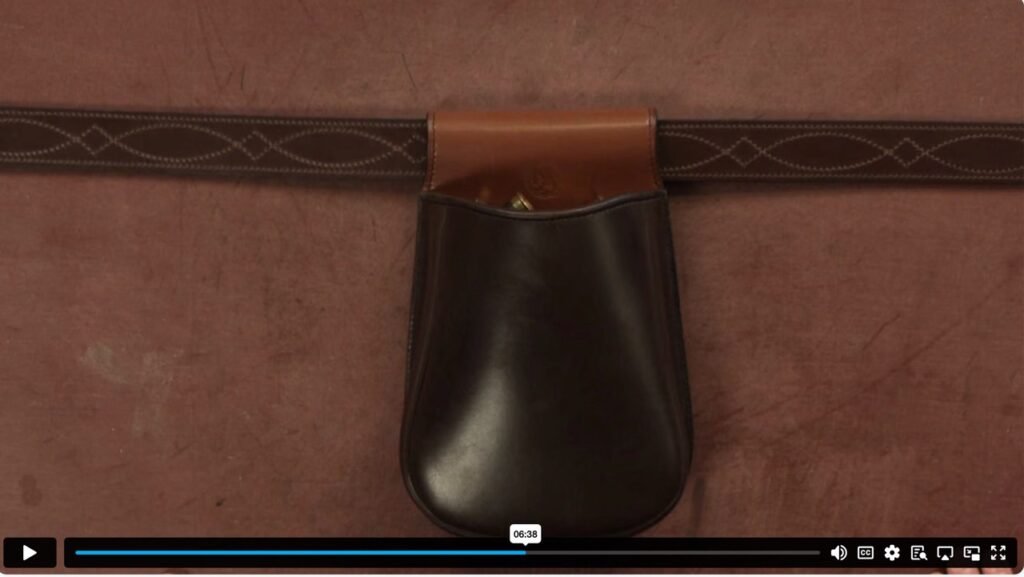
Leather Cartridge Pouch
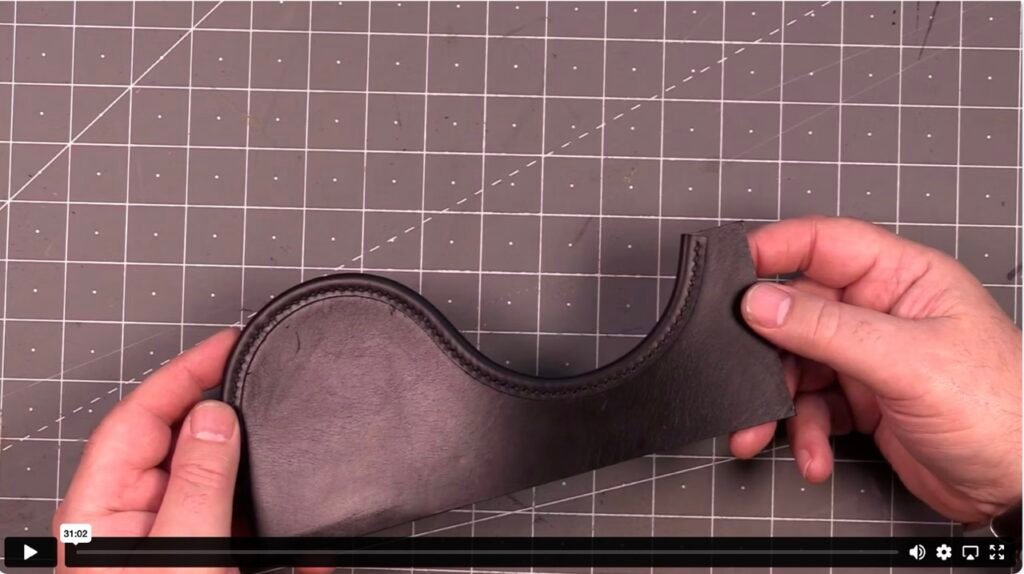
Cartridge Pouch - Intro
If you are looking to make a Cartridge Pouch, this is for you. If you are not, this video will still help as we begin to consider lining, piping and binding. All excellent skills for a bag maker.
Cartridge Pouch - Template 1
In this video, we consider sizing, dimensions and volume of the pouch. We look at the tapering of the sides and rounding of the base. This also has a tapered and rounded gusset.
Cartridge Pouch - Template 2
Building on our measurements, we add shape and personality to this pouch. It is very much a step away from the conventional rectangular style of making.
Cartridge Pouch - Leather
Armed with our template, all the details decided, we now move on to the leather. In this video, we look at adding the lining and what skiving needs to be done to accommodate the desired seams and edges.
Cartridge Pouch - Stitching 1
We now begin to put out pouch together. There is certainly an order of process to this so watch carefully.